First, we're going to create a new file (File -> New), size doesn't matter, then fill the background with a Gradient(#478aca to #67adf0) from top to bottom

After that, we create a new layer(Shift -> Ctrl -> N), and then press D to reset colors to Black as Foreground and White as Background color.
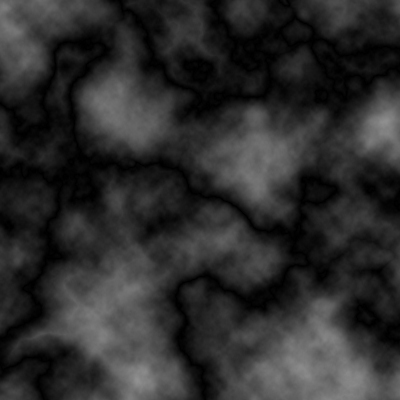
Go to Filter -> Render -> Clouds
Then go to Filter -> Render -> Difference Clouds and press Ctrl+F twice to reapply filter.
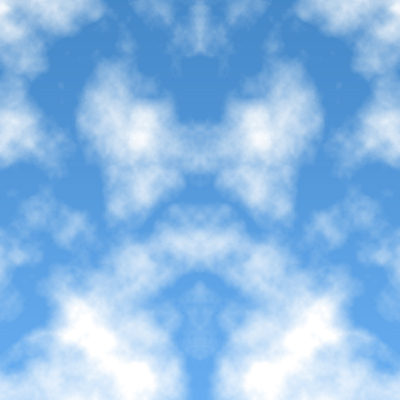
Now duplicate the cloud layer(Ctrl+J) and flip the copied layer horizontally(Edit -> Transform -> Flip Horizontal)
Set the second cloud layer's blending mode to Screen.
Merge both cloud layers(select the top one and press Ctrl+E), this will left you with only one layer.
Set the merged cloud layer's blending mode to Screen
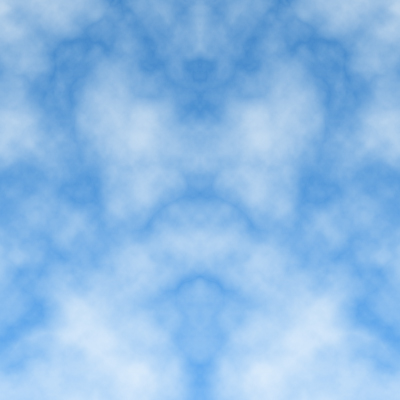
Now go to Image -> Adjustments -> Levels or press Ctrl+L and adjust the levels as in the following image by moving the selectors(circle in red) or by changing the values in the text boxes(circle in blue).

Your result should look like this