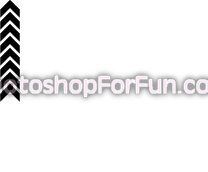
Start by creating an arrow shape using custom shape tool.

Duplicate the layer several times and place below each other.
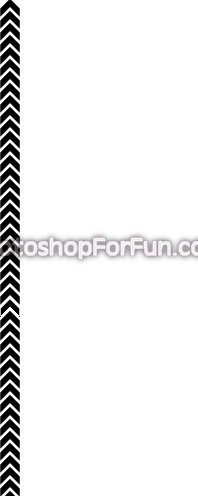
Duplicate all the arrow layers. Duplicate the layer. Press Ctrl+T. Right click and select Flip Vertical and place on the other side.

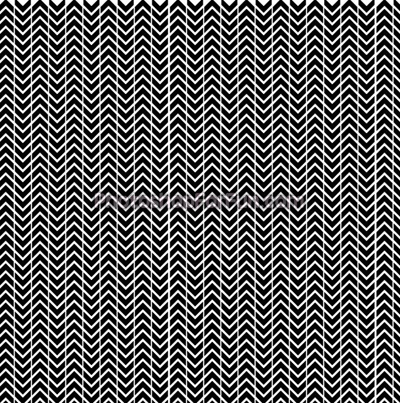
Similarly create more arrow lines as shown. Select and merge all the arrow layers.
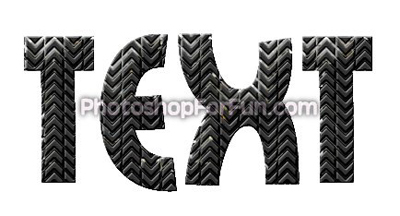
Hide the arrow layer. Type your text using a nice font.
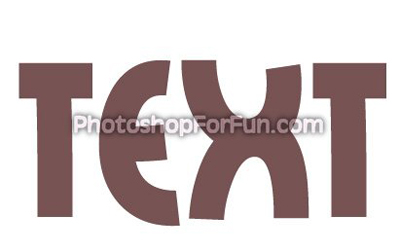
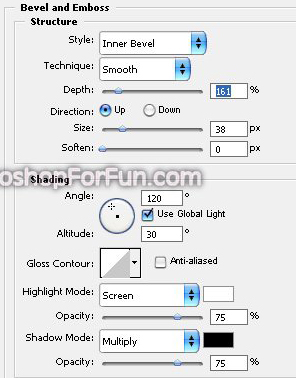
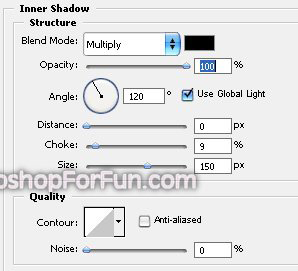
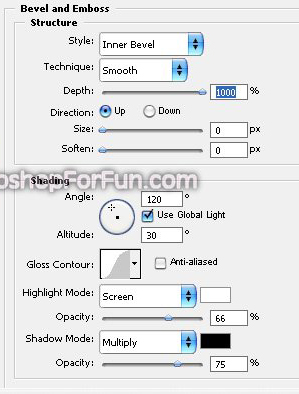
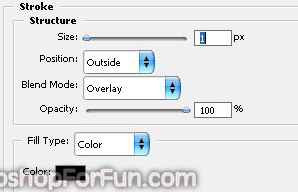
Double click the layer to open layer style window. Apply settings as shown.
Unhide and select the arrow layer. Ctrl+Click the text layer thumbnail to get the selection. Press Ctrl+Shift+I to inverse the selection. Press Delete.
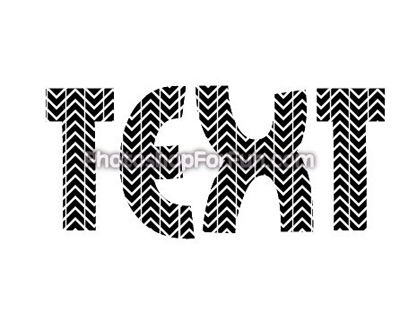
Press Ctrl+J to copy paste the selection in a new layer. Hide the text layer to view the tire effect on it.
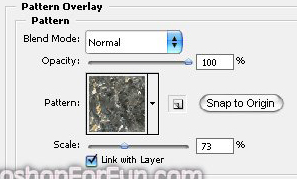
Double click the layer to open layer style window. Apply settings as shown.
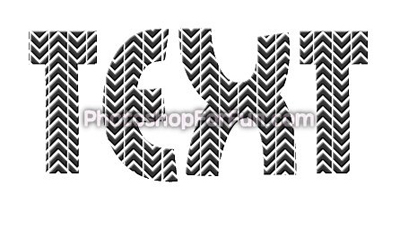
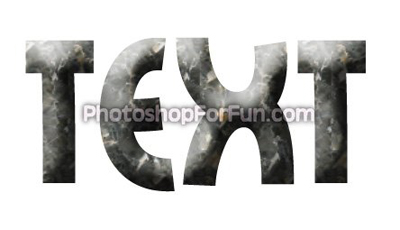
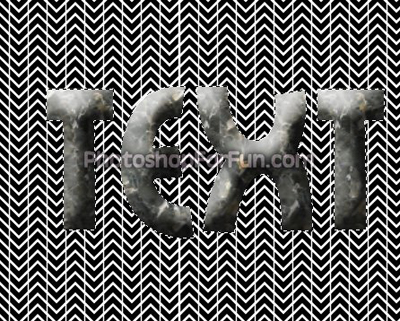
Unhide the text layer. Move this layer below all the layers in layer order in layer palette.