

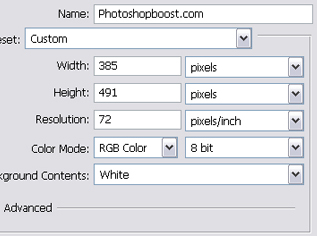
Step 1: New Document
First open up Photoshop and make a new document using the settings below:
Step 2: T-Shirt Body
Now we're going to make the main body of the shirt. Get out your 'Pen Tool' and use the settings below:
![]()
Now make an outline of a shirt. Use my screen shot as a guideline:
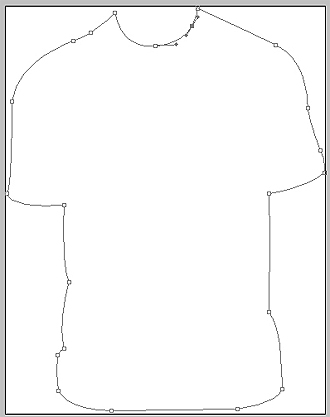
Now fill that in with black and move onto the next step.
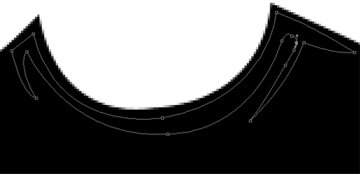
Step 3: Adding Shadows
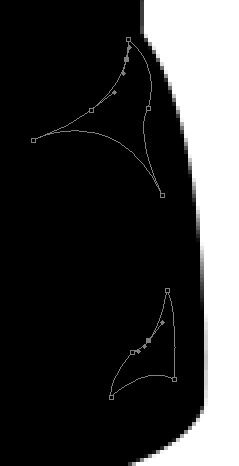
Get out your 'Pen Tool' again and use the same settings as above to make shadows on the shirt. Fill the shadows in using the color #828282. Start with the collar of the shirt and use my screenshot below as a guide:
Now make another shadow for the left and right arms. Fill it in using the same color. Use my screenshot below as a guide:
Left:
Right:
(This shadow is filled in to show you how it should look like)

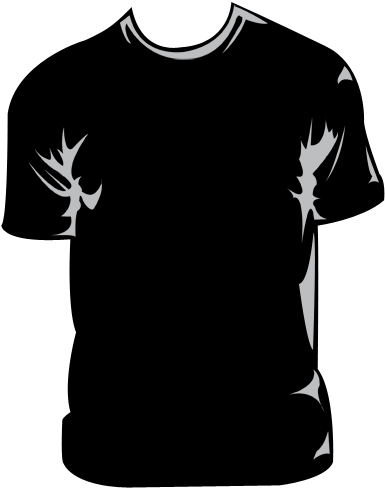
Now make another shadow for the bottom part of the t-shirt. Use my screenshot below as a guide:
Now just add one more shadow on the right and you will be done with the shadows! After all that shading you should have something similar to this:
Step 4: Finishing Touches
Now you're done with your t-shirt template! You can now add your design and display it on the web! Here's an example:
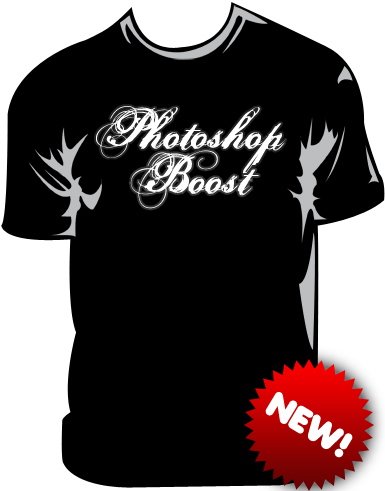
Note: The T-shirt image was dowloaded from this site: sekmor-mit and credited by Tim Romkes from Timromkes.nl.