


Coloring is a interesting work, isn't it?
This tutorial will show you how to put color on a line art.
At first, you should find a simple lineart on deviantart.com (keyword "lineart") to practice or save this one :

He's cute? What ever! (^.^!)
Step 1:
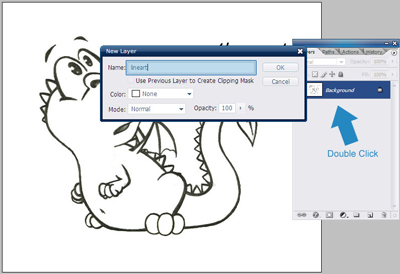
Open your lineart, double click on "background" layer and name it "lineart", then click OK.
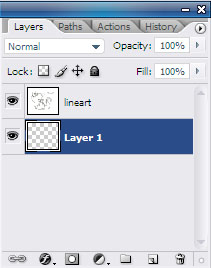
Create new layer and put it under layer "lineart"
Click on layer "lineart", pick Magic Wand Tool, click on his body (any area)
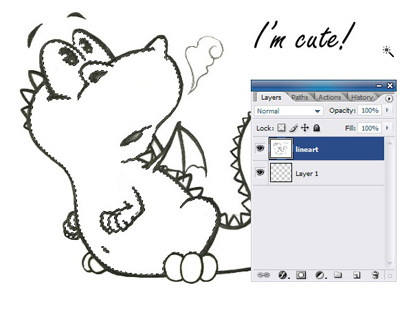
With this lineart, a 'cute' crocodile, I will put some green color on it.
Change foreground color to #97d52a

Change "lineart" to Multiply.
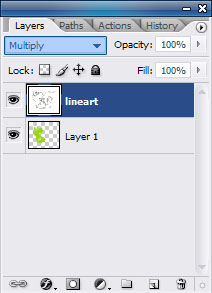
Click "Layer 1"!!!
Press Alt+Backspace at the same time to fill selection with color.

Nice?
If you have some problems 'cause some areas are not filled with color :

Don't worry, just pick Brush Tool
![]() , and brush on it to fill.
, and brush on it to fill.
Continue create new layer > Magic wand -> Alt+Backspace to fill color.
Remember: just fill color on new layer, do not fill color on "Lineart" layer!!!
I have this result :

Soft shade (another tutorial)

Good luck!