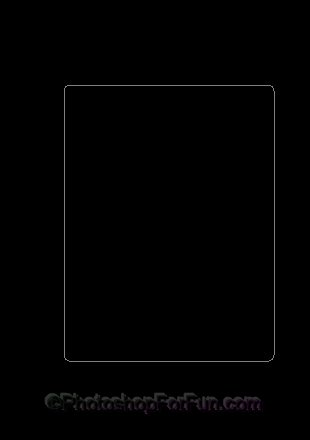
Create a rectangle using rectangular shape tool.
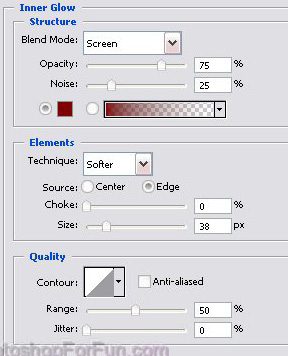
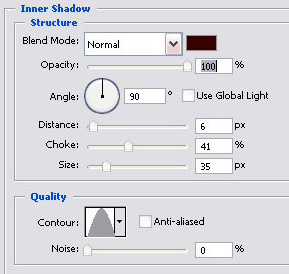
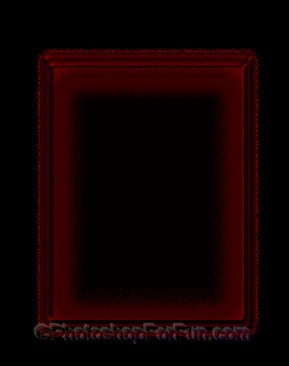
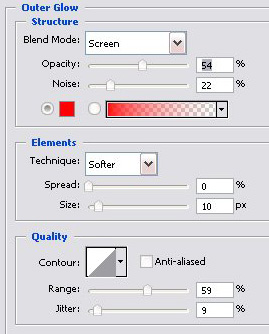
Double click the layer to open layer style window. Apply settings as shown.
Duplicate the layer and scale down a bit.
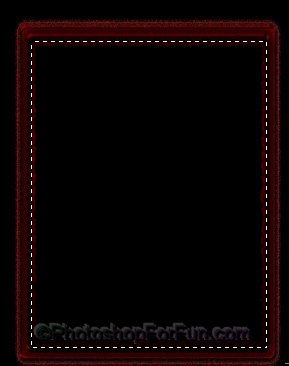
Select and merge both the layers. Create a rectangular selection using rectangular marquee tool.
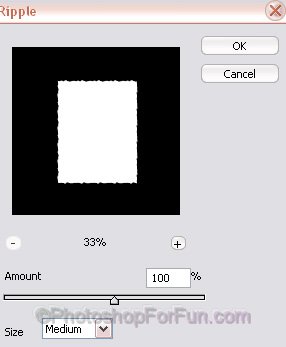
Press Q to enable quick mask. From filter menu select "Distort>>Ripple". Apply settings as shown.
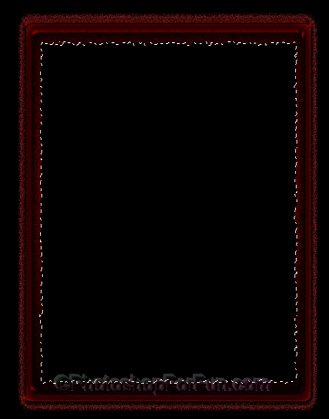
Press Q again to disable quick mask. Press "Delete".
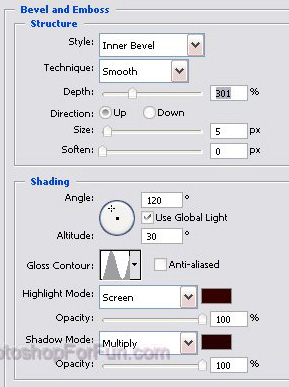
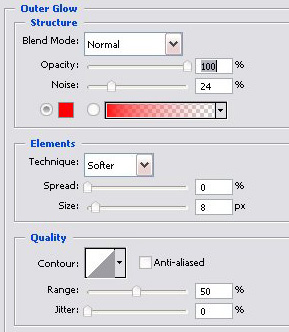
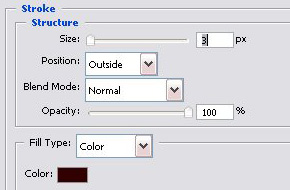
Double click the layer to open layer style window. Apply settings as shown.
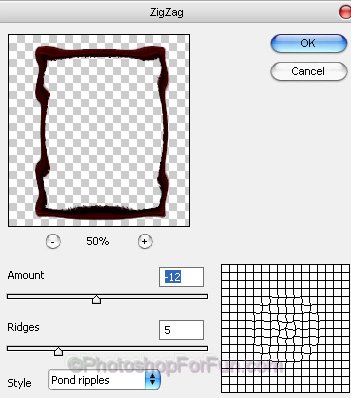
Duplicate the layer. From filter menu select "Distort>>Zig Zag ". Apply settings as shown.
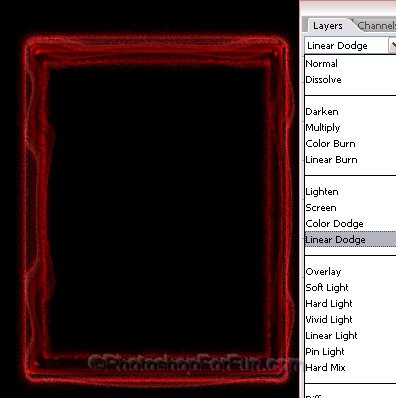
Change the layer mode to "Linear Dodge " from the layer palette.
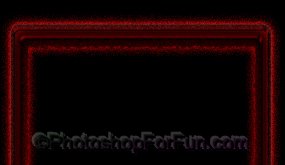
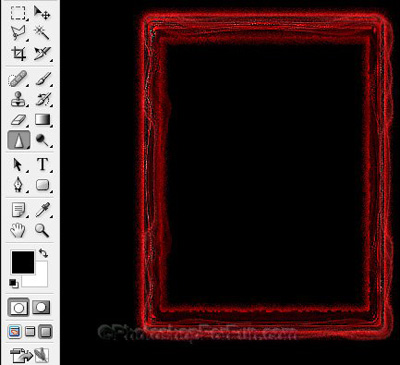
Select and merge both the layers. Select sharpen tool and sharp the edges.
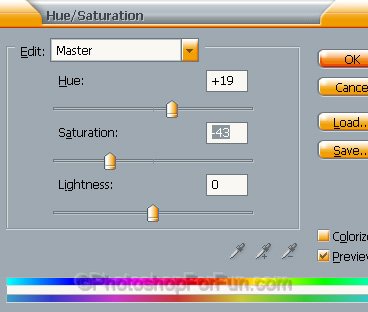
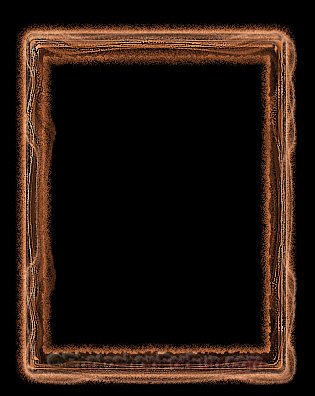
Press Ctrl+U to open hue/saturation window. Apply settings as shown.
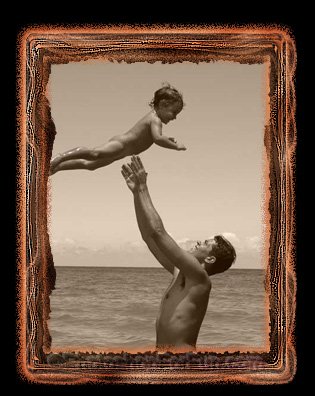
Insert any image. Move this layer below all the layers in layer order in layer palette.