Create a rounded rectangle using rounded rectangle shape tool.
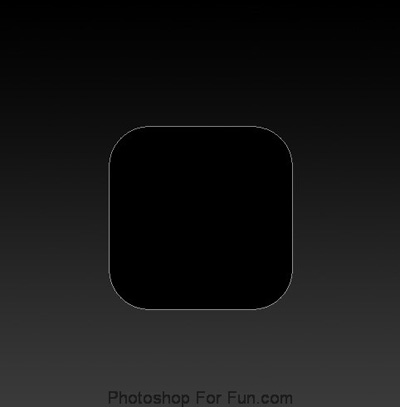
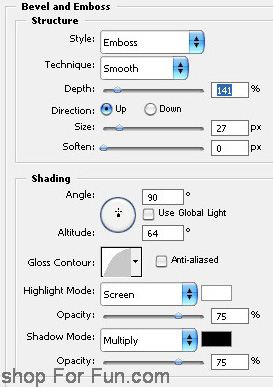
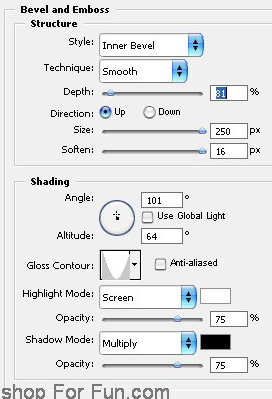
Double click the layer to open layer style window. Apply settings as shown.

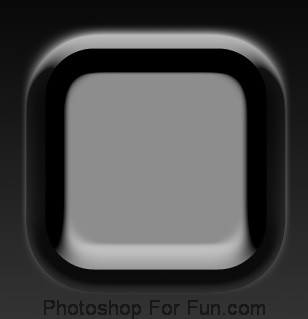
Duplicate the layer and change the bevel & emboss settings as shown
Press Ctrl+T and scale it down.
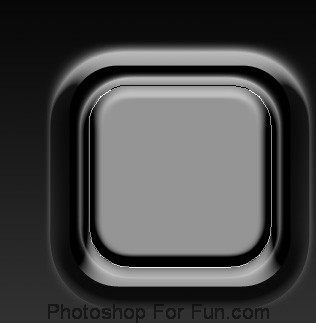
Duplicate the layer. Change the bevel & emboss settings as shown.
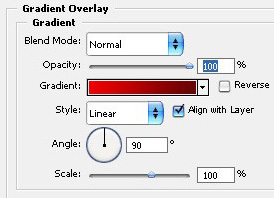
Apply gradient overlay as shown.
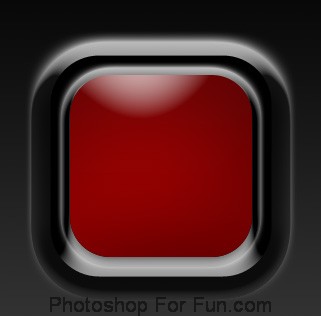
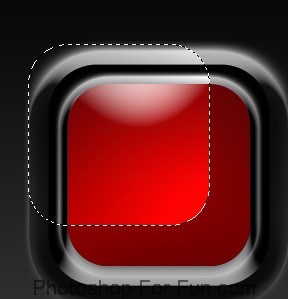
Ctrl+Click the layer thumbnail to get the selection. Move the selection as shown.
Create a new layer. Apply Black to white gradient. Change layer mode to "Color Dodge" for this layer.
Similarly create another selection.
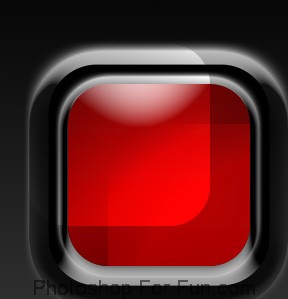
Select and merge all the layer except background layer.
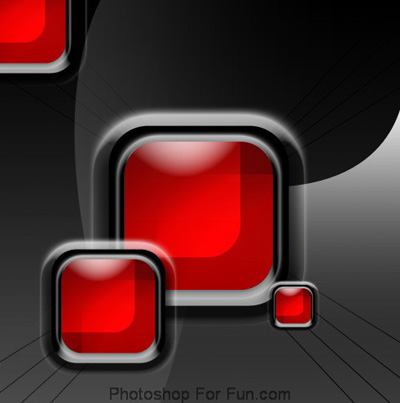
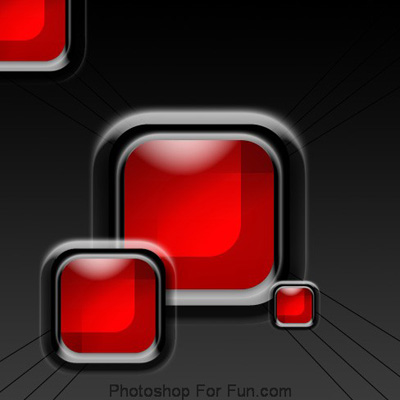
Duplicate the layer several times. Press Ctrl+}t. Scale down randomly and place a shown.

Create some diagonal lines from every corner to center as shown using line tool.
Create a shape as shown using pen tool.
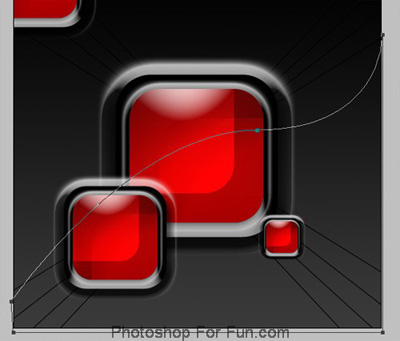
Apply a dark gradient as shown.

Similarly create another shape and apply same layer style.