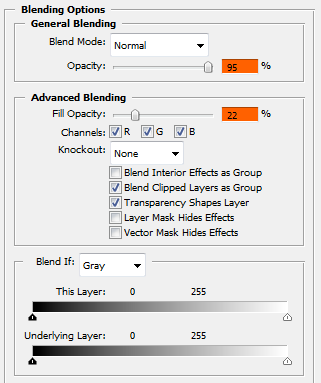
Step 1: Create a new document with the following dimensions: Height: 890px width: 298px
Step 2: Fill the background of the document with Black
Step 3: Use the rounded rectangle tool with a Radius of 10px and create the following
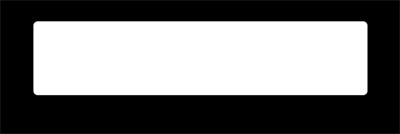
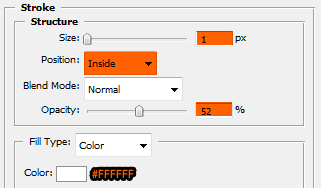
Step 4: Apply the following layer style
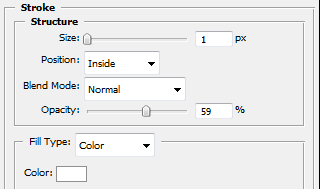
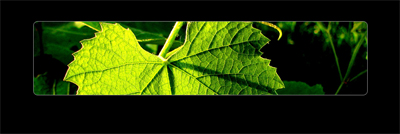
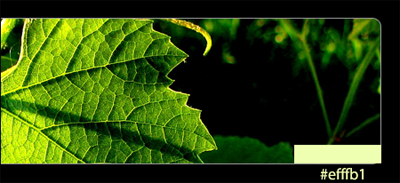
Step 5: Now we are going to choose the main background picture for the header. Simple paste it in a new layer.(For this example I used this image)
Step 6: While holding alt click on the line in between the image layer and the rounded rectangle layer, so that the image will only show where the shape underneath it is.
![]()
Step 7: We are now going to begin on the tabs, first create a rectangle with #efffb1 as its color. Begin the rectangle at the bottom right corner of the first main shape we created as if it was a rectangle, so in other words we are starting outside of the main shape.
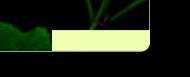
Step 8: To make the tab not appear over the header we are going to create a mask. Hold Ctrl and click on the small thumbnail of the main header shape. This should make a selection, and now click on the tab layer and click the Add Layer Mask Button
![]() You should now have something that looks like this:
You should now have something that looks like this:
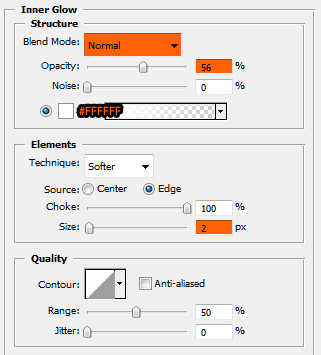
Step 9: Apply the following layer style to the tab:
Step 10: Duplicate the shape by pressing Ctrl + J, then move it to the left of the previous tab. Repeat this 3 times (Or as many tabs as you will need)

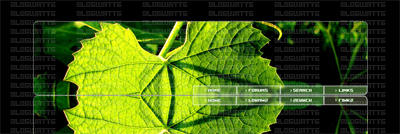
Step 11 (Long But Important): We need to make the tabs have a blurry background. To do this hide all of the tabs and create a new layer. While holding Ctrl + Shift click on each of the tabs thumbnails, this will make a selection around all four of them. Now press Shift + Ctrl + C to copy merged, and then press Ctrl + V to paste the copied part of the image. Now hold Ctrl + Shift again and click on this newly pasted layer, now we need to go to Filter > Blur > Gaussian Blur, set the radius to 2.6. Now drag this layer below the tabs and make the tabs visible again.
![]()
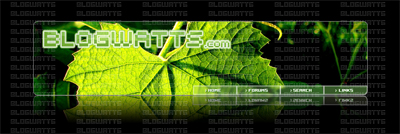
Step 12: Time to create the text for our tabs. For this I am using a font called FFF Freedom with a size of 8pt. The font can be downloaded here. Create your text in the middle of each tab.

Step 13: As you can see the text seems to fade a little and the home text is hard to see. We are going to do a neat little trick to make it a bit more apparent without changing the text color itself too much. Duplicate the text layer by pressing Ctrl + J, now click on the bottom of the two text layers and apply a color overlay with the color set to #236d09 and the opacity to 100%. Now click on the move tool
![]() and with the arrow keys press the down arrow once and the right arrow once. Repeat this step to all of the text layers.
and with the arrow keys press the down arrow once and the right arrow once. Repeat this step to all of the text layers.
Before:
![]()
After:
![]()
Step 14: We are going to now create the small arrows by simply using three squares. Make a white square with the shape tool, and duplicate it twice, now arrange them as shown below. Once they are aligned simple merge the layers together. (You can do this by clicking on the top square layer and pressing Ctrl + E twice. Now resize the arrow and make it smaller, so that we can add it as a bullet before each tab's text.

![]()
Step 15: Repeat Step 12 but this time with each arrow.
Before:
![]()
After:
![]()
Step 16: For the reflection we are simply going to hold Ctrl and select the main header shape (Step 3) and press Shift + Ctrl + C
Step 17: Press Ctrl + V to paste the copied layer. Now go to Edit > Transform > Flip Vertical. Move this layer so that it just touching the bottom of the header.
Step 18: Press the add layer mask button
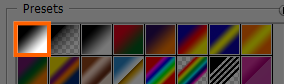
![]() and then on the gradient tool, use the default black and white gradient. Hold Shift and drag the gradient from about 1/3 down the layer to the top of it, you should now see this.
and then on the gradient tool, use the default black and white gradient. Hold Shift and drag the gradient from about 1/3 down the layer to the top of it, you should now see this.
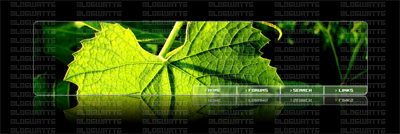
Step 19: Add your text/logo to the header.