


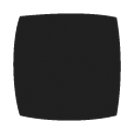
Step 1: Create the following shape - download the shape here.
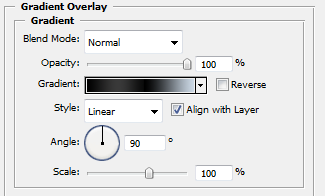
Step 2: Apply a gradient style to the shape as shown below. Download the gradient here.
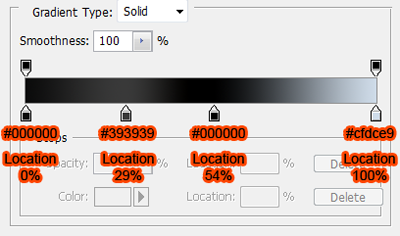
Here is a better view with the colors and positions of each point.
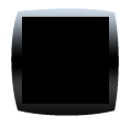
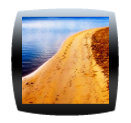
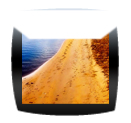
You should know see something similar below

Step 3: Create a black square over the bottom layer as shown below. Position it in the middle of the first shape that we created.
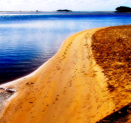
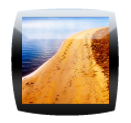
Step 4: In this step choose the picture that you would like to use or simply copy the one below. Paste it in a new layer at the top.
Step 5: While holding the Alt key (Option key on Mac), click on the line in between the picture and the square.
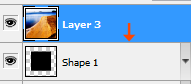
The thumbnail should now look similar to below.
Step 6: Create a new layer and create a shape similar to the one below, for this I used the pen tool.
Step 7: Change the opacity of this layer to 47%
Step 8: We are now going to repeat step 5 but this time we are going to hold Alt and click between the white layer and the picture layer.
