
Therefore, lets begin,
Now that we've created a new document, lets put on some style!
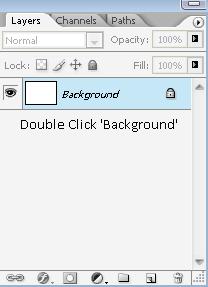
Now, you will "unlock" background by double clicking, and name it Stylish Background as shown below:

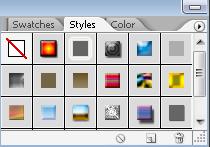
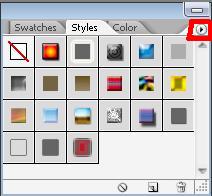
Now go: Window > Styles and the menu should pop up as the one shown below:
In this tutorial we will go over every style, explaining in detail about the effects of every style, and then show you how to create your own styles!
| Style Icon | Style Name | Style Example (In Button/Image/Texture/Text accordingly) |
| |
Default Style (None) | None |
| |
Color Target (Button) | |
| |
Double Ring Glow (Button) | 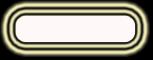 |
| |
Striped Cone (Button) | |
| |
Blue Glass (Button) | |
| |
Negative (Image) | 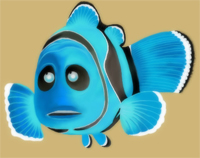 |
| |
Puzzle (Image) | 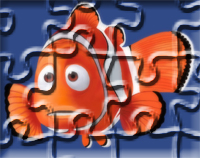 |
| |
Sepia Tone (Image) | 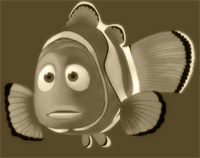 |
| |
Sun Faded Photo (Image) |  |
| |
Blanket (Texture) | 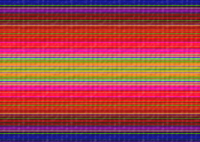 |
| |
Nebula (Texture) | 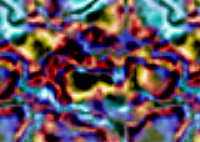 |
| |
Sunspots (Texture) | 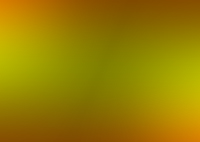 |
| |
Tie-dried Silk (Texture) | 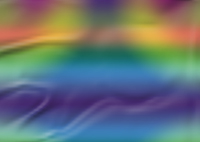 |
| |
Chiseled Sky (Text) |  |
| |
Chromed Satin (Text) |  |
| |
Overspray (Text) |  |
| |
Sunset Sky (Text) |  |
| |
Basic Drop Shadow |  |
| |
1 Px Stroke 0% Fill Opacity |  |
| |
1 Px Stroke 100% Fill Opacity |  |
Now, we will create our own design.
Write whatever you wish in plain black. I'm going to continue using "Cool"

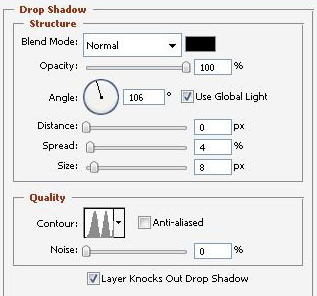
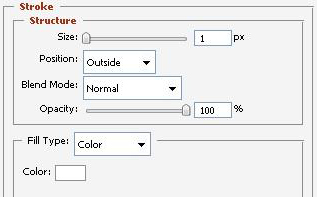
Now we go to Blendign Options, and will set the settings below:

Now, press OK, your image should look like mine, below, we will add it to our Styles.

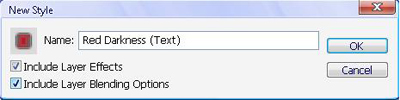
Now, click in the New Style button in the Style Menu.

Name it anything you want, mine is named "Red Darkness (Text)"
Now, your style menu should look like below (with a new style).
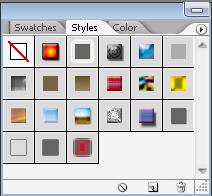
The last one is the layer you just created. If you don't see it like this, but with a scroll down bar, just make your style menu a bit bigger so you can see all the styles at once.
Now click on the arrow shown above, and choose "Save Styles"
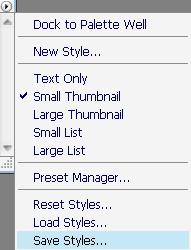
Save it to any name you wish, and whenever you wish to load it, either use load or replace styles. It is better to use repalce, as if you load it, you may get repeated brushes, especially if you have the predetermined ones only and only wish to load your new brush.
That's it!
