
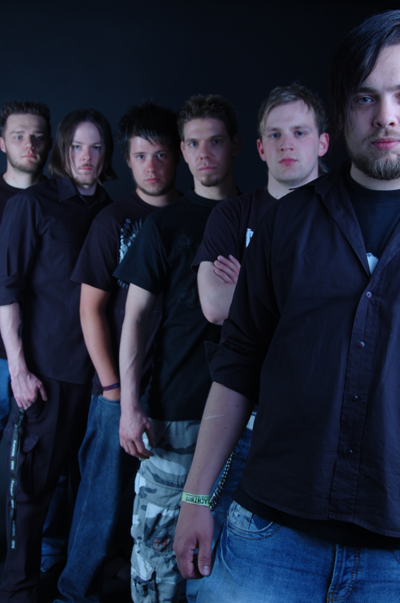
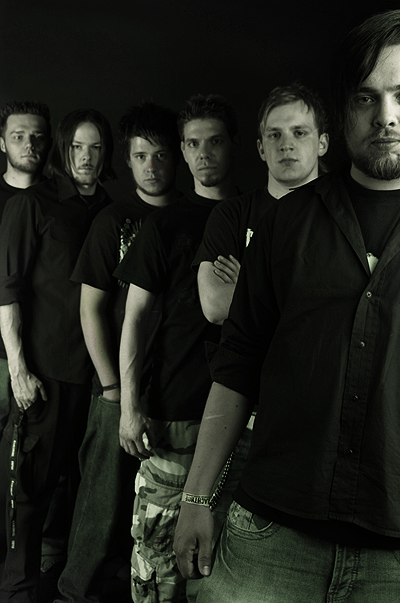
To start out get your photo, I will be using a picture of Hardcut:
To start hit Ctrl-U. This should bring up the Hue/Saturation menu. Insert these settings:

Now go to Gradient maps and apply this gradient on Soft Light on 50% opacity.
![]()
Now add a sepia toned photo filter. Have it on Normal 100% opacity:
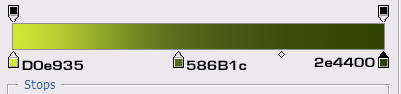
Now go to Gradient maps and apply this gradient:
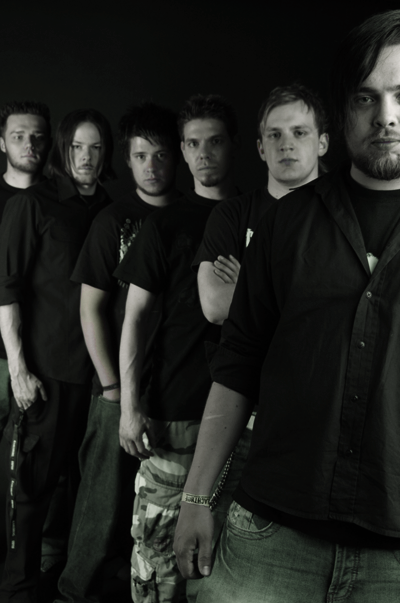
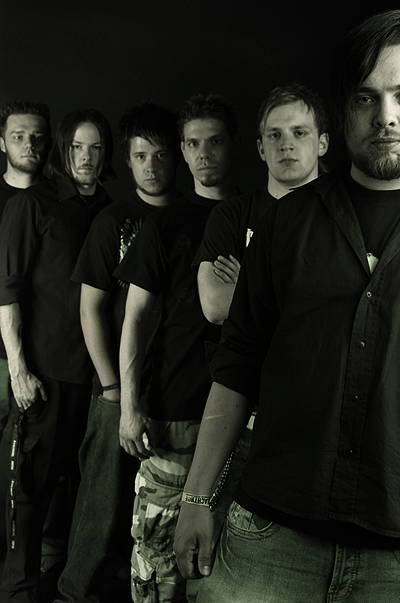
Set it on Soft Light on a 30% opacity. Now you should have something like this:
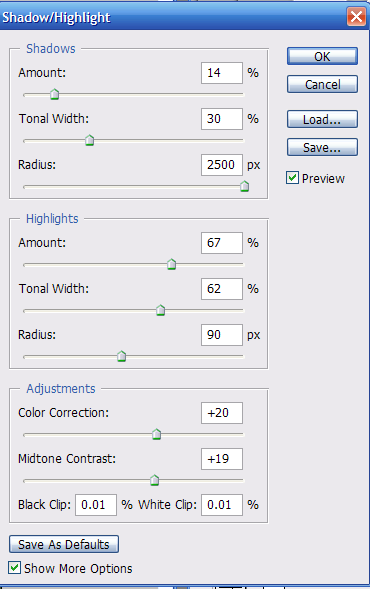
Go to Image > Apply Image. Then go to Shadow/Highlight. Now apply these settings:
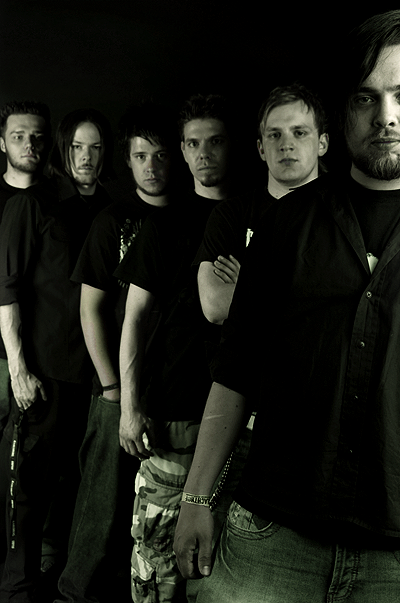
Now mask out or erase any parts you don't like. I masked out almost everything except the bottom, because I thought It was too dark, I also left a little bit on their faces and shirts. Now you should have something like this:

Now make a new layer and go to Filter > Distort> Sharpen. Now you should have a sharpened picture like this:
Now apply a sepia toned gradient on the amount of 14%
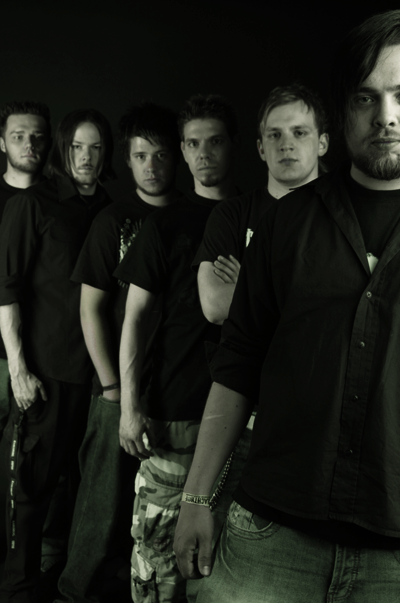
Last but not least apply a Brightness/Contrast layer, on any amount that suits your picture. Now you should have something like this:
Congratulations you have turned your metal band photo into one very good looking picture.