

Start by creating a new file (File>New) that would have 1024x768 px and 72 dpi. Select after that the Paint Bucket Tool (G) to paint the made file in #767676

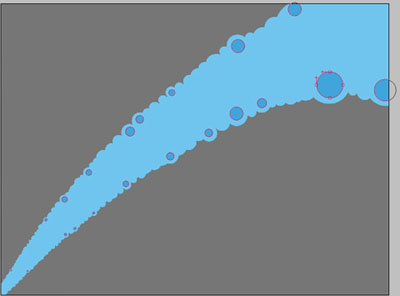
Next we have to select the Pen Tool (P) and represent a ray colored with #70C5EE. Its shape may be corrected with the Convert Point Tool. Next step includes choosing the Ellipse Tool (U), pressing the SHIFT button and inserting this way several small circles pictured with the same color mentioned earlier.


Now we have to represent on the next layer several other small circles, colored this time with #40A5DB. Apply the same operation described earlier.
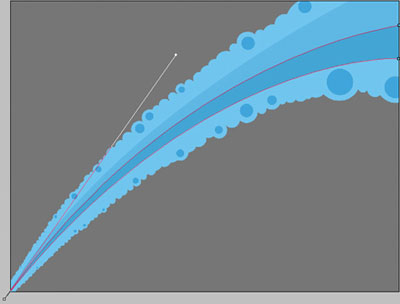
It's time to select again the Pen Tool (P) to represent a ray, colored with #5EB7E3 which shape may be corrected with the already known Convert Point Tool.

Make a copy of this new made layer and choose the Convert Point Tool for letting down the ray's upper top, selecting the color #43A5D4
Apply now the Ellipse Tool (U) to represent a lot of small circles, pressing the SHIFT button. The color in this case is #70C5EE
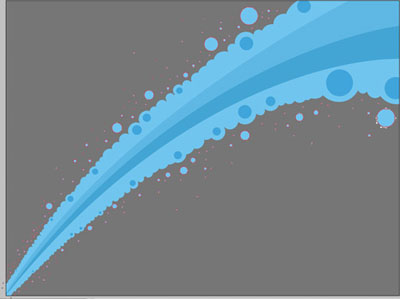
Select the Custom Shape Tool (U) on the next layer and the black color to represent several indicators, pressing simultaneously the SHIFT button.

Apply the next parameters for the layer: Blending mode-Soft Light

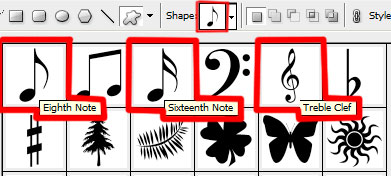
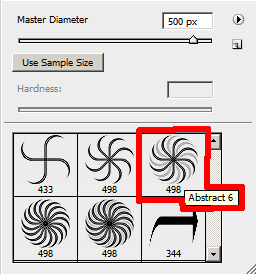
Download out of Internet a set of ready to use brushes for Adobe Photoshop: abstract_mega_pack_brushes
Create after that a new layer (Create new layer) and select a brush out of the upper mentioned set, colored with #6C6E6D

Change the layer's parameter: Fill 70%

Now we have to select the brushes abstract_mega_pack_brushes for representing several pointers, colored with #865551
Apply the next parameters for the layer: Fill 10%

Find in Internet a picture, having represented on it a musician.

Insert it on our picture, turning it preliminary around with Free Transform option.

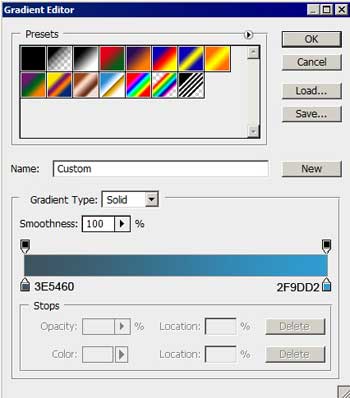
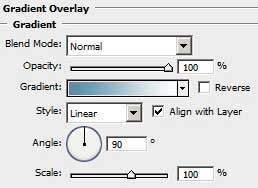
The musician's layer needs the next parameters: Blending Options>Gradient Overlay
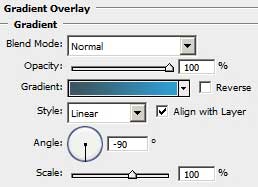
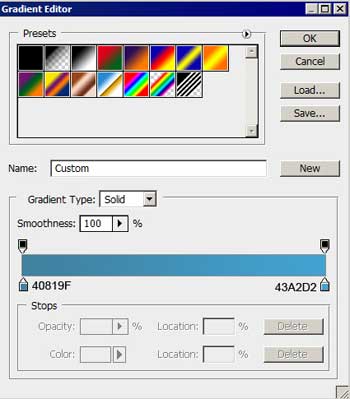
Gradient's parameters:

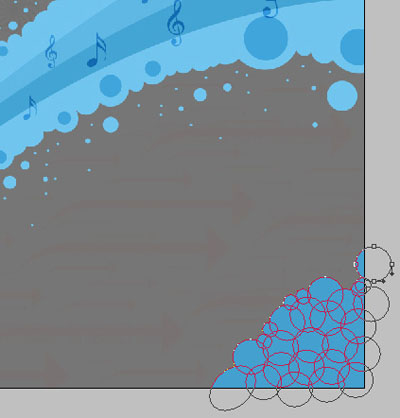
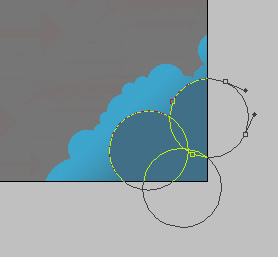
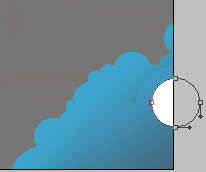
Using the Ellipse Tool (U), we must represent now several small circles on the right lowest corner (keeping pressed the SHIFT button).
The layer's parameters: Blending Options>Gradient Overlay
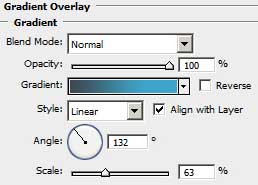
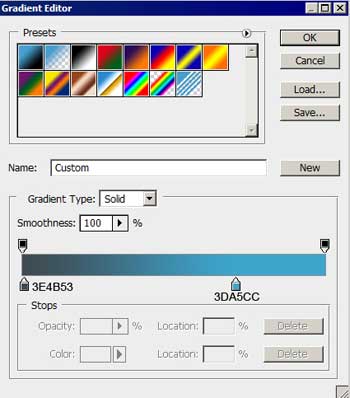
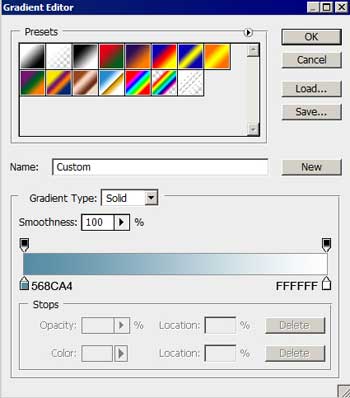
Gradient's parameters:

Using the same instrument and the same method, we have to picture out three small circles.
The layer's parameters: Opacity 50%
Blending Options>Gradient Overlay
Gradient's parameters:

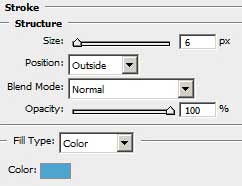
Select again the Ellipse Tool (U) to represent a white circle.
The layer's parameters: Opacity 70%
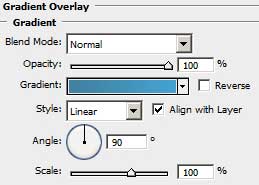
Blending Options>Gradient Overlay
Gradient's parameters:
Blending Options>Stroke

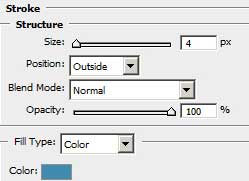
Make a copy of the last made layer and select the Free Transform option to change the copy's sizes and place it the way it is demonstrated below.

Make two other copies of the last made layer and select the Free Transform option to change their sizes and the layers' parameters (they are the same).
The layers' parameters: Fill 100%
Blending Options>Stroke

Next we'll choose the brush out of the set abstract_mega_pack_brushes with the color #70C5EE

The layer's parameters: Fill 70%

Next step includes picturing several more small circles the way we did earlier. Their color should be this time #6B6D6C

Select again the Custom Shape Tool (U) and the Ellipse Tool (U) with color's code indicated next: #767676 to represent several small circles and rings.

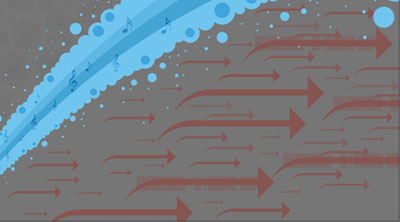
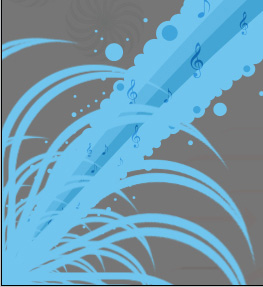
The picture is finished!
View full size here.