


First of, as always, lets create a default sized document.
Ok, now lets set our colors to these:
![]()
They only have to be red and dark red, but those are the ones I used just in case you wanted them.
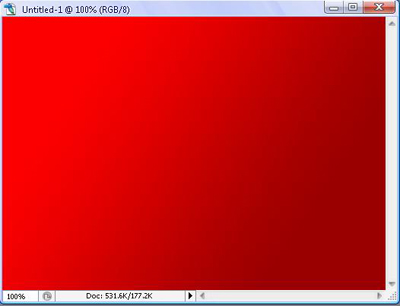
Use the gradient tool
![]() in your menu and drag it along the screen, if you don't like the result, keep dragging it, until you get something like what I have below. If you don't find the gradient tool, click and hold the bucket tool
in your menu and drag it along the screen, if you don't like the result, keep dragging it, until you get something like what I have below. If you don't find the gradient tool, click and hold the bucket tool
![]() , and you should see it.
, and you should see it.
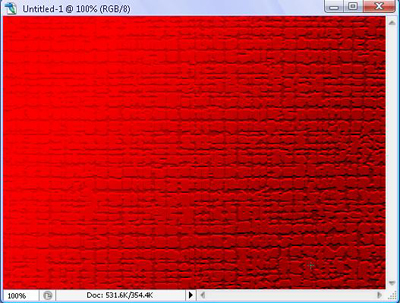
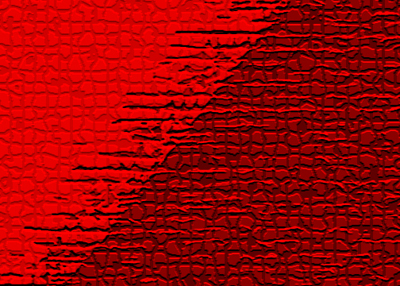
After this, you will go to the Filter Gallery (Filter > Filter Gallery). Under Texture, use Craquelure:

You should get something like this:
Ok, until here are 'The first steps'. You can duplicate the layer 5 times, and hide it, so that it comes out like this:
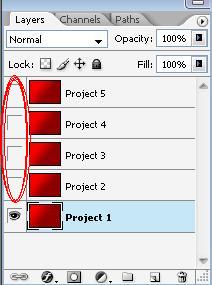
Please note the red circled area, where there are no "eyes". This will make only Project 1 visible. Please remember that every time you change Projects you should make the Project your on the only one with the eye.
Project #1
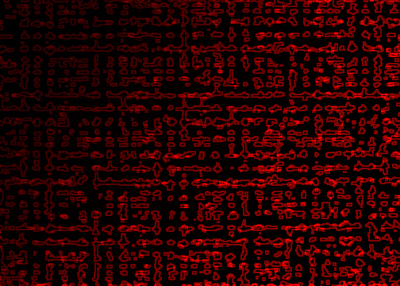
In one simple step, we shall achieve a pretty cool effect. Now, you will go to the Filter Gallery. Under Stylize do > Glowing Edges.

Your final effect for Project 1 should look like this:
Project #2
Now set your layer to Project 2, and make sure you see the previous Craquelure effect.
Please make sure you select Layer 2 or you won't be able to do anything. So now go to the Filter Gallery.
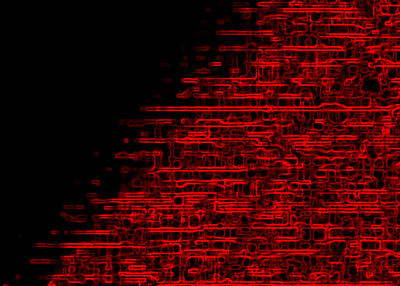
Under Sketch, do Water Paper. . This will cause it to have a partially tiled effect, going only half way through the image.

Then, do Glowing Edges:
Your final result should be significantly decent.It should look like this:
Project #3
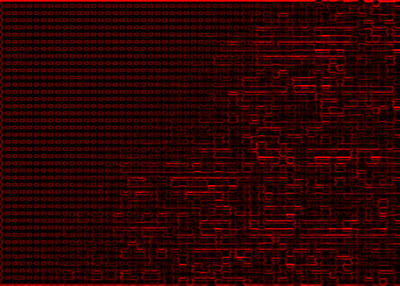
So, as always, remember only to select Project #3, you should see the original Craquelure effect. Now, you will go to the Filter Gallery, and use Texture > Patchwork.

You should get a tiled image. Now, go back to your Filter Gallery. Now you will use Glowing Edges.
This should come out with a final result of a pretty cool effect:
Project #4
Again, please remember to only select Project #4 and not make the other layers visible.
So now do Filter Gallery > Artistic and choose Cutout. Now it will look like it's nicely painted.

Now, you will use Filter Gallery > Texture and choose Mosaic Tiles.

Now, your final ending should be really decent.
Until next time!
