Let's start!
Step 1:
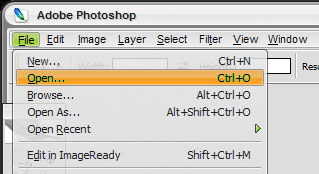
File ~> Open (Ctrl+O)
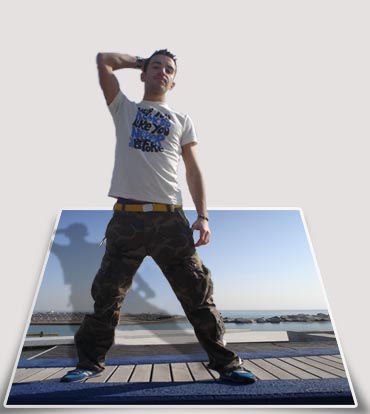
Point to your photo with standing or sitting poser.
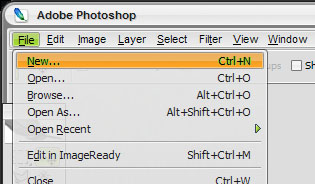
Create a new document (Ctrl+N) with size bigger than your photo. (about 100px width and height)
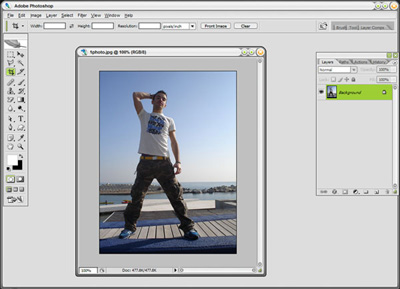
Drag [Use Move tool (V)] your photo into your new document :
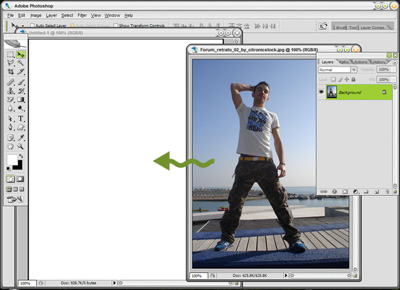
OK.
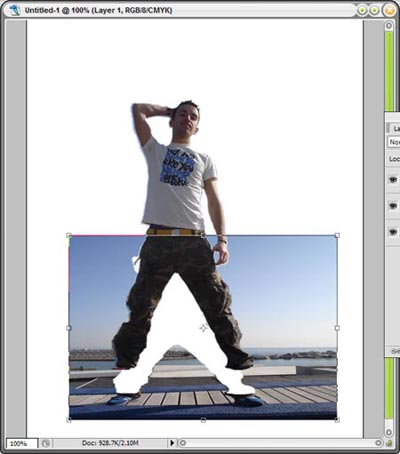
Step 2:
Align center your photo.
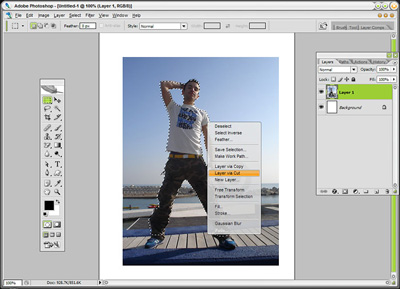
Pick a cutting tool, I use Lasso Tool here
![]() . (See cutting skill in another tutorial)
. (See cutting skill in another tutorial)
Start cutting your poser from head to feet, DO NOT cut poser's shoes.
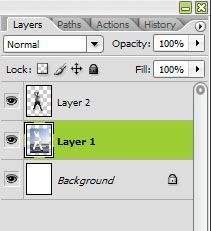
Then right click on the selection, choose "Layer Via Cut" to pop out your poser. (new layer will appear on the top of layer palette) :
Step 3 :
Choose Layer 1 (layer include scene from behind the poser).
Then, point to Edit menu ~> Free Transform. (or press Ctrl+T at the same time)
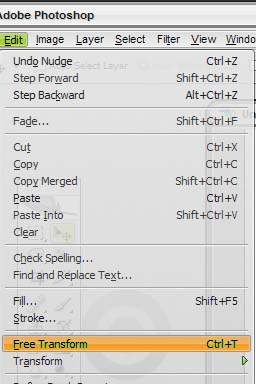
Make your layer smaller than original 1/2 . Press Enter!
Continue choose Edit ~> Transform ~Perspective.
Point your mouse to a top corner and drag it a little bit to the center like this :
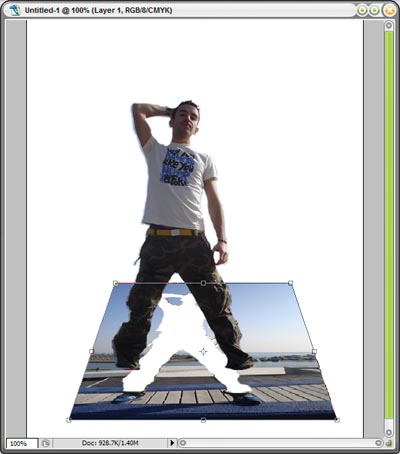
OK. Press Enter!
Step 4 :
Choose Layer 2 (which include your poser), Edit ~> Free Transform and resize till it fit the shoes.
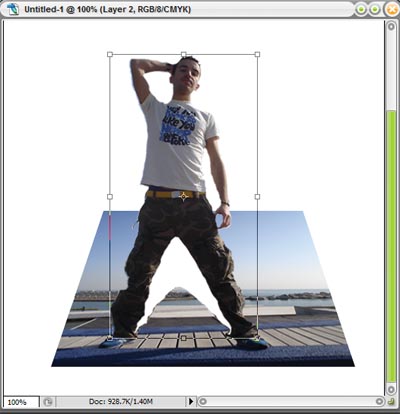
Don't worry about the white space behind the poser. In the next Step, we'll fill that space easily.
Step 5:
Choose Layer 1 (layer include scene behind the poser)
Zoom in the white space.
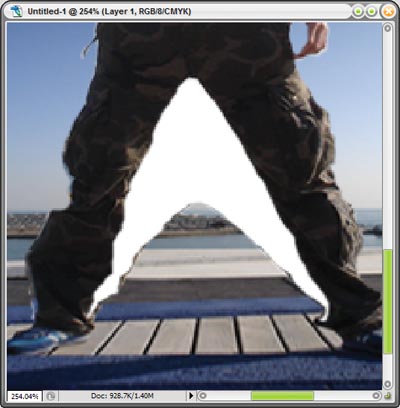
Pick Clone Tool
![]() from Tool palette.
from Tool palette.
Now, let's start cloning!
First, hold Alt and click the area beside the white space.
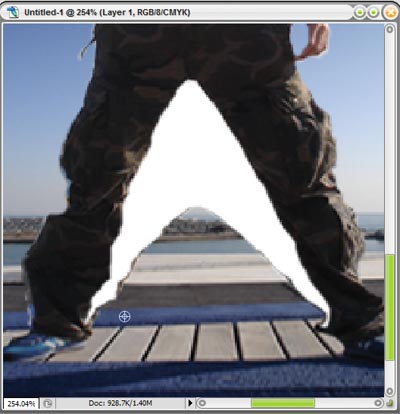
Then, brush the white space beside till It's filled with color.
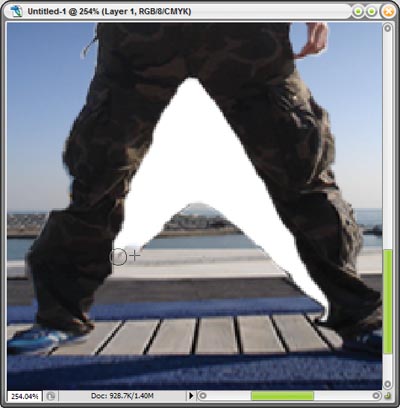
Keep cloning till the white space filled with detail color like this :
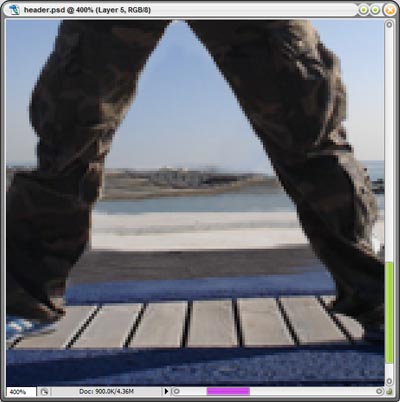
OK, zoom out your photo.
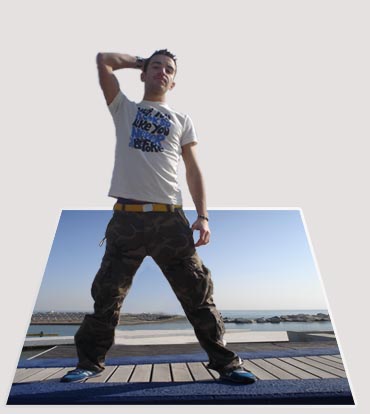
Add a nice border to your frame with Stroke in Blending Option.
Drop shadow.....done!