


First, open a photo in Adobe Photoshop. To do this, simply go to the File> Open menu, browse for the image, and click OK.

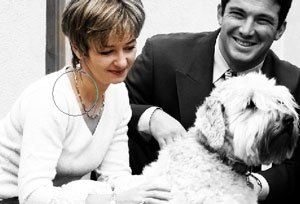
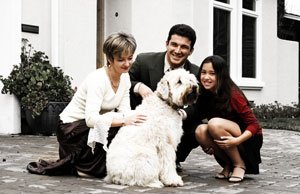
For this tutorial, we'll use this family portrait as an example. © Galina Barskaya - Fotolia
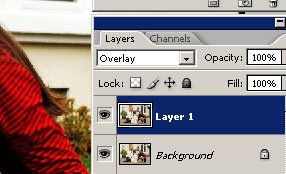
Next, press Ctrl+J to duplicate the layer then change the blending mode for the new layer to Overlay. This will give your photo a nice contrast enhancement.
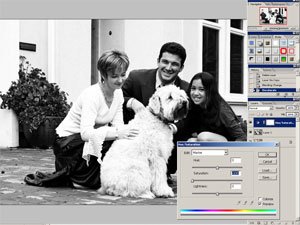
Now we will work on that new layer to create the neutral Photoshop effect. This is easy with Photoshop's desaturate tool; just desaturate the layer by selecting Image> Adjustments> Desaturate.
The effects of desaturating the layer in Adobe Photoshop.
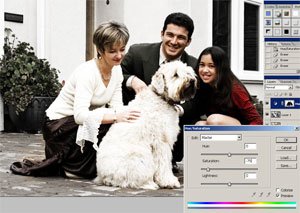
We're almost done, but there's one more effect to add. To create a stronger focus, we'll reduce the saturation of the background. In the Layers menu, select New Adjustment Layer> Hue/Saturation. A new window will appear requesting you to enter the settings for this new layer. Simply ignore the settings and click OK. Now the Hue/Saturation Photoshop tool should appear. We'll manually adjust the saturation later, so for now, set the saturation to 0 and click OK
Don't worry if you make a mistake; you can always go back into the adjustment layer and make changes anytime. Just double-click on the layer and Photoshop will bring the Hue/Saturation tool to allow you revise your adjustments.
The Photoshop adjustment layer applied the effect to the entire image. Because we only want it to desaturate the background, we'll need to paint in the layer mask to tell where the effect should be visible. A layer mask allows you to define the transparency of the layer by painting either black to make the area transparent or white to make the area opaque. Because we're just erasing the areas where we do not want the area to appear, we can use the Eraser tool. Select the Eraser tool, then right mouse click and adjust the brush size to one that is suitable and reduce the hardness.
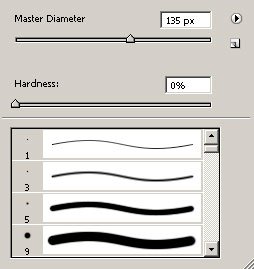
The brush size defines the size of the brush. The larger the pixels (px), the larger the brush. The hardness setting lets you set how hard the edges are. For example, if you choose 0 as the hardness, the edges will be very soft.
Next, we'll work in the layer mask to define the background. But before we do this, ensure that you have the layer mask activated. To do this, click on the layer mask thumbnail in the layers window. Now, with your eraser tool selected, erase in the layer mask where the foreground is. For this photo, I will use the eraser to erase the effect on the family.
To adjust the size of the Photoshop brush, press the [ key to decrease and the ] to increase the size.
The area that you erase will have its color restored.
This is the final results from this step. The background is completely neutral while the subject still has some color.
Now we'll go back and adjust the saturation of the background. I don't want the neutral effect to be too noticeable, so I will restore a little color for the background. I did this by double-clicking on the Hue/Saturation layer and increasing the saturation from -100 to -75.
Because the layer is an adjustment layer, we can go back and edit the settings anytime.
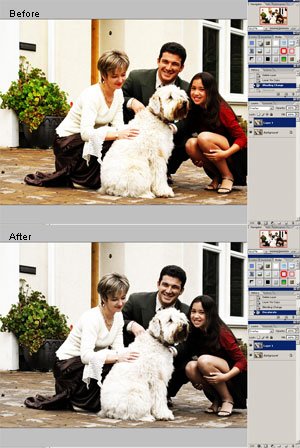
We're done! Here is the before and after results of this Photoshop effect.