


Now, look at this :
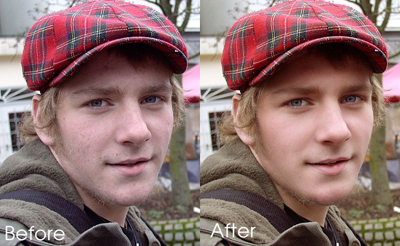
He looks like much more nicer than ever, doesn't he? ^.^
Now, let's start!
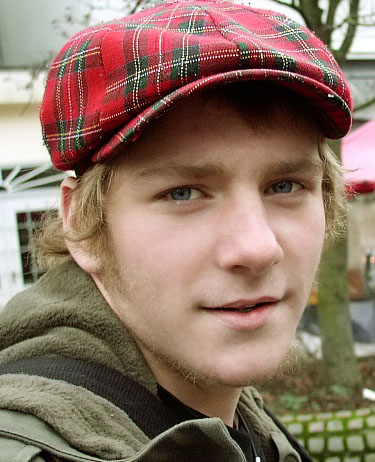
Open your portrait photo. I use this photo :

Pick Healing Brush Tool
![]()
ALT+CLICK on the skin' smooth area and then brushing on bad area.
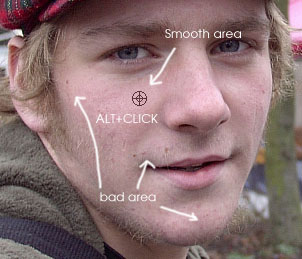
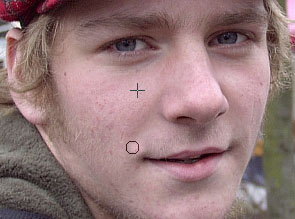
Repeat this action to smooth bad areas:
He looks better? OK, you did good job! Let's continue!
Pick Lasso Tool
![]()
Draw a selection around his face :
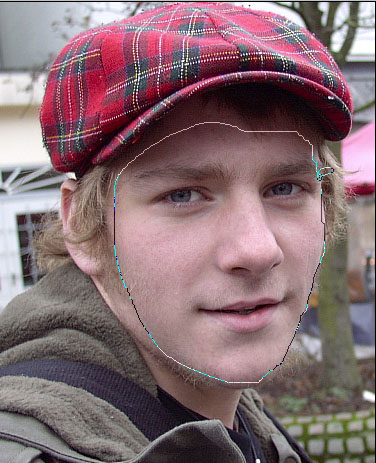
Continue hold ALT+drag to remove eyes and lip area...

Don't smile, keep working! (hahaha)
Go to menu Select ~> Feather ~> 5px. OK
Right click on selection and choose Layer Via Copy.
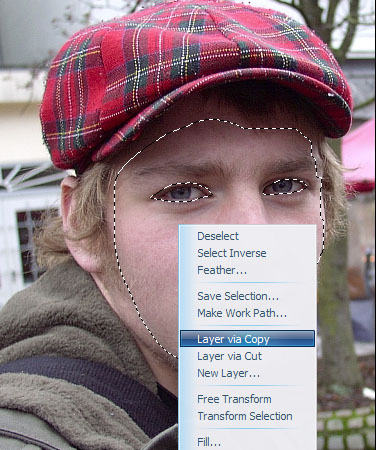
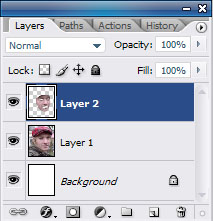
A new layer will appear up on layer background.
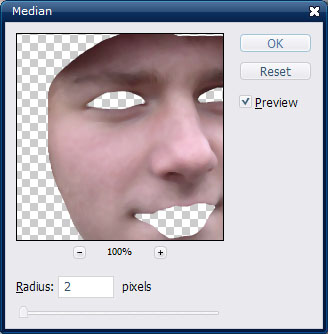
Go to menu Filter ~> Noise ~> Median...
A dialog box will appear on the screen:
Type 1,5-2px then click OK.
(Don't smile T__T..........................but....It's funny huh? ^.^)

Wow, nicer!
Change this layer mode to Lighten.
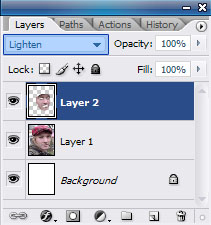
And you will have very nice result :

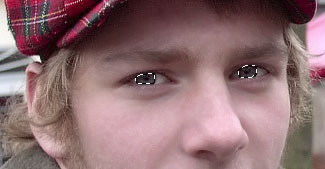
Change eyes color :
Click on layer include original photo.
Pick Lasso Tool
![]() , draw 2 selection around his eyes:
, draw 2 selection around his eyes:
Right click on selection and choose Layer Via Copy.
Change new appear layer mode to screen, Opacity = 30%.

His eyes will be brighter.
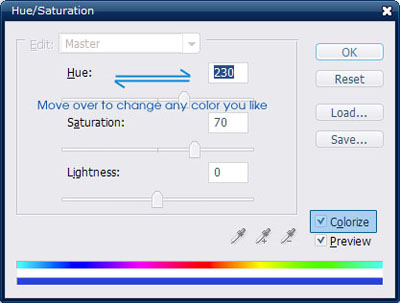
Go to menu Image ~> Adjustments ~> Hue/Saturation...
Set option :
Create a new layer on the top of Layer Palette, go to menu Image ~> Apply Image... Click OK
Set this layer mode to Soft light and Opacity = 30%.
.jpg)
Go to menu Layer ~> New Adjustment Layer ~> Color Balance...
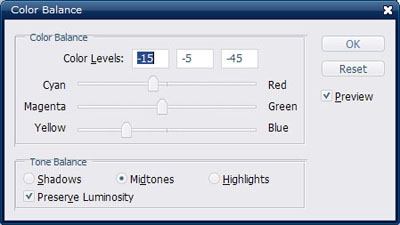
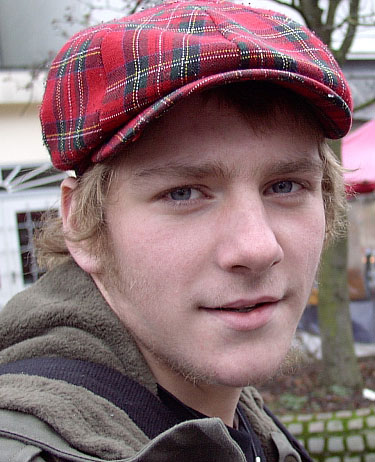
And here's final result....
Good luck!