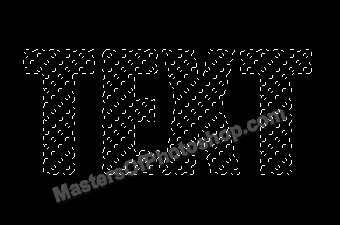
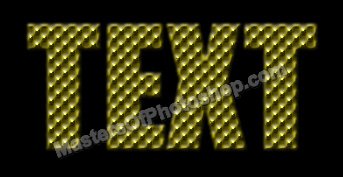
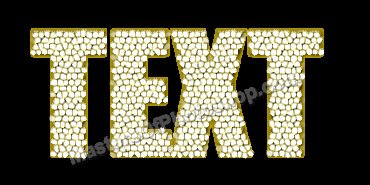
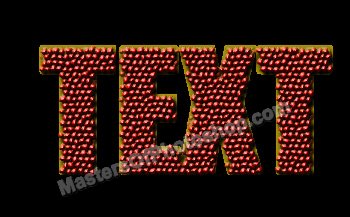
Start by typing your text using a bold font.

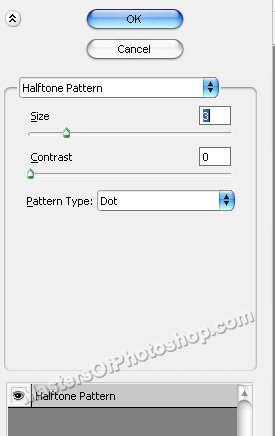
Ctrl+Click the text layer thumbnail to get the selection. Press Q to enable quick mask. From "Filter" menu select "Sketch>>Halftone Pattern". Apply settings as shown.
Press Q to disable quick mask. Hide the text layer.
Create a new layer and fill it with white color.
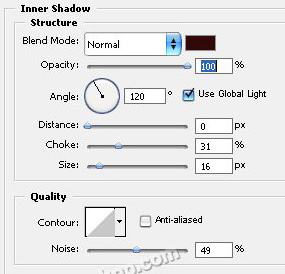
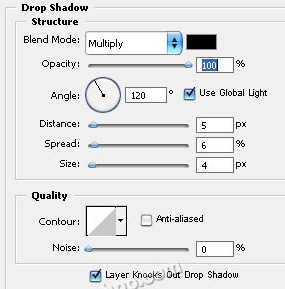
Double click the layer to open layer style window. Apply settings as shown.

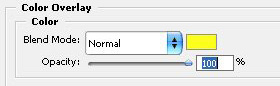
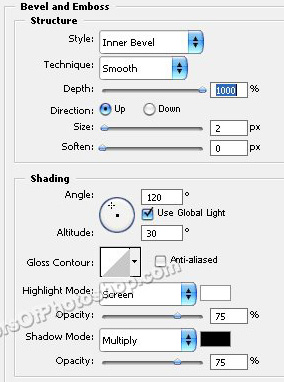
From layer menu select layer style>>create layers. Select and merge all the resulting layers. Double click the layer to open layer style window. Apply settings as shown.
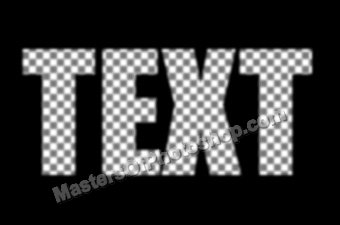
Ctrl+Click the layer thumbnail to get the selection. Press Q to enable quick mask.

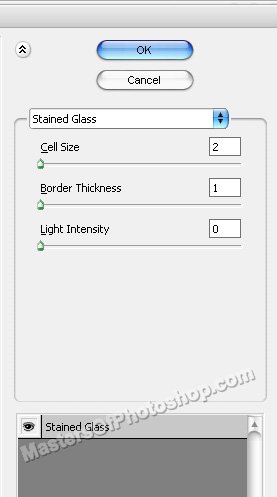
From "Filter" menu select "Texture>>Stained Glass ". Apply settings as shown.
Press Q to disable quick mask. Create a new layer and fill it with white color.
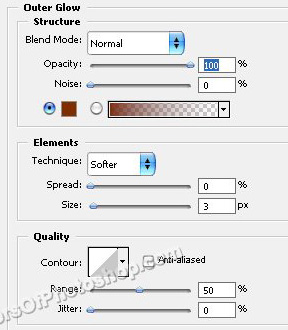
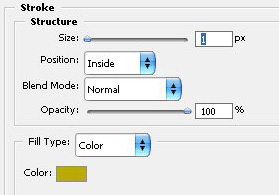
Double click the layer to open layer style window. Apply settings as shown.

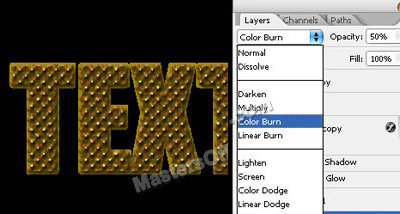
From layer menu select layer style>>create layers. Select and merge all the resulting layers. Change the layer mode to "Color Burn" and opacity to 50%.
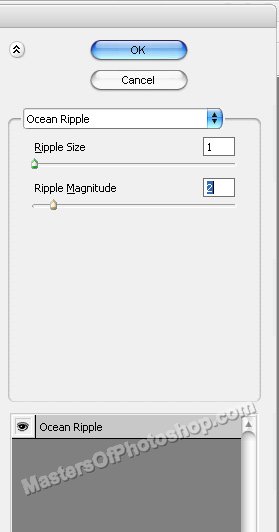
Select and merge all the layers. Ctrl+Click the layer thumbnail to get the selection. Press Q to enable quick mask. From "Filter" menu select "Distort>>Ocean Ripple". Apply settings as shown.
Press Q again to disable quick mask. Press Ctrl+Shift+I to inverse the selection. Press Delete.
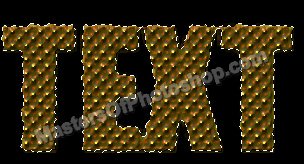
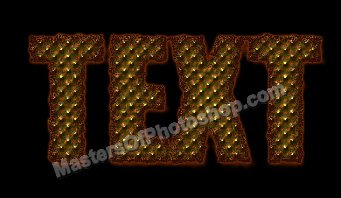
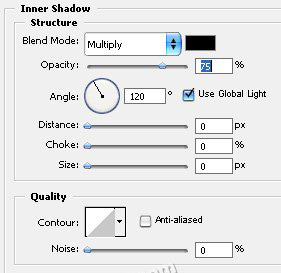
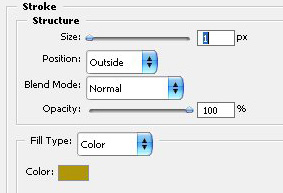
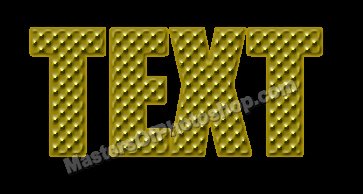
Double click the layer to open layer style window. Apply settings as shown.