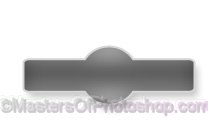
Create a rounded rectangle using rounded rectangle shape tool.
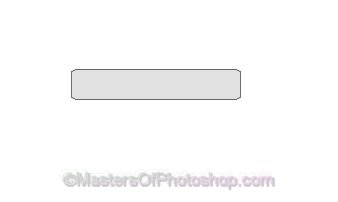
Enable "add to shape area" at the top bar. Create a circle using elliptical shape tool.

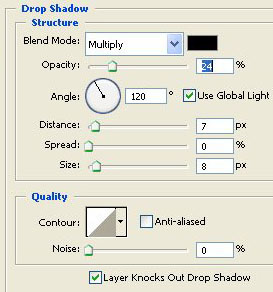
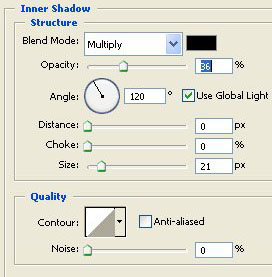
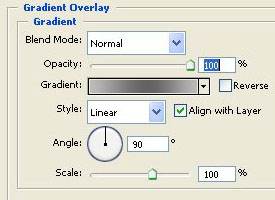
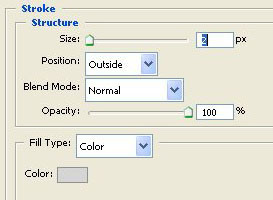
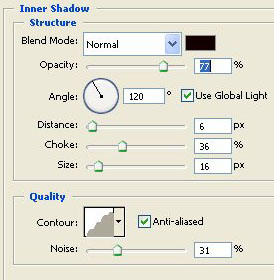
Double click the layer to open layer style window. Apply settings as shown.
Ctrl+Click the layer thumbnail to get the selection. Create a new layer and apply a black to white gradient.
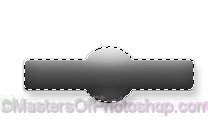
Duplicate the layer. move it a few pixels downward. Change the layer mode to "Overlay" and opacity to 30% from the layer palette.

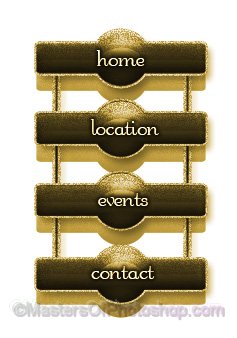
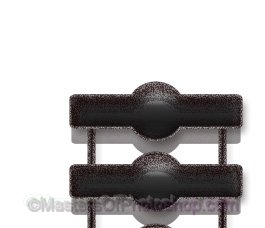
Select and duplicate all the button layers several times and place below each other. Create two vertical lines as shown.Apply same layer style.
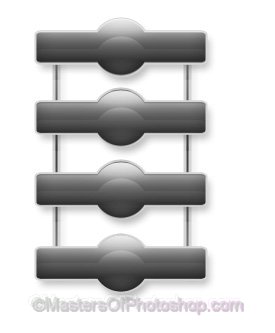
Select and merge all the layers. Duplicate the layer.

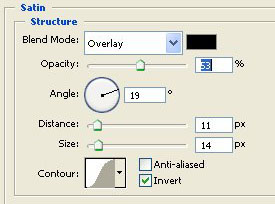
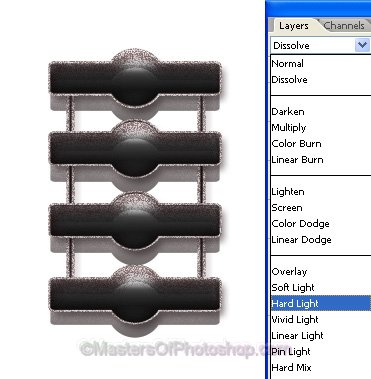
Double click the layer to open layer style window. Apply settings as shown.
Right click the layer and select create layers. Select and merge all the resulting layers.
Change the layer mode to "Hard Light " from the layer palette.
Type link names over the button. Apply some drop shadow.
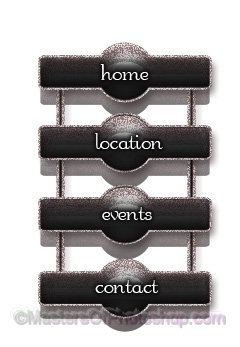
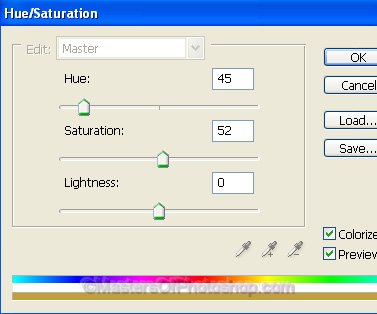
Press Ctrl+U to open Hue/Saturation window. Apply settings as shown.