Note: I prefer using Adobe ImageReady for all my pixel work as using Photoshop during several years; I am still using the integration of ImageReady tools and its interface. As ImageReady coincides at its basis with Photoshop for images with low resolution, it became an ideal method of development and adjustment of pixel images. Besides, ImageReady offers much more undo actions without any difficulties connected with palette history at Photoshop. Do not forget that all pixel images should be created with monitor resolution on 72DPI.
Surely you are not limited with ImageReady as Paint Shop Pro, Graphics Gale or even good old MSPaint fit pixel graphics properly, although PShop and PSP only allow using of layers which you can not manage without during large illustrations creation. But if you are just a beginner here, Microsoft Windows MSPaint is just the right choice for you. Adobe ImageReady is supposed for this lesson.
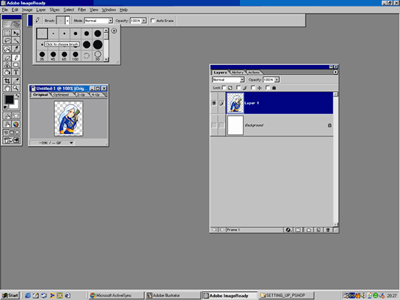
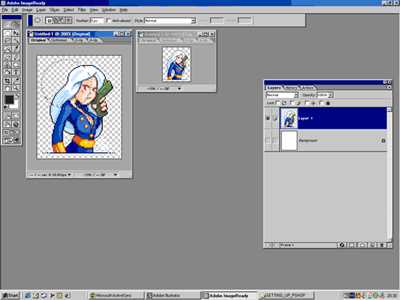
1. Open ImageReady and create the new document, choose Pencil Tool (hot key - N) and select the least size of the brush. This size presents one pixel. All the pictures you see at your monitor are created from these separate pixels. Try to like these tiny square pixels as you are to know much about them.
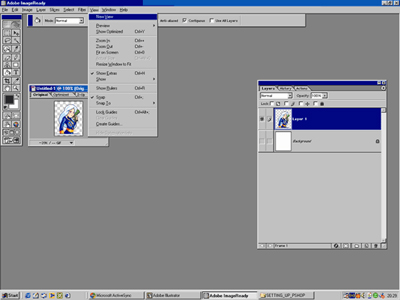
2. Very often while creating pixel image you will have to use zoom. Although it's very convenient viewing the image at its 100% size. So you should select your new document and then go to the menu View and then New View (new version of ImageReady it goes like Window - Documents - New window).
3. The result of these actions will be another view of your opened document. Place it near the main document where your oversized image.
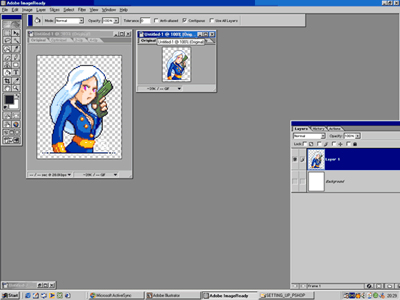
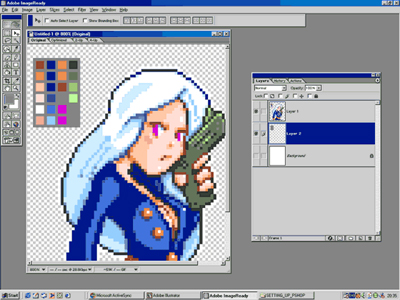
4. Before using Marquee tool (a tool of extraction of the necessary area of the image) in order to draw shapes, make sure that you have disabled the anti-aliasing function. Do not use the function of elimination of roughness outline while working with pixel graphics. Although manual smoothing of outlines is possible when you are working with small images relocated on the monitor separately from others.
5. It is also convenient creating the palette of colors which you are working with. Every time you use new color, place the small square of this color to the upper left corner of your document. It is an easy and convenient method to save the set of colors you are working with. So by pressing Eyedropper tool you will return to the selected colors.
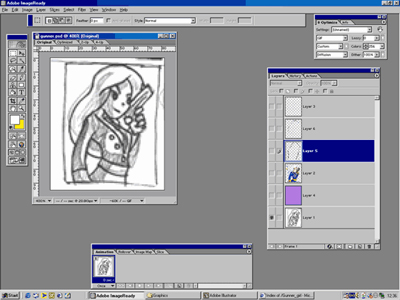
6. You will be able to concentrate on small final details by extending the image to large scale. Remember that you always have 100% scaled image and you are able to see it in its natural size. If something looks wrong than it might happen because of too much pixels using which overloads the space used. Pixel graphics differs from the traditional one as you are strongly limited with a definite number of squares which your image is created from. Sometimes it is of much importance where you have placed a pixel and where you have not.
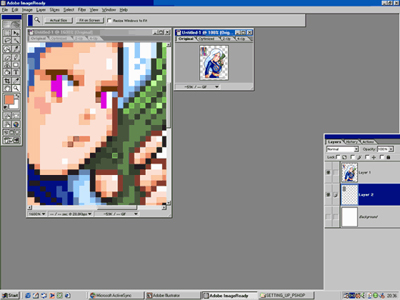
7. If you feel you need some instruction in order to create a pixel image, then you can work with a scanned picture. Scan a picture with a resolution 72 DPI and try to draw the original picture close by its size to the scanned sample. Thus you will slip less details during the conversion of the picture to the suitable size for pixel graphics. Most forms at video games were created with the help of sizes divisible by 8, i.e. 8x8, 16x16, 32x32, 64x64, most popular at pixel graphics. Certainly if you create a magazine illustration then you are not limited with such restrictions.