Step 1. Start off by making a new photoshop document with dimension of 740w x 500h and a dark blue background.

Zoom in to 300% magnification and then, using the elliptical marquee tool, create a light blue (71DBF1) circle on a new layer.

Make another circular selection slight down and right from the center.

Step 2. Set the foreground to 0FB2C9, the background to 0CA0C1 and then drag from the center, creating a subtle radial gradient.

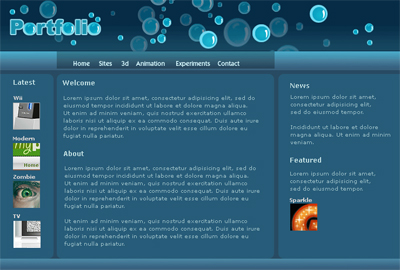
Step 3. Next, zoom in to 700% magnification, set the foreground to white, and then choose the pen too. Create a small curve.
Then drag the bottom segment of the directional line to the center.

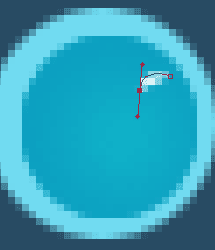
Create a 2nd curve, as shown in image.
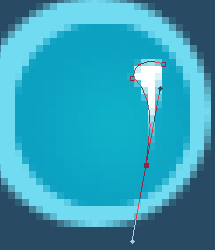
Step 4. Again, shorten the directional line, and then create the final curve.
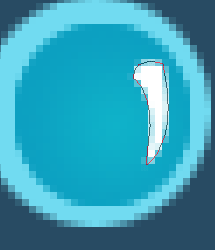
Zooming out, you should now have something like below

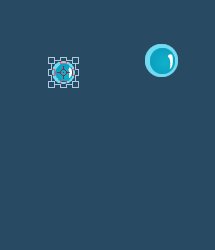
Step 5. Merge the white shape to the other bubble layers and then duplicate it. Resize the duplicate to about 70%, using the transform tool (edit > transform > scale).
Then make more duplicates dispersing them across the top of the layout and reducing the opacity of some of them to 50%.

Next make another duplicate of the original and then increase the size of it to 150%.
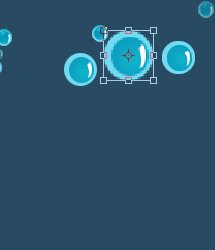
Step 6. Make duplicates of the large one, some with reduced opacity.

Step 7. Next, make a rectangular selection on a new layer, above the background but under the bubbles. Fill the layer with a very dark blue (062C46).
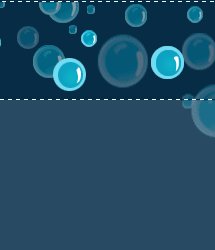
Make a rectangular selection on a new layer underneath the dark layer. Use the gradient tool to create a linear gradient, with 38617F for the foreground and 49A9C5 for the background.

Make a shorter grey rectangle.

Step 8. Set the blending mode of the grey rectangle to multiply, and you should end up with something like below.

Next, use the shape tool to create some rounded rectangles, with a radius of 10, for the content areas.

Step 9. Make another gradient filled rectangle, similar to the one below the header

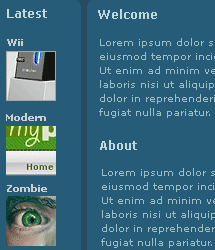
Step 10. Next, add some text of your choose for the menu items (I've used ITC Kabel for this tutorial).
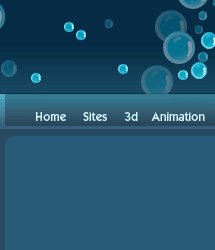
Then add your content (Verdana was used for this tutorial)
Step 11. To create the logo use a thick font such as Arial Black, with the color set to 1993AE.
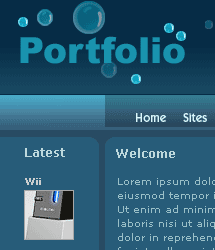
Make a selection of the text and then expand (select > modify > expand) it by 2 pixels. On a new layer below the text, fill the selection with 9CDFEE.
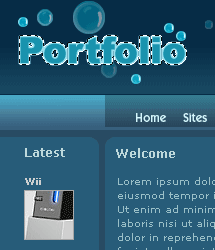
Step 12. Finally, add some bubbles where the O's are and that's the end of this Photoshop tutorial!