

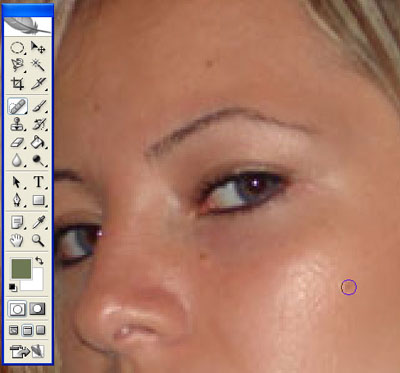
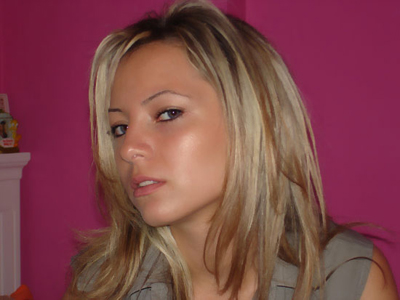
I've provided an image of a blond girl with the tutorial, but for sure, the techniques can be applied on any picture you want.

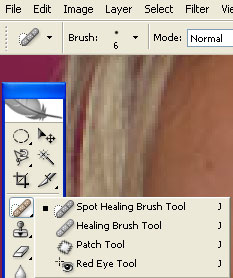
1. Let's get started by removing the blemishes. To do that, choose the "Spot Healing Brush Tool" from the toolbox.
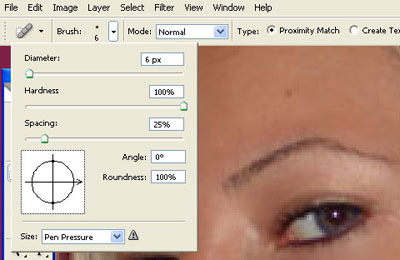
2. Decrease the brush diameter so that it fits the area you want to cover.
3. Move your mouse to the grain and click once with your mouse.
N.B: Sometimes you might need to do this more than once to get the desired result.
4. Repeat this procedure to cover all the grains of the face.

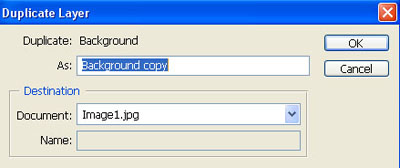
5. Now It's time to move to the skin. We need to duplicate the layer so that we have two copies of the image, one on top of the other. From the menu above, choose Layer -> Duplicate Layer.
6. A dialog box will appear, leave the default settings and click ok.
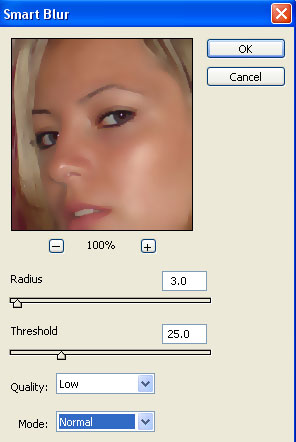
7. Now you will have two layers having the same Image. Select the new layer in the layers pallet, and choose Filter -> Bluer -> Smart Blur from the menu.
8. You can use the default settings but for this example I put the following:
Radius: 3.0
Threshold: 25.0
Quality: Low
Mode: Normal
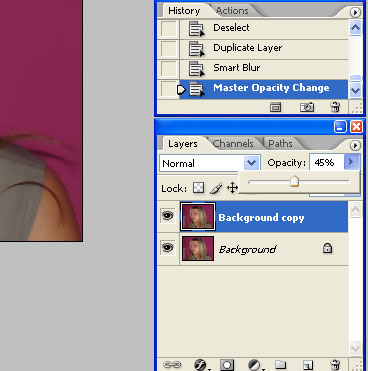
9. With the new layer select, change the Opacity to 45%.
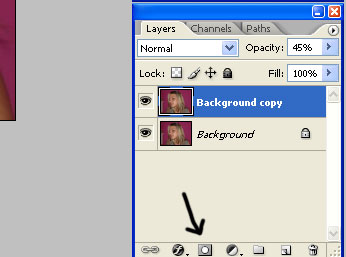
10. The image looks pretty lovely now, but you must keep in mind that The mouth and the eyes will look more nice if the blur doesn't cover them, to do this, select the top layer and click "Add Layer Mask" from the Layers Pallet.
11. From the toolbox, select your brush tool, and start brushing with black on the mouth.
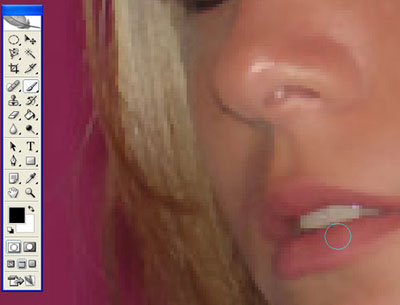
12. Once done, do the same thing on the two eyes. You will end up with something similar to the last image.
Pretty Simple, That's it .