


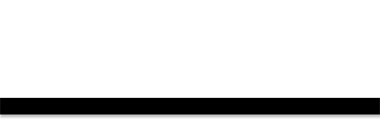
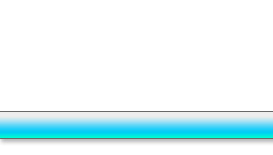
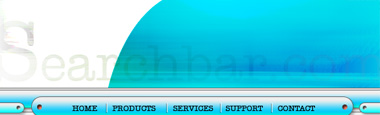
Create a rectangle using rectangular shape tool.
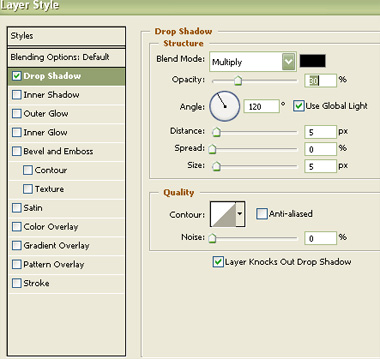
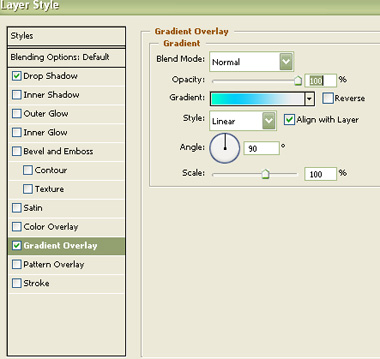
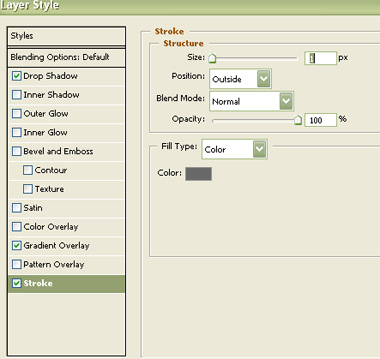
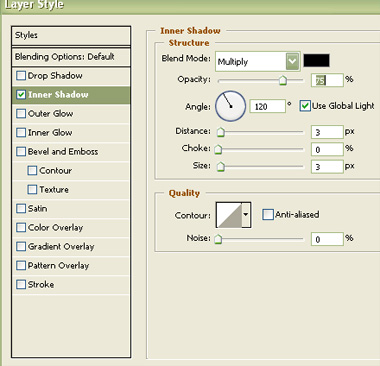
Double click the layer to open layer style window. Apply settings as shown.
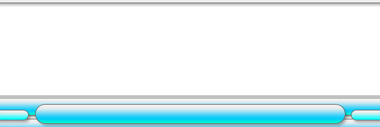
Duplicate the layer several times and place as shown in the image below. Duplicate the layer again. Remove gradient overlay layer style. Fill it with white color and move it to the top as shown.

Create some rounded rectangle using rounded rectangle shape tool. Apply same layer style.
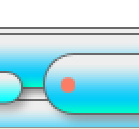
Create a circle using elliptical shape tool.
Double click the layer to open layer style window. Apply settings as shown.

Similarly create more circles and apply same layer style.

Create some divider lines using line tool. Type link names over the big rounded rectangles.

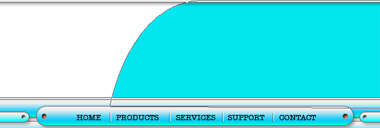
Create a shape as shown using pen tool. Move this layer below all the layers in layer order in layer palette.
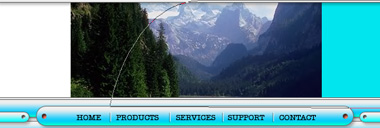
Insert any image and place it on the center.
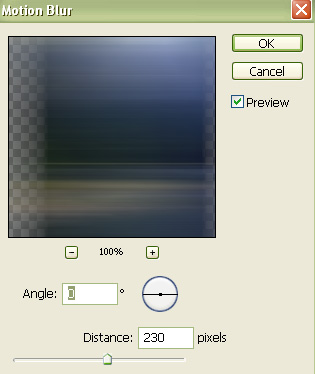
From "Filter" menu select "Blur>>Motion Blur ". Apply settings as shown.
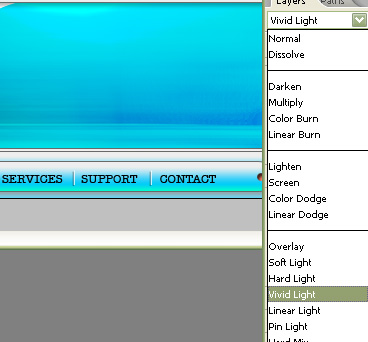
Change the layer mode to "Vivid Light".
Type "searchbar.com" in big size. Reduce the opacity to 10%.
Insert a magnifying glass cutout and place it on the right. Play around with layer modes.
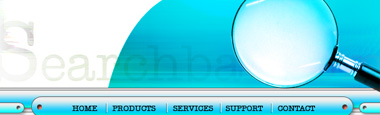
Duplicate the "search" text layer. Move this layer right above the magnifying glass layer in layer order in layer palette. Press Ctrl+Alt+G to create a clipping mask. Insert company name and place as shown.
