Create a new file (File>New) with 766x699 px and 72 dpi.
Choose after that the Rectangle Tool (U) to represent the background of the site's page to be next:

Apply the next layer's parameters by making a mouse's click on the corresponding layer on the layers' panel. Blending Options>Gradient Overlay
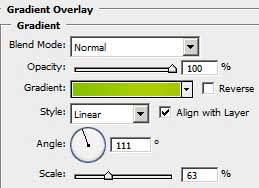
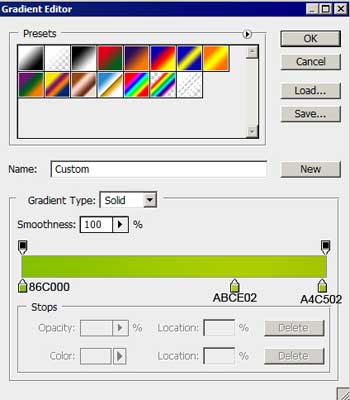
Gradient's parameters:

Create a new layer of 4x4 px and 72 dpi. Select then the Pencil Tool (B) to represent a pattern of white color.
![]()

Edit>Define Pattern
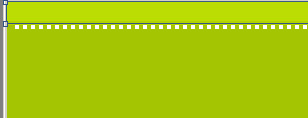
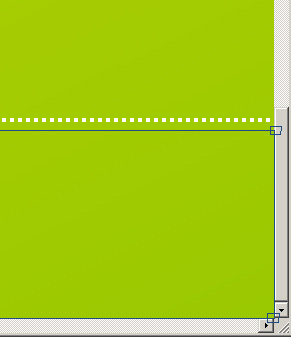
It's time to represent on the upper part of the background a thin stripe, applying the same Rectangle Tool (U).

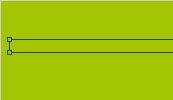
The layer's parameters: Fill 0%
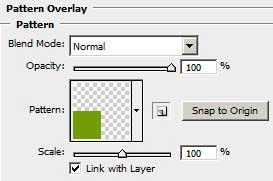
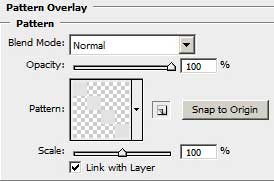
Blending Options>Pattern Overlay
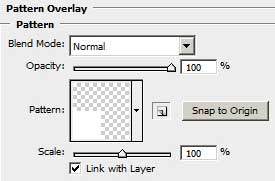
![]()

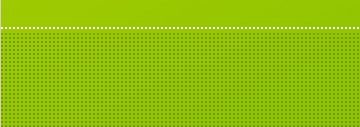
Using the same instrument above the made stripe, try to make another one, colored with #BBDD03

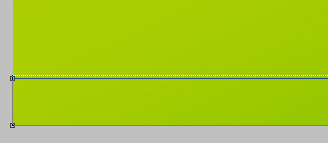
Make a copy of the earlier made stripe composed of white points and select the Free Transform option to place the copy on the bottom of the background.

the bottom break off.

Create another layer (Create new layer) of 4x4 px and 72 dpi and select again the Pencil Tool (B) to represent another pattern, colored with #729C06
![]()
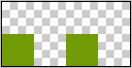
Save it: Edit>Define Pattern
Choose the Rectangle Tool (U) and try to make another larger stripe on the lowest part of the background, but lower than the copied stripe with white points.
The layer's parameters: Fill 0%
Blending Options>Pattern Overlay

Using the Pen Tool (P), try to make an ornament on the background, colored in #AAD500, which shape may be corrected with the Convert Point Tool.
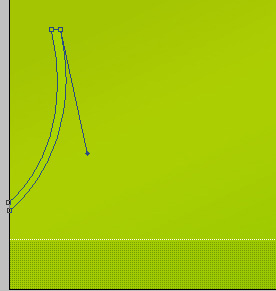
Do the same way one more ornament's element, colored with #AAD700
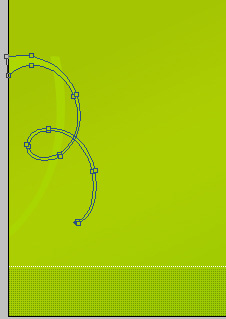
… And one more that must have the color #AECD01

Selecting the same instrument and the same color, it's possible to picture several more ornaments.

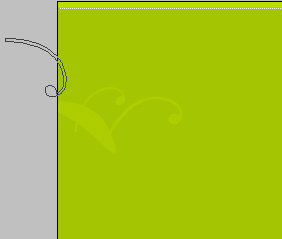
Make a copy of the last made layer and choose the Free Transform option to make the copy smaller and to place it the same way indicated below:

Make another copy of the same layer and select again the Free Transform option to place the copy exactly the way shown below.
Create one more new layer (Create new layer) and apply on it the Pencil Tool (B) and the color #E3E3E3 to represent another pattern:
![]()
Save it: Edit>Define Pattern
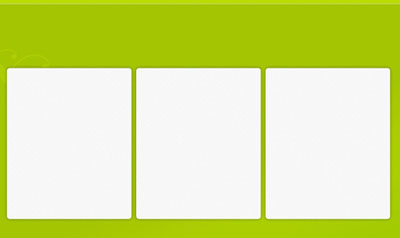
Now we'll select the Rounded Rectangle Tool (U) to represent the primary layer reserved for the site's section that must have the white color.
![]()
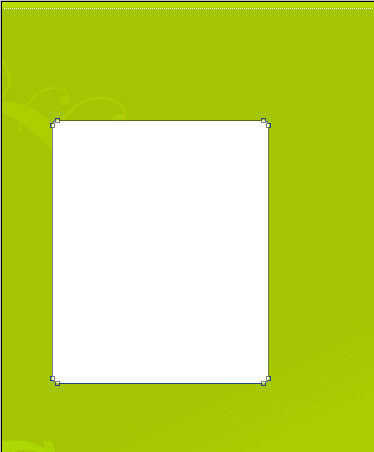
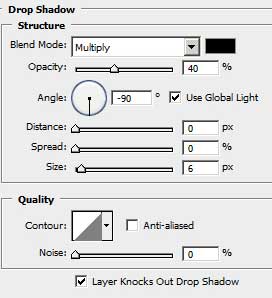
The layer's parameters: Blending Options>Drop Shadow
Blending Options>Pattern Overlay

Make two copies of the last made layer and apply the Free Transform option to place the copies the same way shown below:
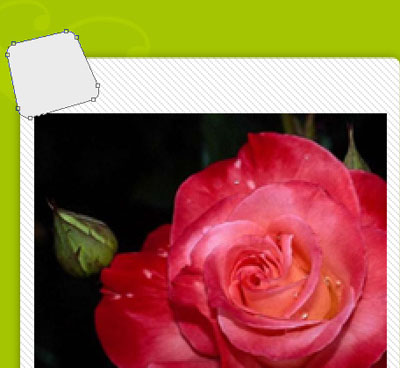
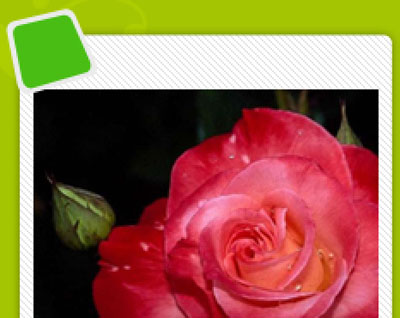
We need to insert in the recently made sections the corresponding pictures:

Using the Rounded Rectangle Tool (U), we must represent the primary layer reserved for site's section's number, colored with #EBEBEB. The shape may be corrected again with the usual instrument applied in these cases: Convert Point Tool.
![]()
Make a copy of the last made layer and choose Free Transform option for making the copy smaller, applying for the copy the color shown next: #49BD14
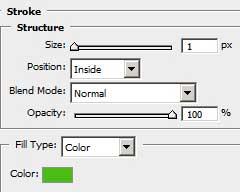
The layer's parameters: Blending Options>Stroke

Using the Rectangle Tool (U), try to make a highlight on the number's place. The color is #E3E3E3. We shall use also the Add Anchor Point Tool on the lowest part of the highlight. The shape may be corrected with the Convert Point Tool.
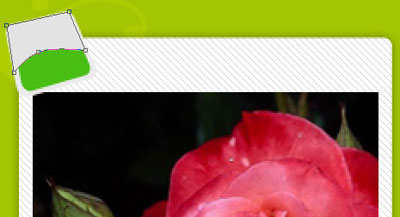
Keep pressed the Alt button to make a mouse's click between the highlight's layer and the green layer reserved for the number for the highlight to be applied in the limits of the number's green layer.
The layer's parameters: Fill 50%
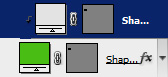

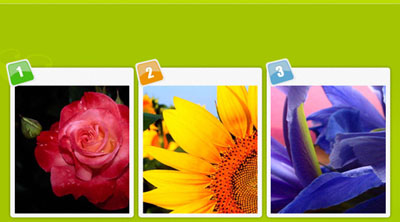
For the final result we need to Combine in a group all the layers composing the place reserved for the number (press on Ctrl button to mark out the necessary layers and keep pressed the left mouse's button to take the marked layers on Create a new group option). Make two copies of the last made group and select again the Free Transform option to place the copies in the appropriate site's sections. We need also to change the basic colors of the copies: the first copy - #ED9300; the second copy - #5EA9D1 (the color Blending Options>Stroke is the same with that one from the number's place color).

We need to number the site's sections, but the number should look a little inclined, that is possible to do with Free Transform option.
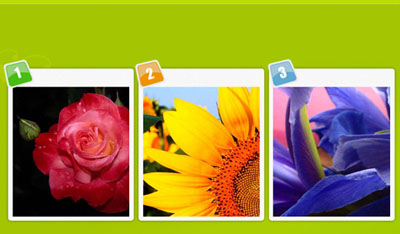
The numbers' layers' parameters are the same: Blending Options>Drop Shadow

Insert the site's title: