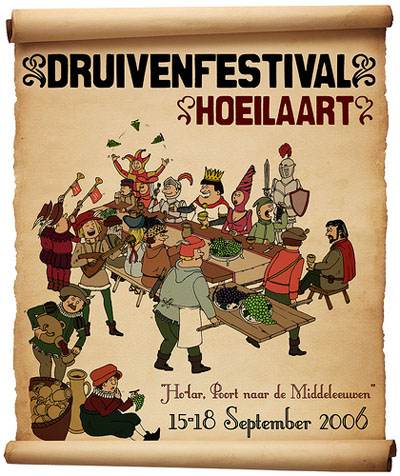
A few weeks ago, I created this poster (to be printed on A2 size in full-color) for a Belgian culture festival. Now I finally found some time to give you a walktrough of the proces! Read on:
1. I started with a drawing on A3 size, with pencil and ink, wich I scanned (in two times, because I can only scan A4-sized documents) into Photoshop.
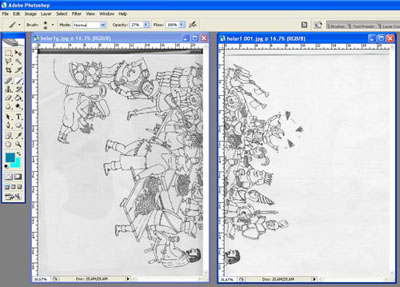
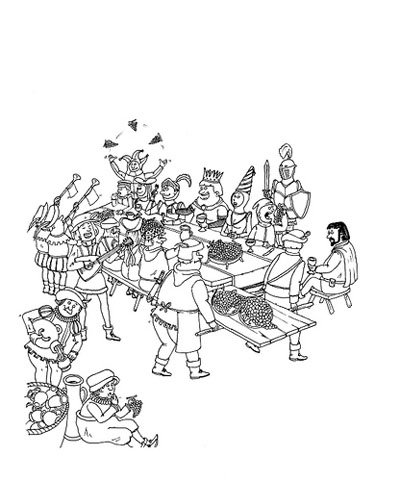
2. I put the pieces back together in a new file and merged the 2 layers (layer>merge layers). Then I adjusted the image>adjustments>brightness and contrast to make the background white (instead of light gray) and the lines black.
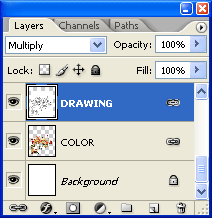
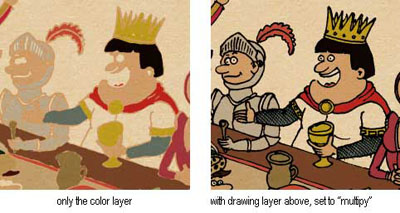
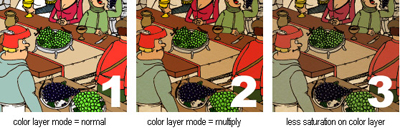
3. I set the blending mode of the drawing layer to "multiply" and inserted another layer underneath this one, called "color". In this new color-layer, I painted all the different colors with the brush-tool ("B"). Make sure to use a brush with a hard edge (not a soft one) and with opacity set to 100%.
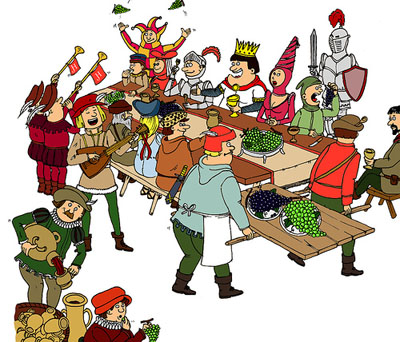
4. I added a parchment picture as a background (Medieval theme, remember). Picture comes from my number one picture provider SXC.
With the blending mode of the color-layer set to "multiply", this was the result:
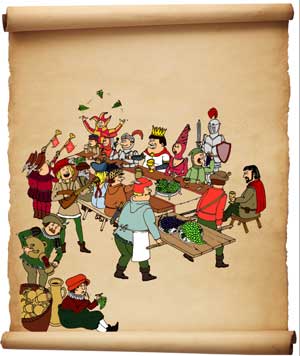
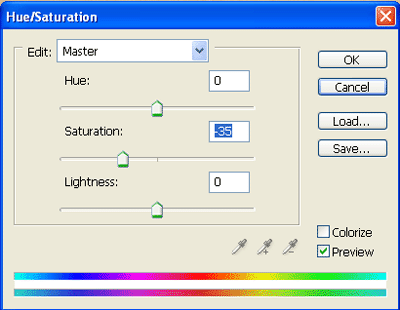
5. For an even more Middle Ages effect with a touch of decay, I lowered the saturation of the color layer. Press ctrl-U to pop-up the Hue/Saturation-window and slide "saturation" to -35.
6. In a final step, I added the text content. I used the fonts "Little lord Fontleroy" (subtext) and "Cancan de Bois" (main titling), both from DaFont.
This was the final result: