1. Create a new document (800*600).
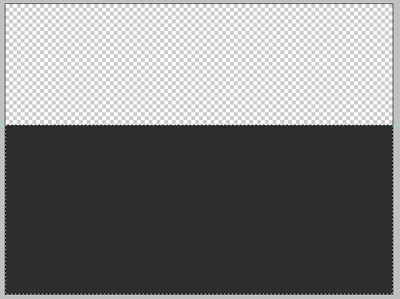
2. Fill the background with nothing (make sure it's transparent) and select a rectangle using your rectangular marquee tool like this and fill it with #2d2d2d!
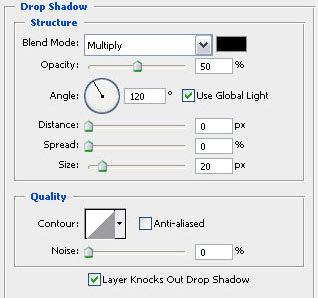
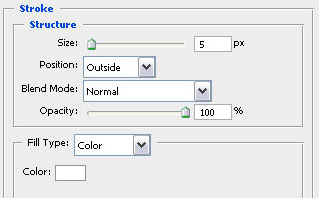
3. Now adjust the blending options of that layer and add a drop shadow and a stroke with the following settings!
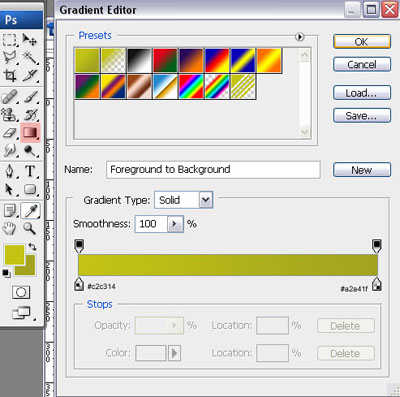
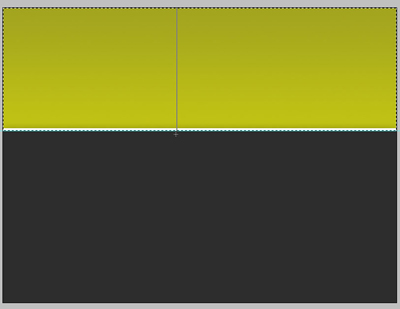
4. Now create a new layer (layer - new layer) and select a rectangle above the previous one like shown in the second screenshot and fill it with a gradient using the gradient tool using the settings shown in the first picture. Make sure you place it under the layer from step 2 because otherwise we won't see the shadow!
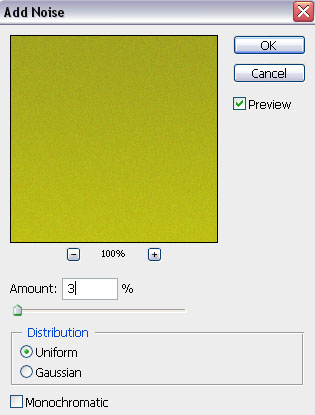
5. Now we're going to add some noise to the green gradient layer (filter - noise - add noise) and use these settings!
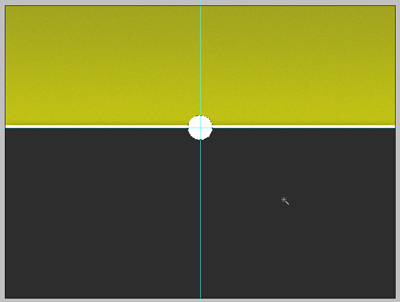
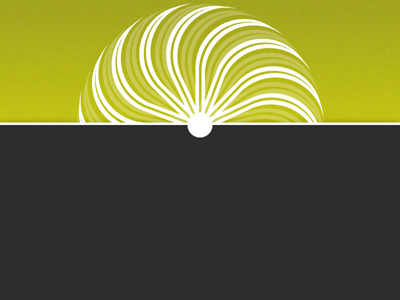
6. Change your foreground color to white #ffffff and use your elliptical marquee tool to select a round shape in the middle of everything which you need to fill up with white #ffffff using your paint bucket. Mine has a fixed size with a heigth of 50px and a width of 50px.
7. Create another new layer (you know how) and select a good looking brush! We will now use some brushes on the header of this design to make it more interesting… I don't know which brush I used but if you go to deviantart and look for vector brushes I'm sure you'll find a good one! this is what I came up with…
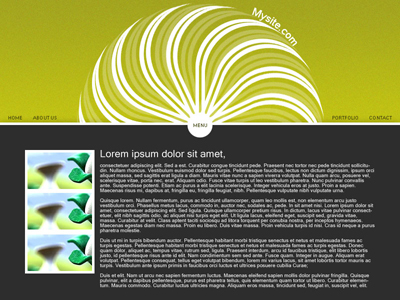
8. Now it's just time to add some text! Use your horizontal type tool and start typing! The menu text is in #414006 with a size of 9px, microsoft sans serif… The content text uses the same font and size but just the color white #ffffff! I've also added an image to fill it up a little bit! And this is what we've just created!