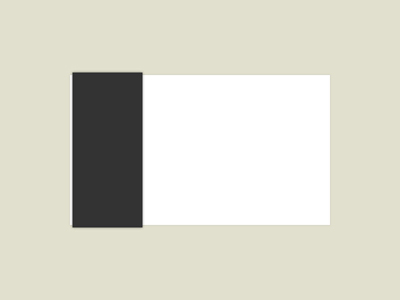
1. Create a new document (800*600).
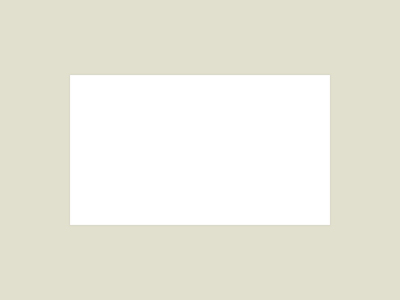
2. Fill the background with #e1e0ce using the paint bucket tool.
3. Now create a new layer (layer - new layer) and select a rectangle shaped box in the middle and fill it with white #ffffff.

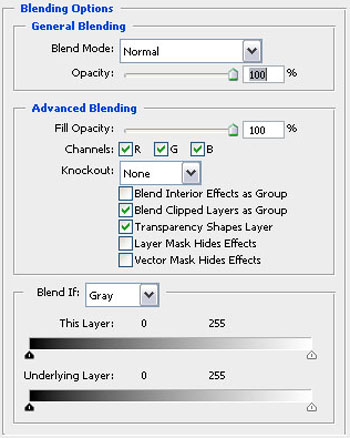
4. Adjust the blending options of the layer and add a drop shadow with the following settings to give it a smoother look so it can blend in with the background.

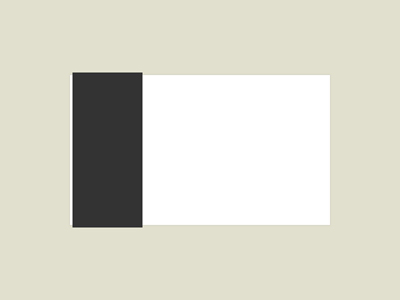
5. Now create another new layer (layer - new layer) and select a rectangle shaped box on the left of your previous content box and fill it with grey #333333. We are going to add a drop shadow again in the blending options but this time it will be a darker shadow with these settings!
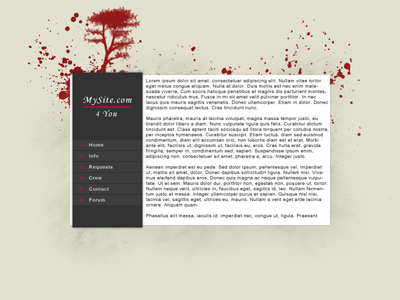
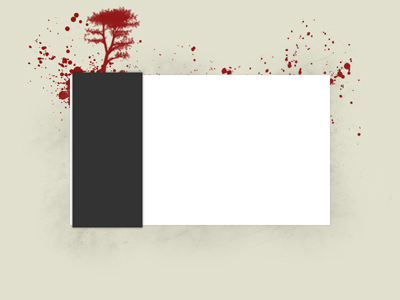
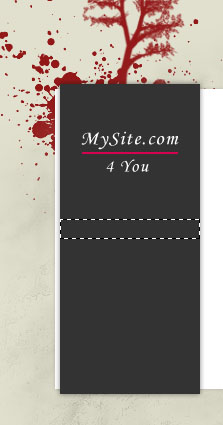
6. This next step is totally up to you, my finished work looks like the picture you can find under this sixth step but yours can be totally different! I created a few new layers just above the background layer and used some brushes to make it look more interesting for the visitors! The color used for the splats and drips is #921818 and for the soft grunge on the background a color like this #d5d4c3! These values can be different and can be adjusted just the way you like them! I ended up with this (the tree is a little extra thing colored in #921919, you can add anything you like to use it as a logo)!
7. Step number 6 wasn't an easy one, but that's how you learn to improvise and do your own thing! Anyway, in this step we're going to add a title and a slogan to the grey (almost black) box on the left! Take your text tool and start typing in white #ffffff (the font I used is called monotype corsiva).
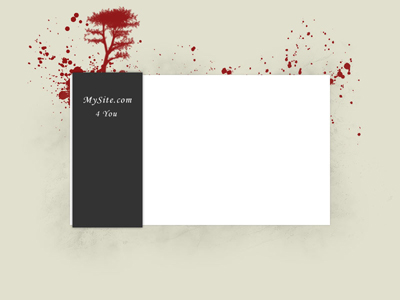
8. To grab the attention of the viewers we're going to add a little red stroke under your title like this! Use your rectangular marquee tool to select it on a new layer (in my example the stroke has a height of 2px) and fill it with #d40351 using your paint bucket tool!
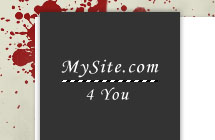
9. In this final step we're going to add some menu bars to the dark grey box on the left so the visitors can navigate your site! First of all you should create a new layer (layer - new layer) Select your rectangular marquee tool again and select a box like this (mine has a height of 20px but if you want bigger ones or smaller ones you'll have to experiment a little bit with the rest of your layout)! Then fill the selection with #3d3d3d and start duplicating that layer a few times!
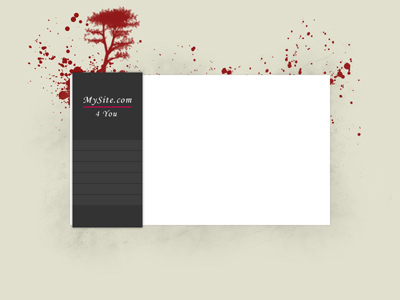
10. Of course, a menu is not complete without text! You can add the text in html of course but in this tutorial we'll just add it with the horizontal type tool! The font is called kartika and the numbers are in #dc0c59, the rest of the text is just white #ffffff.