

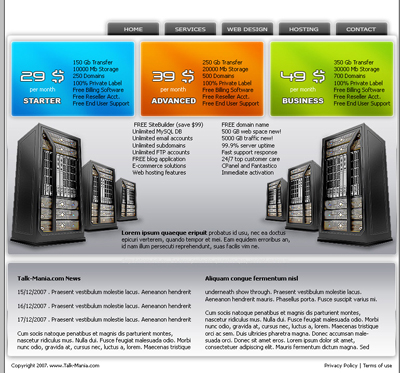
I will create another web hosting tutorial. in this tutorial i will use the last 3D server i have created in tutorial number 140
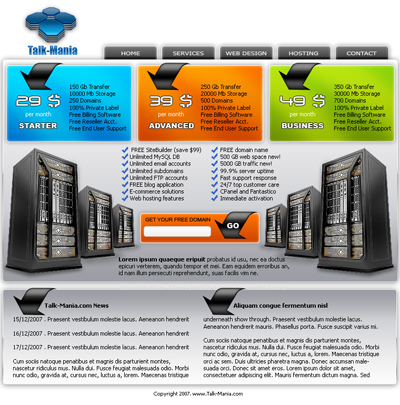
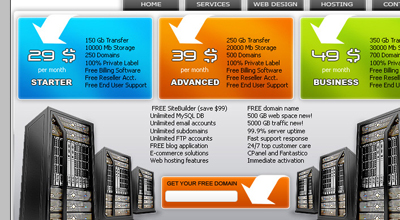
This is my final result. You can download the following PSD layout to see better how you it's done.
Now i will show you how simple you can create this layout
Let's start with a new document
Size 760x770 pixels
Background color : white
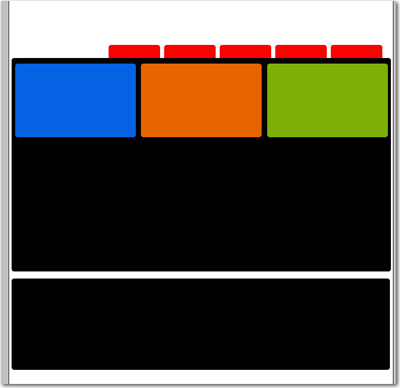
Select Rounded rectangle tool ( set the radius to 5 pixels ) and create a few shapes. i will use different colors, so you can see better what i am doing
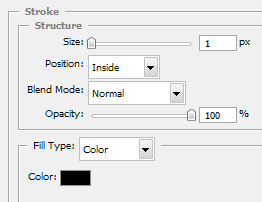
Now for the red shapes ( our buttons ) please add the following layer styles
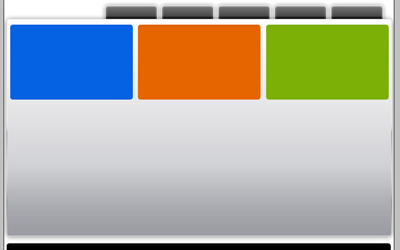
After i have applied the same layer style for all buttons here is my result

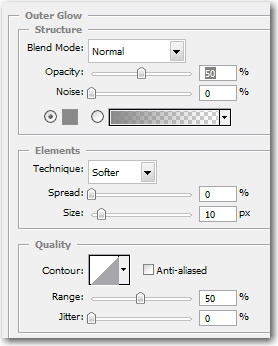
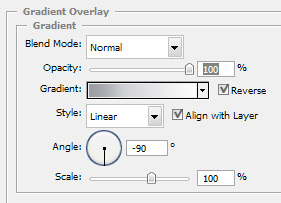
Now select the big black shape, and add the following layer styles
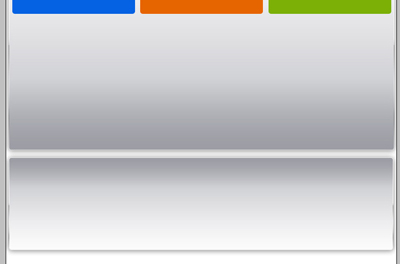
This is my result
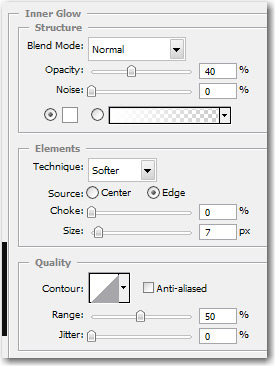
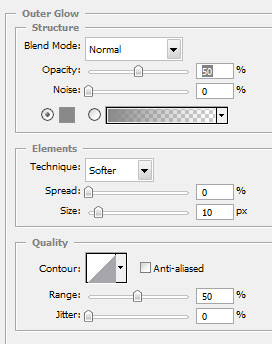
Now for the other black shape add the following layer styles
This is my result
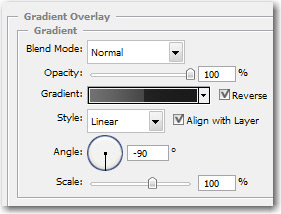
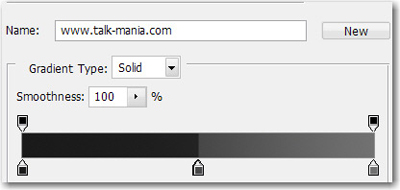
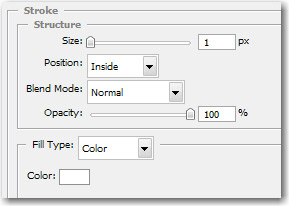
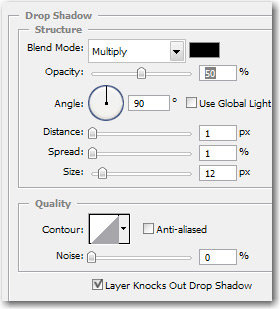
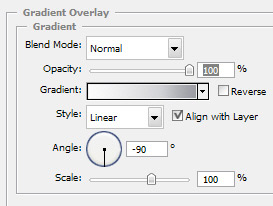
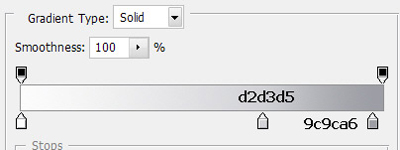
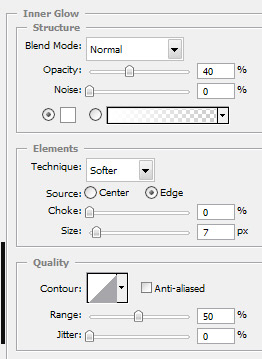
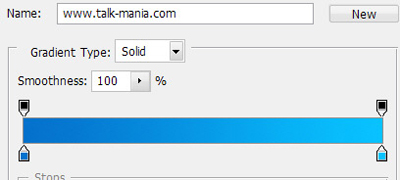
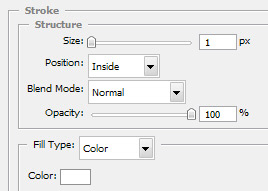
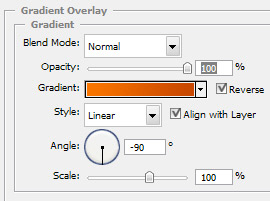
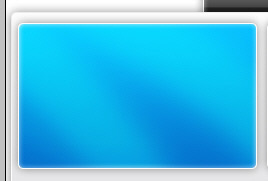
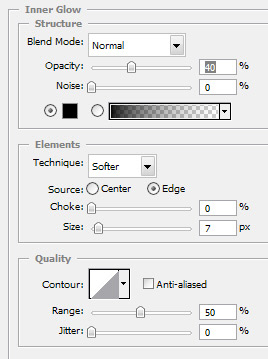
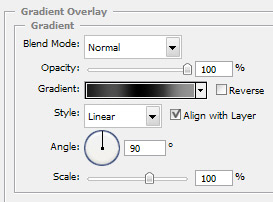
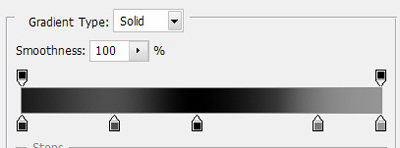
Now let's add a layer style for the blue shape

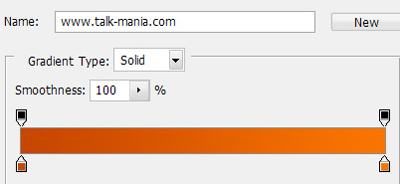
Now for the orange shape add the following layer styles
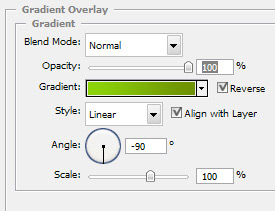
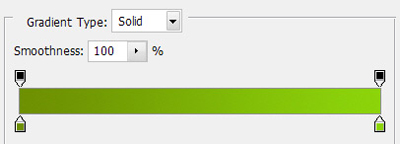
Now for the green shape add the following layer styles
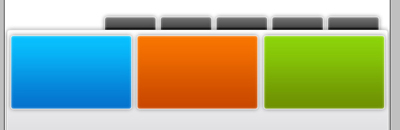
This is my result
Now select the Blue shape layer.Hold down Ctrl key from your keyboard, and with your mouse click on the layer thumbnail.
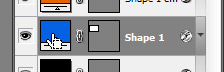
You can see that your blue layer is selected.
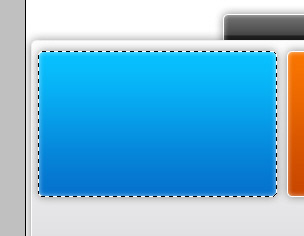
Now create a new layer right above the blue layer. You can create the layer if you press Ctrl+Shift+Alt+N .
After you have created the layer, select Brush tool, and with a round brush ( Airbrush Soft round ) create some random lines on the new layer.
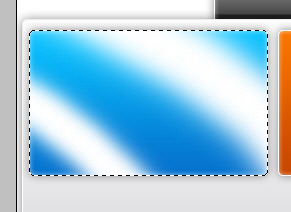
Now for this new layer change the blending mode to " overlay " and then reduce the opacity to 40%
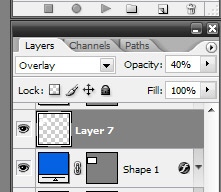
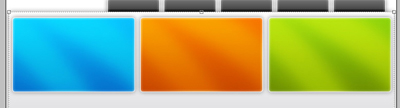
Press Ctrl+D to deselect, and then you should have something like me
Be sure you have this layer selected , then press Ctrl+J ( this action will duplicate the layer )
With Move tool place the layer over the orange layer,
You can duplicate this layer 2 times, so you can place also one over the green layer
This is my result
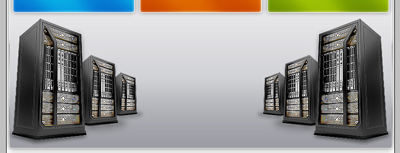
Now it is time to add some images on this layout. i will add the 3D servers i have created in our previous tutorial.
Now i will add some text with Text tool
Between servers i will create another shape

Please load some brush arrows and add the following arrows on our layout
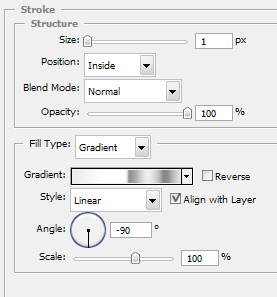
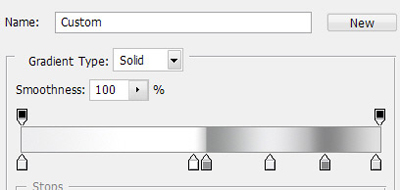
For this arrows please add the following layer styles
This is my result

Add a logo.
I hope you like it.