I will create another game layout, with more details.
For this you need to download the following image because we will create a pattern

Open in this image in photoshop, then go to Edit > define pattern
Then create another document
Size : 760 X 770 pixels
Background color: white
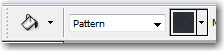
Select paint Bucket tool, select the pattern you have created above
Then press one time on your canvas
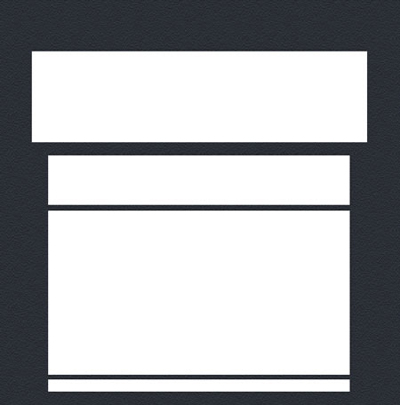
Select Rectangle tool, and create some rectangles
Now it is time to download one layer style for attachment area.
For this you need 10 posts. in case you create duplicated posts your account will be banned ( also your IP and e-mail ) for life
Please do not spam !!!
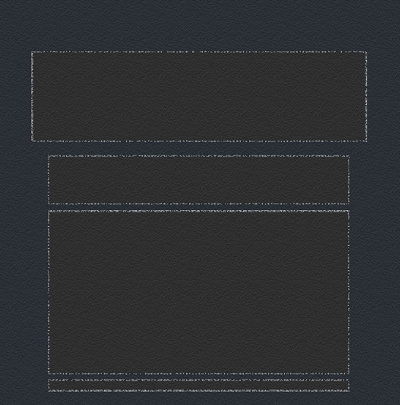
Load the layer style into photoshop and apply the same layer style for all shapes
Now comes the funny part. Almost all layouts have details. I recommend you to add as many details you can, In this way your game templates will look 100 times better
So please create a new document with a gray color, or black if you want.
The size of this document can be 300 X 300 pixels
Now create a new shape with rounded rectangle tool ( set the radius size to 30 pixels )

Rasterize this layer ( layer > Rasterize > Shape )
Zoom this document to 400 %
Select Rectangular Marquee Tool and make a selection on your shape
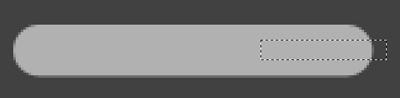
Then be sure you have this layer selected and press " Delete on your keyboard "
Then Press Ctrl+D to deselect
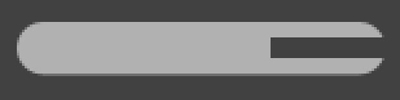
With the same technique delete another parts of the shape
My result
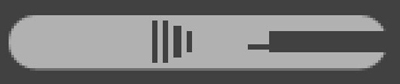
Select Polygonal Lasso Tool and make the following selection
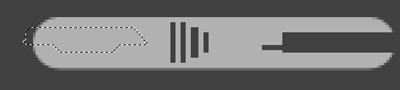
Then hit Delete on your keyboard

Select Rounded Rectangle tool, and create some shapes ( place this layer shapes above the background layer> You can notice that i have used different colors for each layer so you can see better how many layers i have created

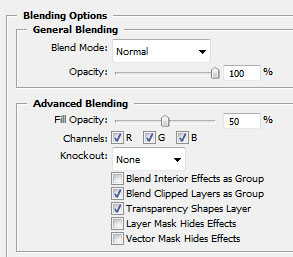
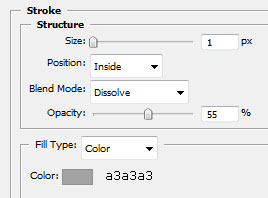
Now for all this layers add the following layer style

I will zoom out to 100 % and you can see my result

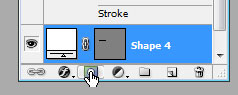
Select Line Tool ( set the weight to 1 pixel ) and create one line with White color

Press on " Add layer mask Button "
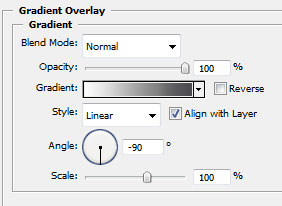
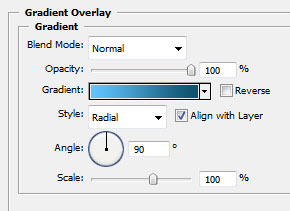
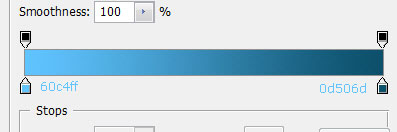
Select Gradient Tool
Use the following settings:

Then make a small line from right to left ( follow the red arrow )
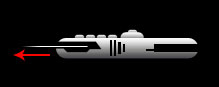
Duplicate this line a few times and place it like me

Select ellipse tool , and make a small circle
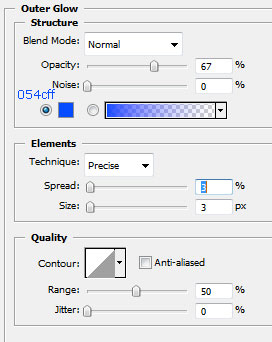
For this circle please add the following layer styles
This is my result

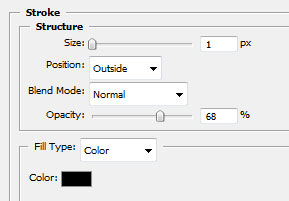
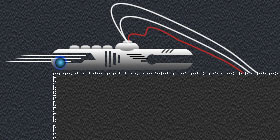
Select line tool ( set the weight to 1 pixel ) and create another lines with a black or dark color

Select Pen Tool , use the following settings :
![]()
Create a new layer ( press Ctrl+Shift+Alt+N )
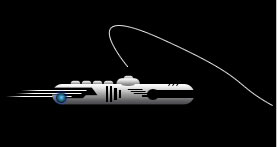
And start creating a path with Pen Tool ( a great tool )
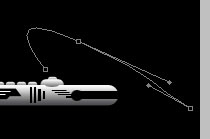
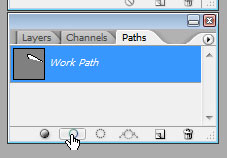
Set the foreground color to White, Select a 1 pixel brush , then go to Path palette.
Note: Brush tool must be selected
And press on the " Stroke path with Brush "
This is my result
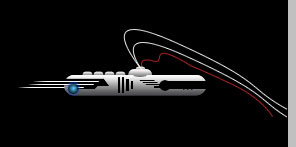
If you want you can add more wires
Now select all the layers, ( without background layer ) and press Ctrl+E
This will merge all the layers into a single one
Drag this layer on your layout and place it like me
Duplicate this layer a few times , rotate the layer or you can flip and place it where do you think it looks nicer
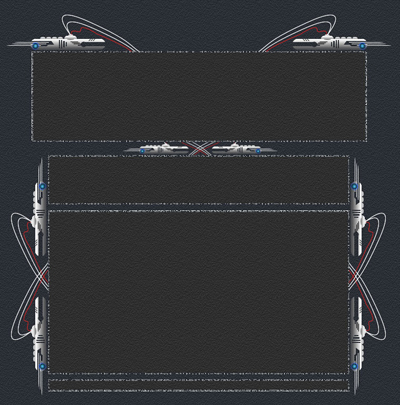
Now create another rectangles on your layout. You can add also some images if you want
For all this rectangles add the same layer style
This is my result
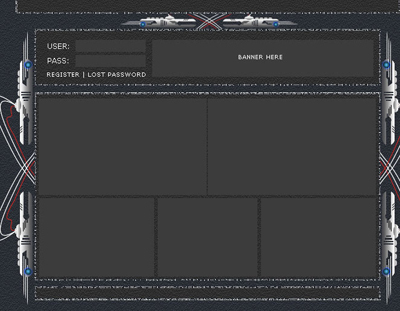
Now you can add alone some text and some images. Or you can download some free logos from www.free-photoshop.com
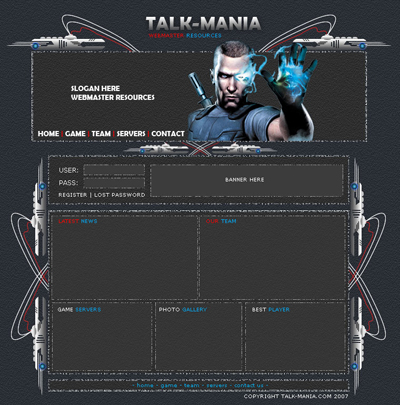
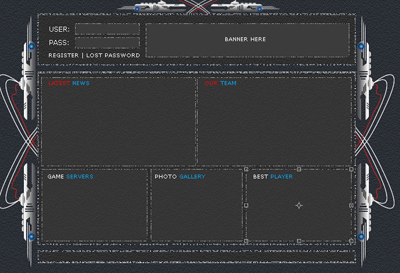
This is my final result
I hope you like it.