


I will show you a very nice technique to create 3D servers

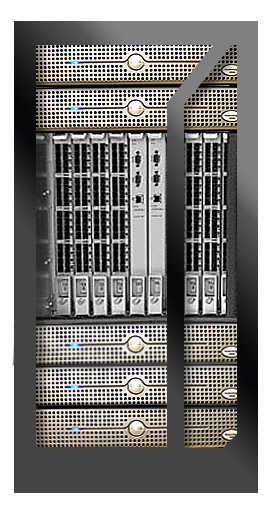
Or you can see another variation:

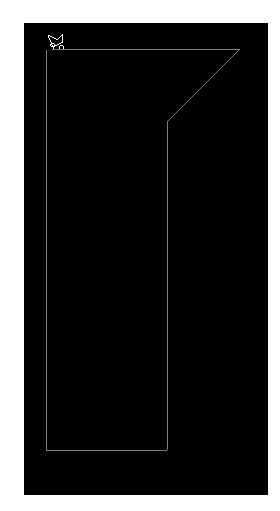
Start with a new document. Size 600x600 Pixels with a white background
Select Rectangle tool and create 2 shapes

Then rasterize this layers
Layer > rasterize > shape
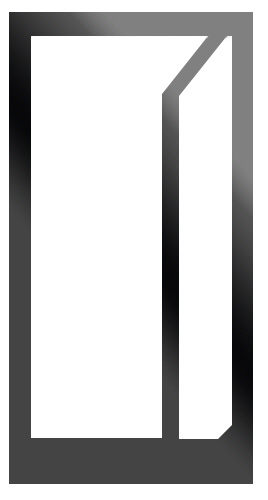
Select Polygonal Lasso Tool and make a selection like mine
Then Hit Delete on your Keyboard
Press Ctrl+D to deselect

With The same tool ( Polygonal lasso Tool, and create a selection like mine )
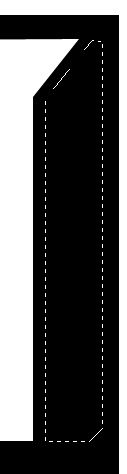
After you create this selection , hit the Delete key from your keyboard, and do not forget to press Ctrl+D to deselect
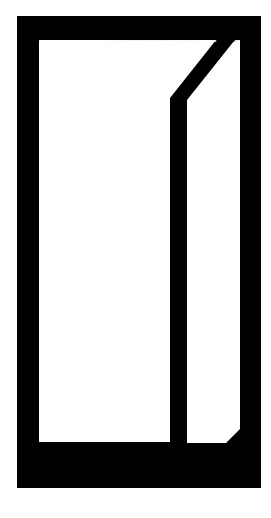
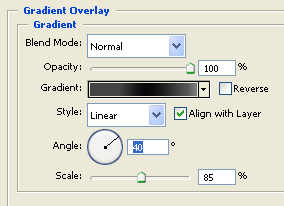
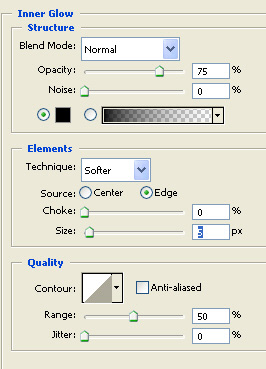
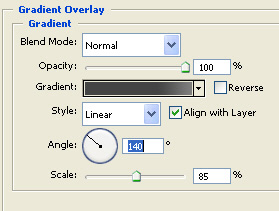
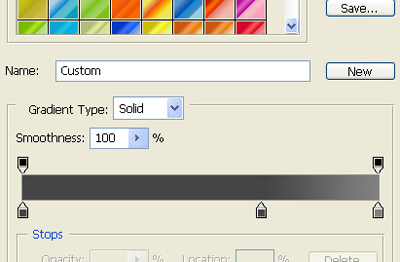
Now apply the following layer styles for this layer
This is my result
Now please download the attachment from this thread ( you can find it at the end of this thread )
Inside this package you can find a photo with some servers. open this servers in photoshop, and place this servers like me
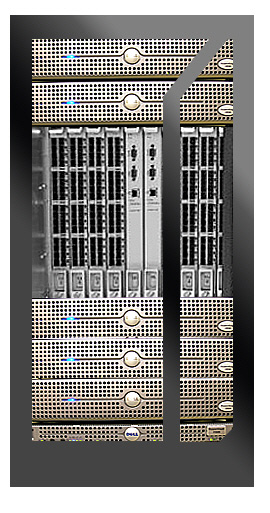
Be sure you place this rack servers right above the background layer
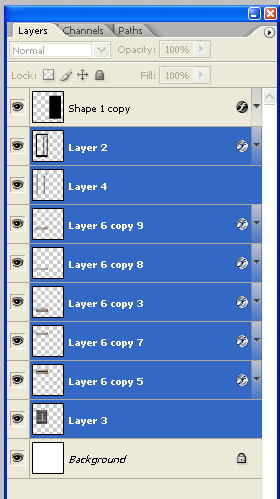
In the attachment you will find only one server. please duplicate this layer a few times ( to duplicate a layer be sure you have the layer selected , then press Ctrl+J )
I have used also another images with a switch. feel free to experiment with different images
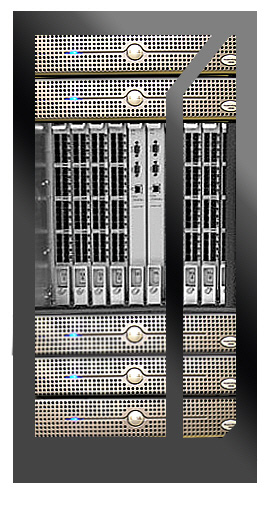
Now for all this server layers please add the following layer styles
This is my result
Create a new layer on top of all layers ( press Ctrl+Shift+Alt+N)
Select Brush Tool ( soft round brush - 21 pixels )
On the new layer create the following drawing
Drag this layer aright above the servers, and lower the opacity for this layer to 30-40 %
Now for the right side of the server please add the following layer style
This is my result

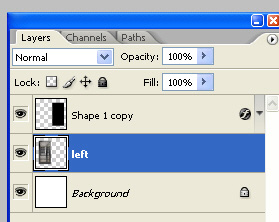
Now let's merge all the layers except the layer you have already applied an gradient style.
To merge the layers into a single one, please select the layers in your layer palette, then press Ctrl+E
Then you can see the merged files
Now it comes the best part.
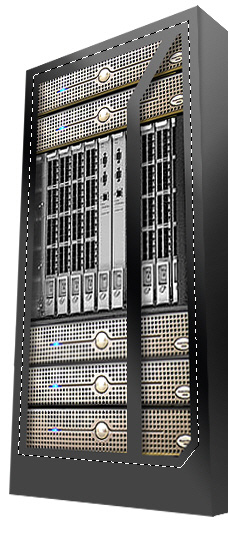
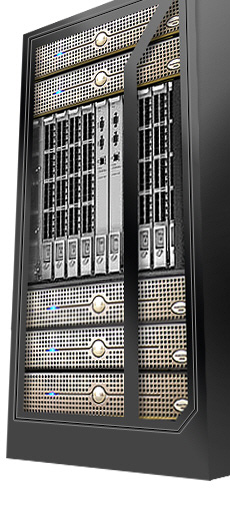
Select the left part of the server ( the one with servers ) and go to Edit > Transform > Distort
Move the corners of the server until you have the following result

Create a new layer, then select Polygonal Lasso Tool, and create the following selection
Then go to Edit > stroke ,and use the following settings
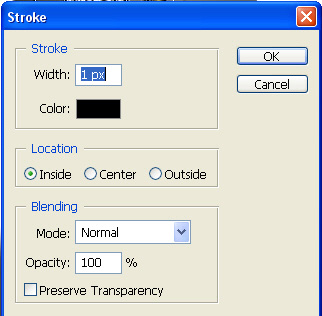
Now go to Select > modify > contract and select Contract by 1 pixel
Again go to Edit Stroke and use the following settings
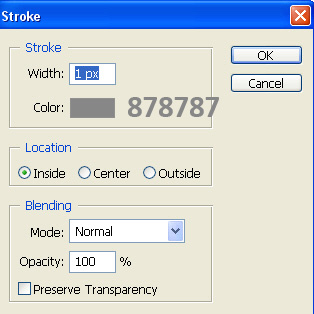
Now go one more time at Select > modify > expand , and chose Expand by 3 pixels
Go to Edit > stroke for the last time and use the following settings
This is my result, after i click Ctrl+D to deselect
With the same technique you can add the same details for the right side of the server

The server looks good but not good enough
Please create a new layer, then with brush tool do the following lines
Then change the layer blending mode to Overlay

With Pen tool , create the following shape

For this shape add a simple layer style. maybe a drop shadow and some gradients
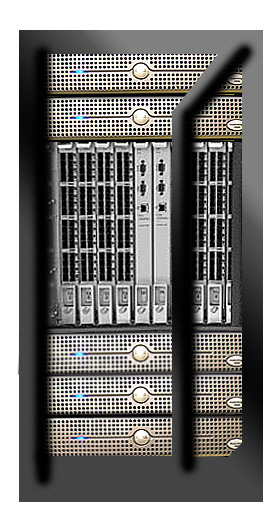
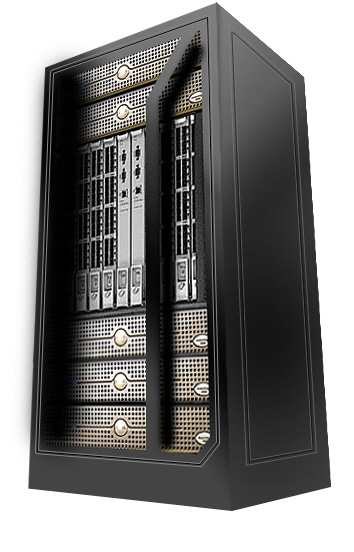
This is my final result
And a small variation, after i have created some clones
I hope you like it. It will be nice to see some other types of servers