In this tutorial we will show you how you can control highlights and shadows in your photograph using Adobe Photoshop's shadow/highlight tool which is a really good tool for showing detail that's been hidden by too much darkness or brightness.

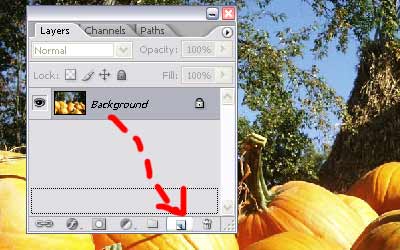
Step1: After opening your photo with photoshop, you will need to copy the background by choosing duplicate layer (layer>duplicate layer) or by dragging your background layer to 'create new layer' button in your layer palette
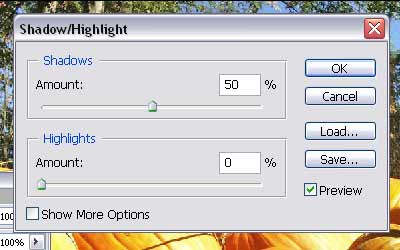
Step2: Click on your 'background copy' layer, then go to shadow/highlight adjustments (image>adjustments>shadow/highlight).
If you see an intimidating number of options, you can uncheck "Show More Options" at the bottom of the palette.
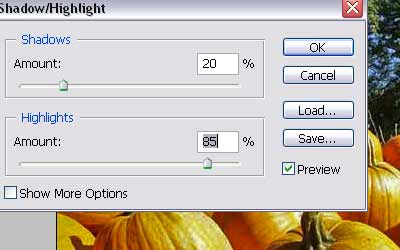
Step3: Now playing around with the slider in this tool as the default settings of this tool are aimed at repairing backlit images, but for most situations those numbers will probably seem like way too much fixing. In my case I enter 20% for the shadow and 85% for the highlight
Here's my before and after image: