


We're going to make a picture like this:

into this:

with some simple steps in photoshop..
We're starting off by 'drawing' the ray of lights..
1. Create a new layer (shift+ctrl+N) and give it a proper name
2. Choose the lasso tool or the pen tool
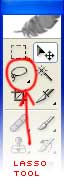
3. Draw the ray of light just like the image below..

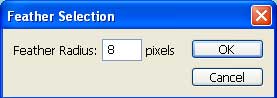
4. While you still have the selection, we're going to use feather (select>feather) or (Alt+ctrl+D) to softened the edge. Enter your feather radius, in this case I'll be using 8 pixels.
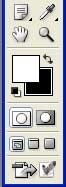
5. Choose white for your foreground color (D>X)
6. Choose paint bucket tool
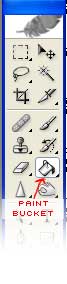
7. Fill the selection are with white (alt+del), and here's your first light.
8. Unselect your selection (Ctrl+D)
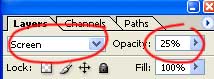
9. Change the layer mode to 'screen' and change its opacity to 25%
10. Redo steps 2-9 to create the other lights
11. Duplicate your layer, give it a proper name.
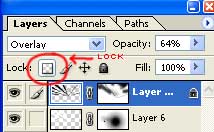
12. Lock your new layer
13. Change the foreground color to black (D)
14. Fill the new layer with black (alt+D)
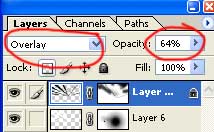
15. Change the new layer mode to overlay, and change the opacity to 64%
16. Rotate your new layer a bit by choosing edit>transform>rotate
and that's it.
If you need to delete some part your new ray of lights, you might want to use the layer mask.
Here's again the final result.