
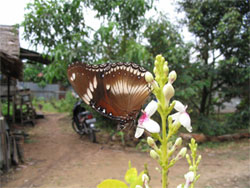
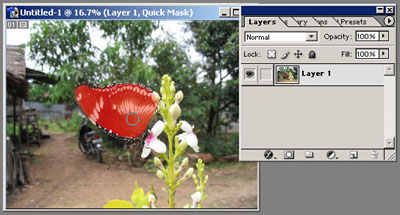
Using the photo example below, we will learn how to create the DOF to eliminate the background and make the butterfly and the flower stand out.
Before:
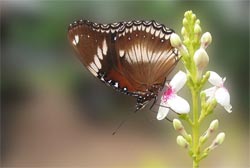
After:
1. Load your file, by clicking on file>open
2. We're going to edit the photo in quick-mask mode. Do this by clicking on the quick-mask mode button in your palette.
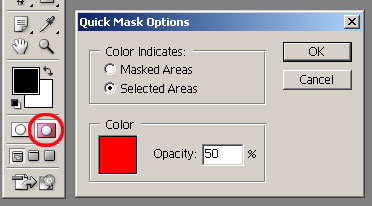
Choose "selected areas" and change the opacity to 50%
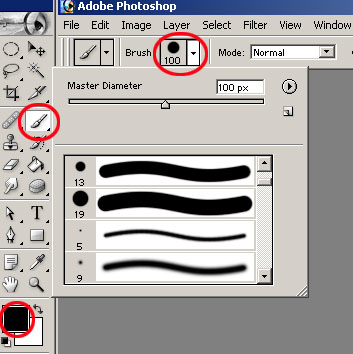
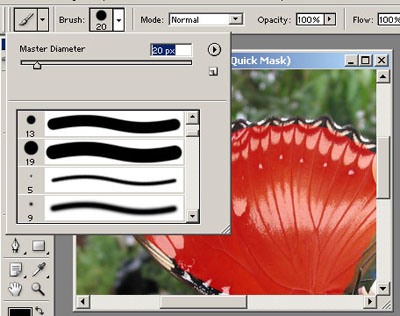
3. Click your brush tool, choose black as your foreground color, change the brush size with the one that you're most suitable with..In this case, I chose 100 pixel
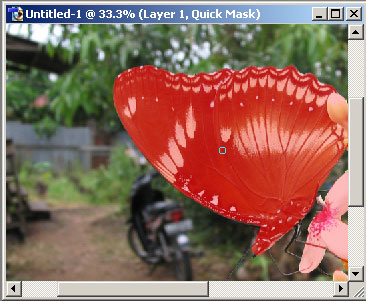
4. Start using your brush to 'mask' your butterfly & flower.
5. You're going to need to change your brush size to mask every detail in the butterfly and the flower.
6. When you're finish with masking work, change the masking mode to standard mode by clicking the edit in standard mode button in your palette.

7. Duplicate your layer,
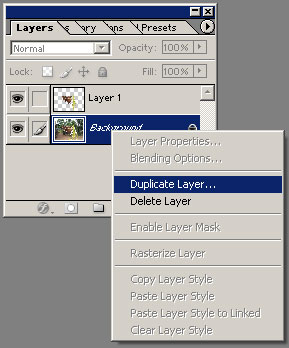
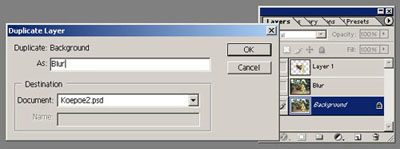
change the layer name to 'blur'
8. Apply 'gaussian filter' or 'lens blur' to your blur layer.
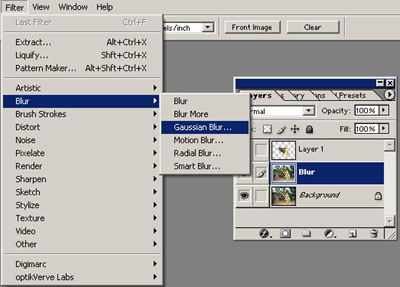
Play with the radius for better result.
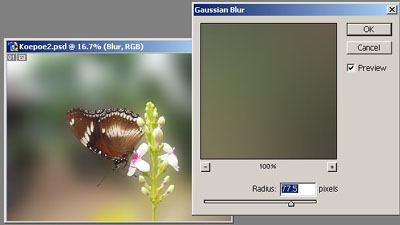
Here's mine as you've seen it at the top page of this tutorial..