

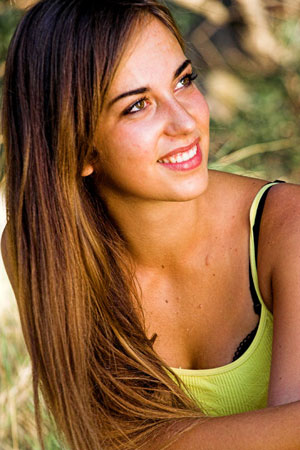
Step 1. Open our photo; image taken from www.ile85.com.
Step 2. Copy "background" layer (Ctrl + J) and call this new one "face".
Step 3. Pick Spot Healing Brush tool

and remove those moles on her body and arms. You can use it also to remove any irregularities on her face also. Use Patch Tool for those areas below her eyes.

Now we have finished with corrections of the skin.
Step 4. Now go to Create new adjustment layer and select Channel Mixer. Set values for red, green and blue as I did.

Step 5. Now click on "face" layer and press Alt + Ctrl + Shift + ~. In this way you select all the highlighted areas of photo. With selection active go to the Create new adjustment layer and select Color Fill and for color enter this value #bc8f23. Set Blending mode of this layer to be Hue.
Step 6. Create new adjustment layer and select Brightness/Contrast and set these values.
Step 7. Create new adjustment layer and select Color balance and set these values as I did.

Here is the final photo:
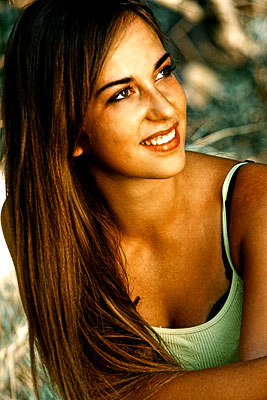
See you!