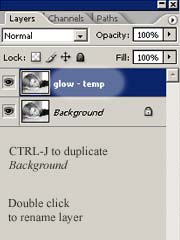
Duplicate the background. Press Ctrl-J to make copy of the 'Background' layer. Rename new layer to 'glow - temp'. This layer will be used as temporary layer to create glow effect. It will be deleted later.
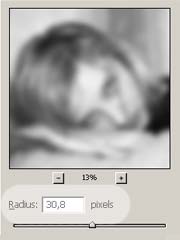
Blur 'glow-temp' layer.Select Filter - Blur - Gaussian Blur and set Radius value to 30-40 pixels for larger images and 10-20 for smaller images. Larger radius means stronger blur effect.
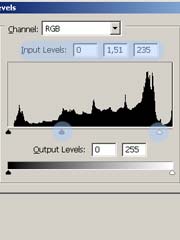
Use 'Levels' to lighten the image. Press Ctrl-L to adjust levels. Increase 'gamma' setting. You may also move white slider to the left to get more highlights (this will increase 'dreamy' effect).
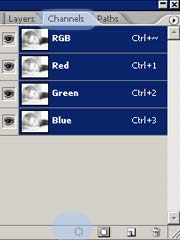
Select highlighted areas of the image. It's a bit 'tricky' part. Go to the Channels palette and click 'Load channel as selection'. This creates a selection that contains mostly highlighted ares of your image. Darker areas will be affected by selection less.
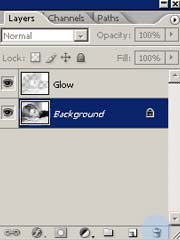
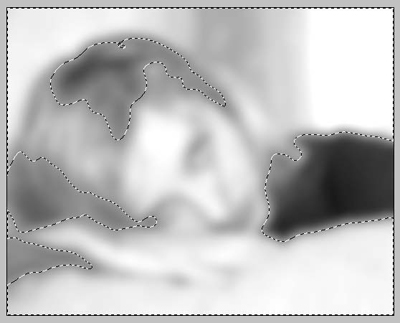
Duplicate 'glow-temp' layer. Go back to Layers palette. Press Ctrl-J to duplicate 'temp' layer. Only selected areas will be copied to the new layer. Rename new layer to 'Glow'. Set it's blending mode to Lighten.

Mask for the 'Makeup' layer.