

Let's start by creating a new file (File>New) with 1024x768 px and 72 dpi.

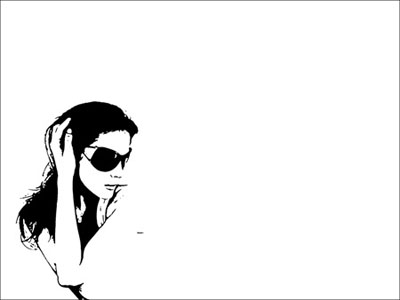
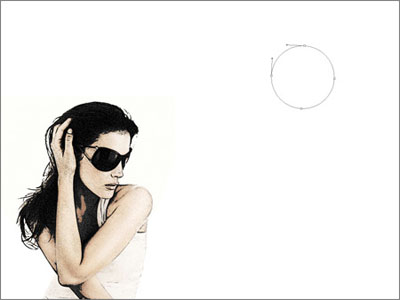
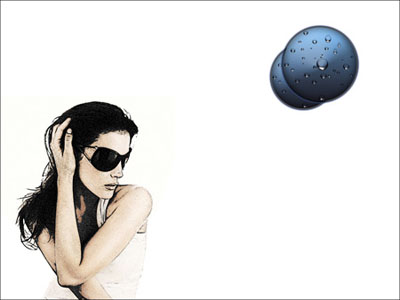
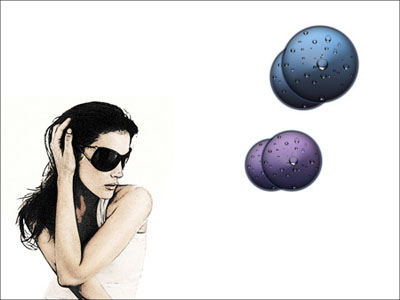
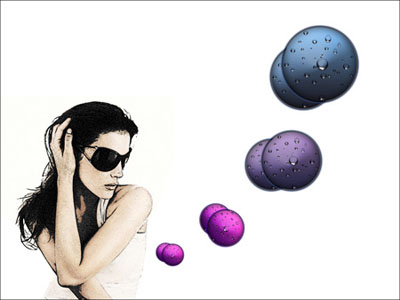
Next step we have to find in Internet a picture of a girl which must be cut out and placed the way it is shown next image:

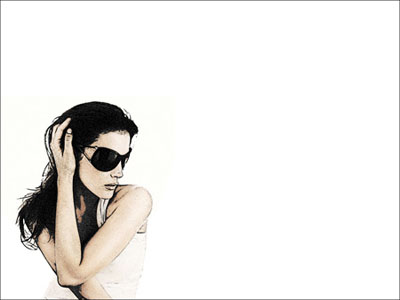
Make three copies of the new made layer containing the girl's picture. Next we have to place by turn each copy upper than the previous one on the layers' palette. The fist copy should get the layer's parameters: Apply also the filter's option here indicated: Filter>Filter Gallery>Stamp

Blending mode-Multiply

We'll apply the next filter's option for the second copy: Filter>Filter Gallery>Graphic Pen
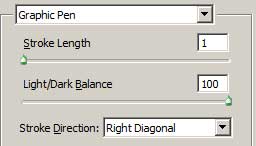
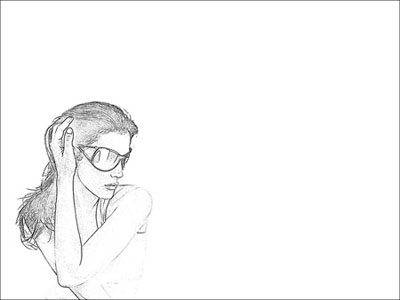
Blending mode-Multiply
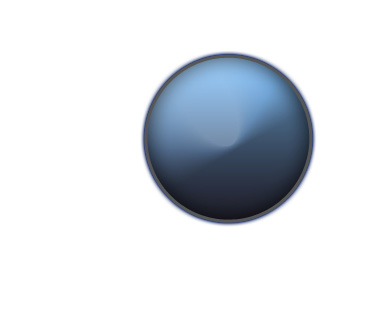
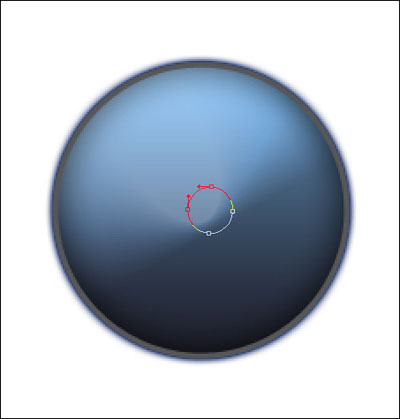
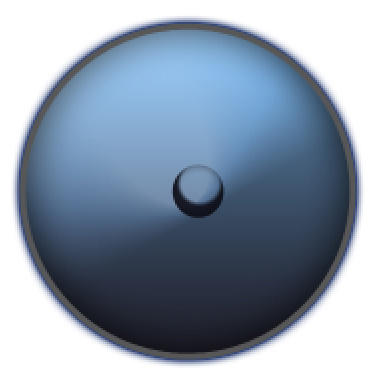
Take now the >Ellipse Tool (U) and represent a big drop:
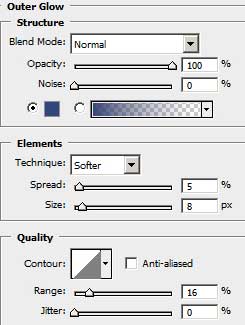
The layer's parameters: Blending Options>Outer Glow
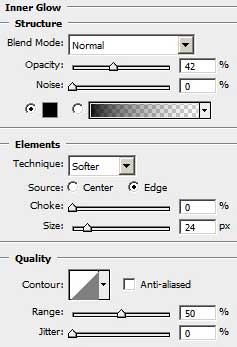
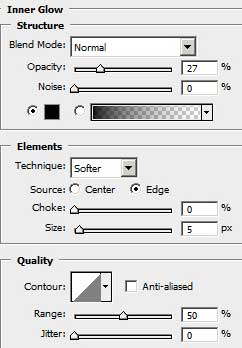
Blending Options>Inner Glow
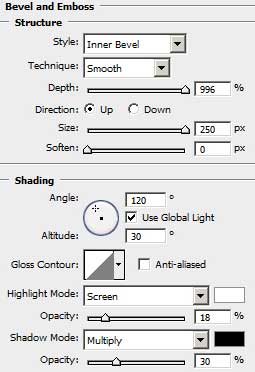
Blending Options>Bevel and Emboss
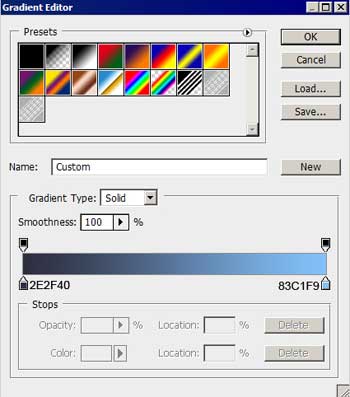
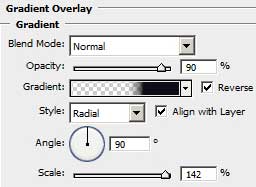
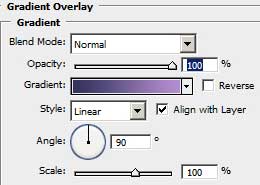
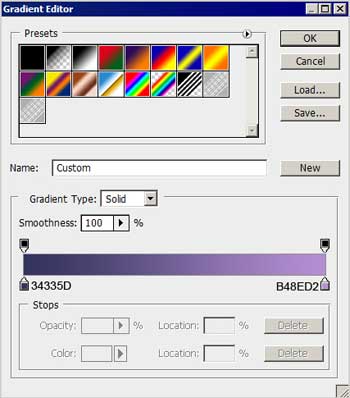
Blending Options>Gradient Overlay
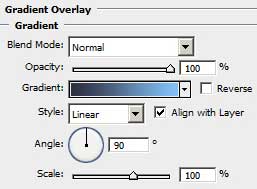
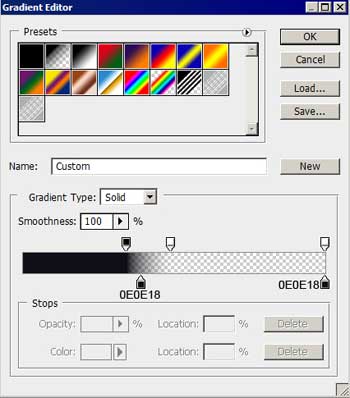
Gradient's parameters:
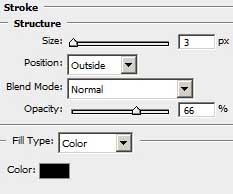
Blending Options>Stroke
Using the same instrument applied earlier, we'll try to create on the blue drop's surface another smaller drop, like the one that may be seen below:
The layer's parameters: Fill 0%
Blending Options>Inner Glow
Blending Options>Gradient Overlay
Gradient's parameters:
Let's create now a new layer (Create new layer) and select for it a standard brush of small size and white color to represent a highlight on the lowest part of the drop:

It's time to combine in a group all the layers composing the small drop (press Ctrl button to mark out the appropriate layers and then make a left mouse's click to move the marked layers on Create a new group option) Make thirty-two copies of the last made group and select after that the Free Transform function to change the copies' sizes as it is represented next picture:
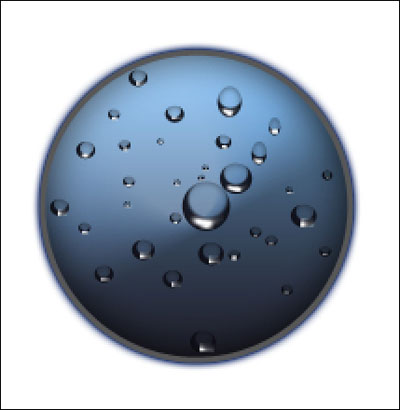
Combine in a group all the layers containing the big drop and the smaller ones (press Ctrl button to mark out the necessary layers and make a left button mouse's click to take down the marked layers on Create a new group option). Make a copy of this new made group and select once again the Free Transform option to enlarge the copy and to place it the way it is shown next image:
Combine the two new groups in a single group the way we have described earlier. Make a copy of this couple and apply again the Free Transform option to turn over the copy and to place it as in the picture. Change the next parameter Blending Options>Gradient Overlay of the big drop's primary layer on the layers' palette:
Gradient's parameters:
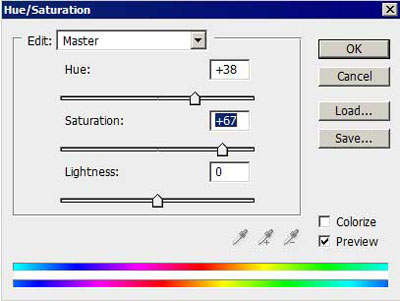
Make one more copy of the couple, press Ctrl+E and apply again the Free Transform option to make smaller the copy and to turn it around. We have to apply also the parameter Ctrl+U for the copied group:
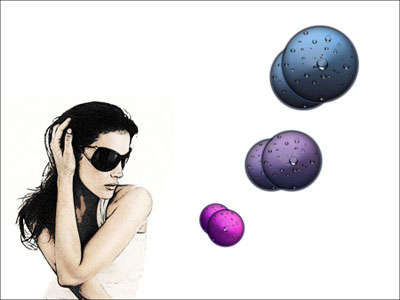
Make a copy of the last processed group and select again the Free Transform option to make smaller the copy and to turn it around as it is demonstrated below:
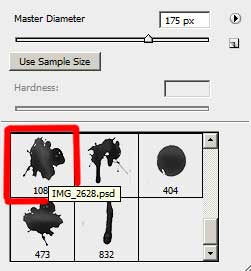
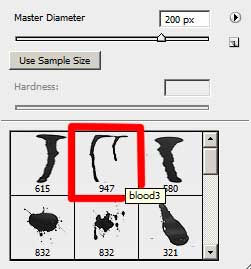
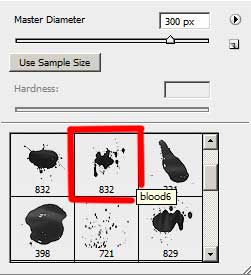
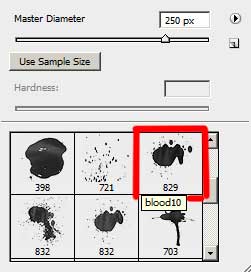
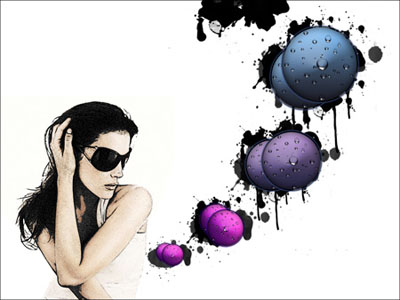
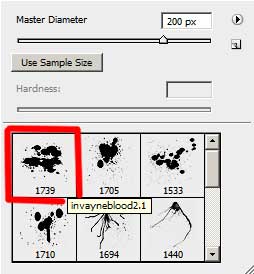
Download from Internet a set of ready to use brushes for Adobe Photoshop: BloodPack1__invaynestock and bloodbrushes2_invaynestock. Create a new layer and apply now on it the next shown brush out of the set BloodPack1__invaynestock: IMG 2628.psd, blood 6, blood 10, blood 3 of black color. Place the brushes' layer lower than the drops' layers and groups on the layers' palette:
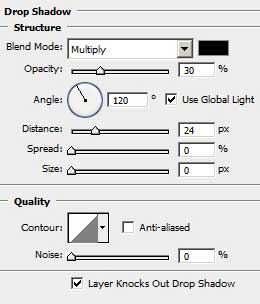
The layer's parameters: Blending Options>Drop Shadow
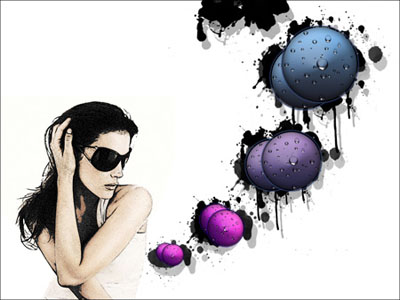
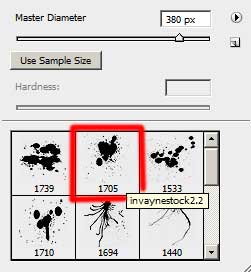
Create another new layer and apply on it the brushes from another set: bloodbrushes2_invaynestock : invayneblood2.1, invaynestock2.2 of black color. This layer must be placed lower than the previous layer on the layers' palette also:
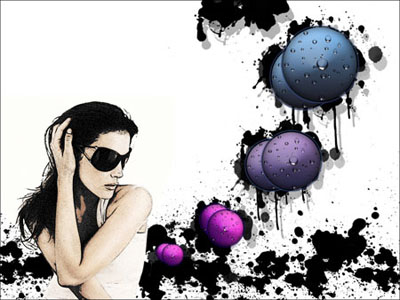
Finished!