


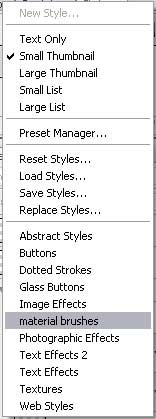
Begin by looking in Internet for a set of styles for Adobe Photoshop: material brushes. Download it, placing it in a folder Program FilesAdobeAdobe PhotoshopPresetsStyles
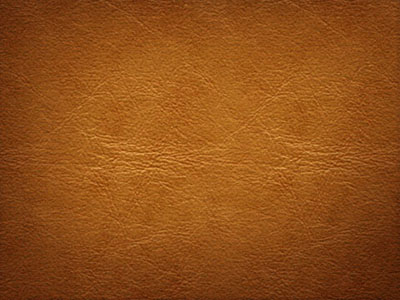
Create a new layer (Create new layer) with 1024x768 px and 72 dpi and select after that the Paint Bucket Tool (G)to paint the file in the next presented color: #5B2D15

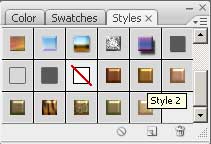
Select a style on the styles' panel:
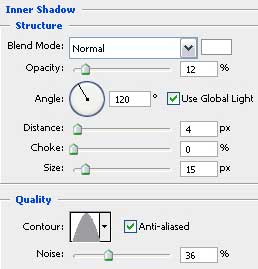
Set the necessary layer's parameters by making a mouse click on the layer on the layers' panel: Blending Options>Inner Shadow
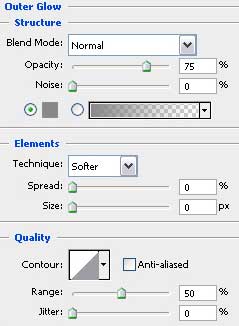
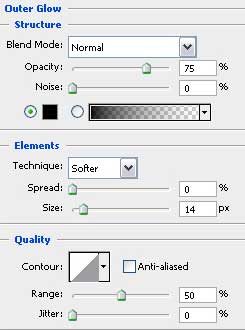
Blending Options>Outer Glow
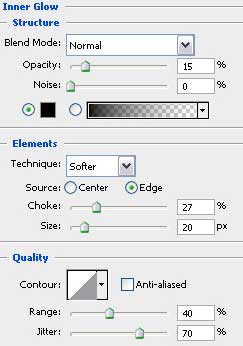
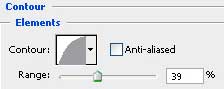
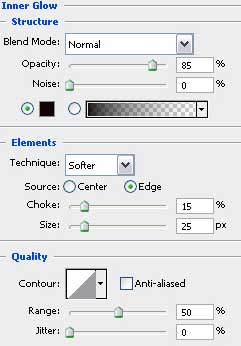
Blending Options>Inner Glow
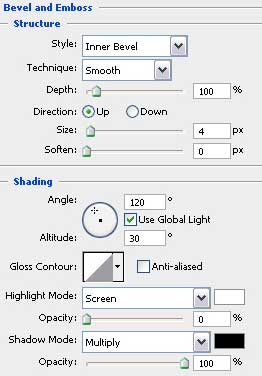
Blending Options>Bevel and Emboss

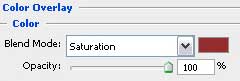
Blending Options>Color Overlay
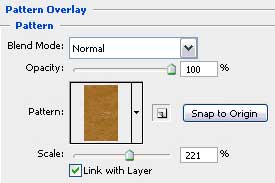
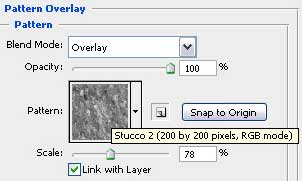
Blending Options>Pattern Overlay
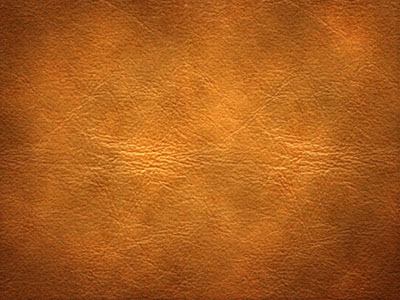
Create another new layer (Create new layer) and select for it the Brush Tool (B) with blurred edges, black color and Opacity of 10%. We need the instrument for darkening out the picture's edges.
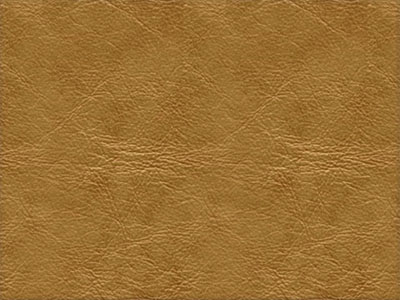
Create new layer and choose the Paint Bucket Tool (G) to paint it with the color shown here: #9B4D1E

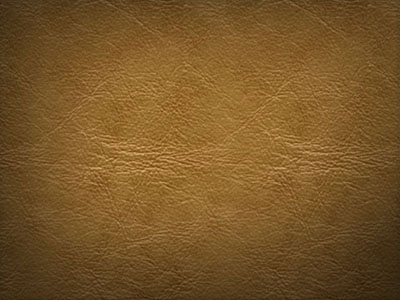
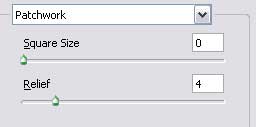
Apply for the last layer the next filter's option: Filter>Filter Gallery>Texture>Patchwork

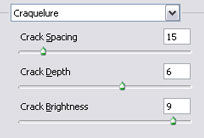
The next filter's option needs to be applied on the same layer: Filter>Filter Gallery> Texture>Craquelure
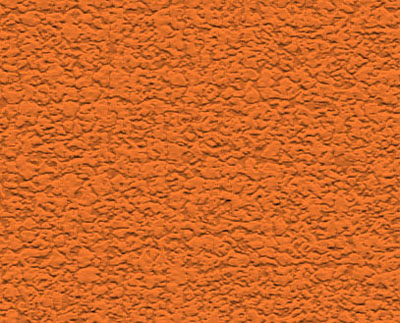
Fill 70% on the layer: Blending mode-Soft Light
Create one more layer (Create new layer) and apply on it the Paint Bucket Tool (G) to paint it with white color.
Apply for the last layer the next option: Filter>Render>Clouds
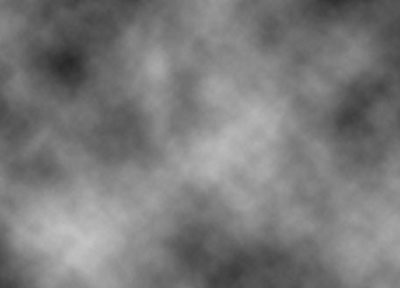
Fill 35% on the layer: Blending mode-Color Dodge
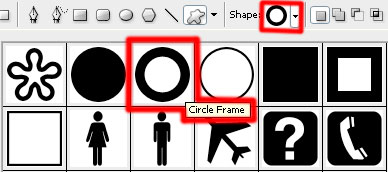
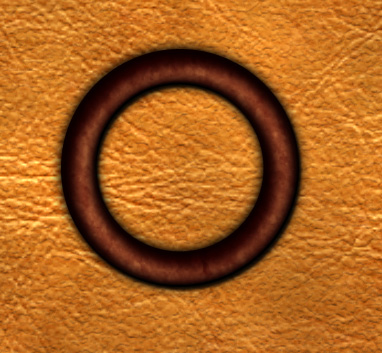
Select next step the Custom Shape Tool (U) to represent a circle colored with #AA502D
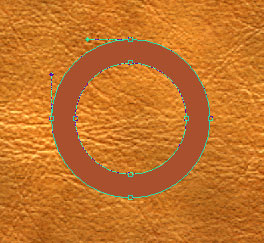
The Convert Point Tool will be helpful in making the necessary corrections on the inside circle's diameter as it is presented below, marking out by turn the inside tops with the Direct Selection Tool (A)
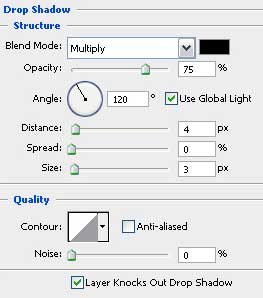
The layer's parameters: Blending Options>Drop Shadow
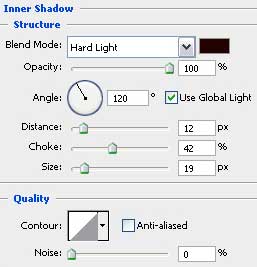
Blending Options>Inner Shadow
Blending Options>Outer Glow
Blending Options>Inner Glow
Blending Options>Bevel and Emboss
Blending Options>Pattern Overlay
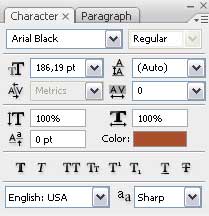
Write inside the made circle the "C" letter, keeping the demands from the table below:

Make a right mouse's click on the layer, containing the circle on Copy Layer Style and then choose the Paste Layer Style on the layer with the "C" letter. Move off the Inner Shadow effect:

Create a new layer and select the Brush Tool (B) with blurred edges to represent a white line. The Opacity in this case is of 20%.

Select the Smudge Tool (R) on the line's layer to change the line into smoke:
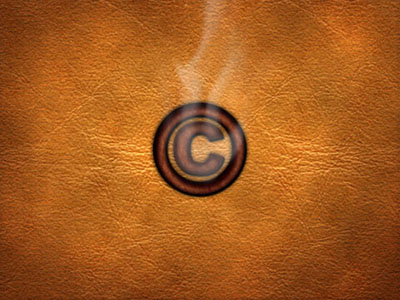
Finished!