Create a new file (File>New) that would have 800x800 px and 72 dpi. Selecting the Paint Bucket Tool (G) may help us to paint the new file with the next color #111111

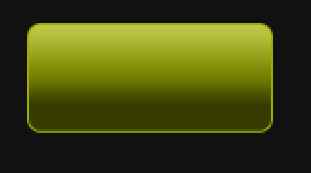
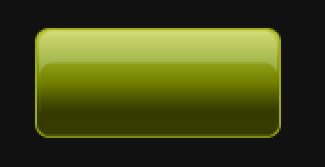
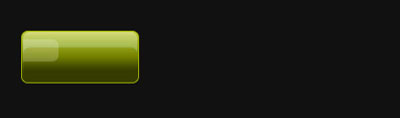
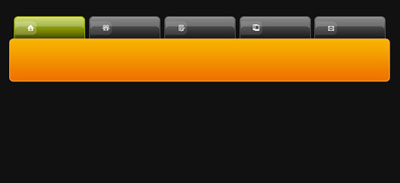
Next we have to use the Rounded Rectangle Tool (U) (radius 7 px) to represent the primary layer reserved for the menu's button, situated on the site's header.
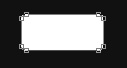
The layer's parameters are selected by making a mouse click on the necessary layer on the layers' panel.
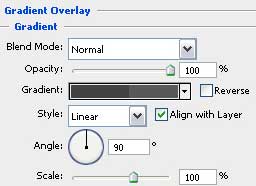
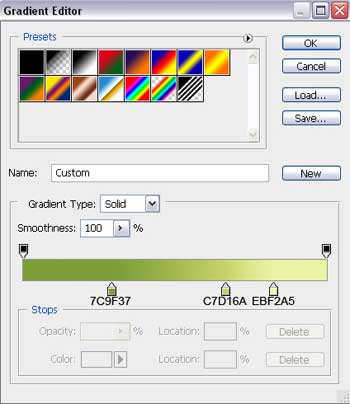
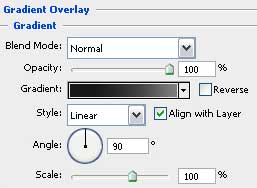
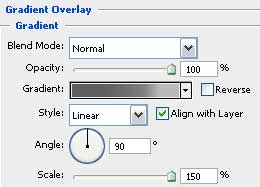
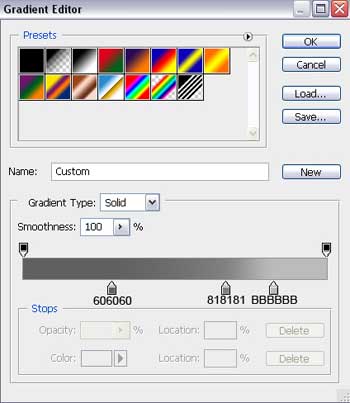
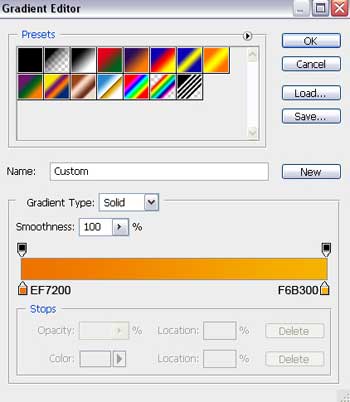
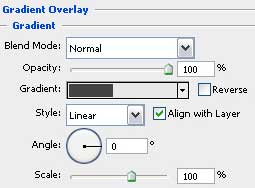
Blending Options>Gradient Overlay
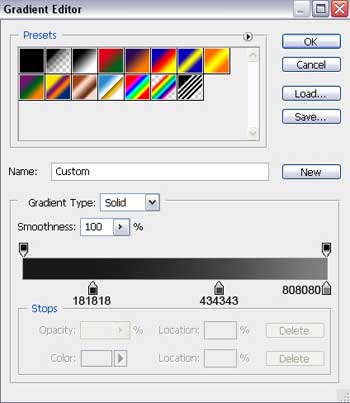
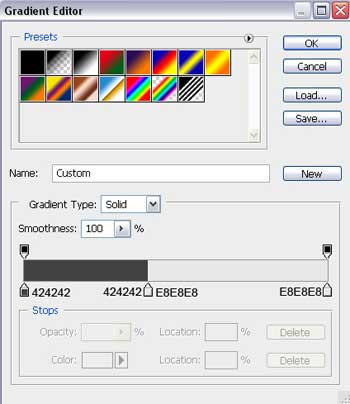
Gradient's parameters:
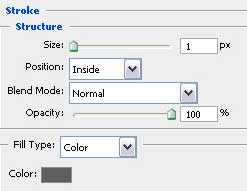
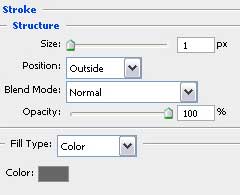
Blending Options>Stroke
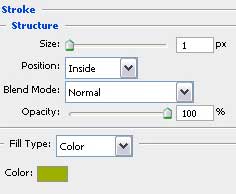

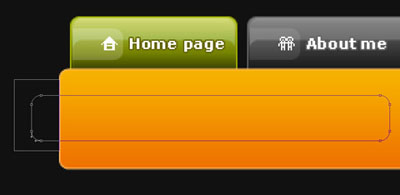
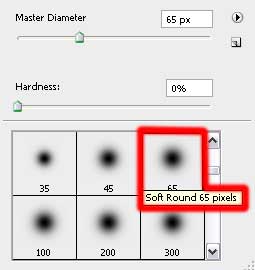
Using the same instrument, it's possible to represent a highlight on the menu's button. Firstly we need to represent the zone of the highlight to be and then, holding on Alt button, erase the unnecessary elements.
The layer's parameters: Fill 0%
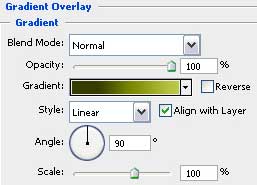
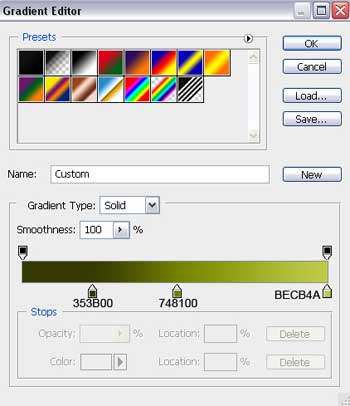
Blending Options>Gradient Overlay
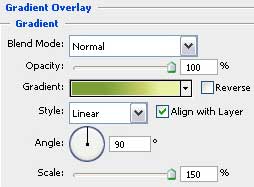
Gradient's parameters:

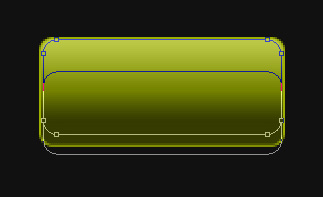
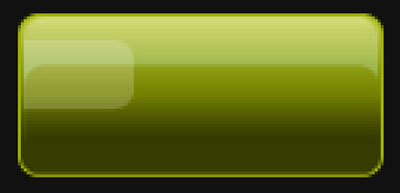
Using the same instrument and the same radius, try to represent next the zone reserved for the buttons' indicator of white color. Press Alt button and select the Rectangle Tool (U) to erase the unnecessary elements.
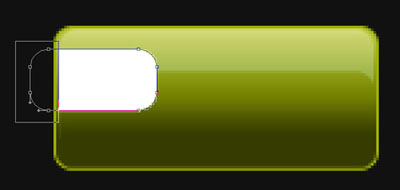
Apply for the layer the next parameters: Fill 20%
Combine in a group all the layers composing the menu's button of the site to be created (press Ctrl button to mark out the appropriate layers and hold on the left mouse's button while moving the marked layers on Create a new group selection). Make a copy of the last made group and choose as usually the Free Transform option to place the copy exactly the same way demonstrated below. On the copied button we have to change the layers' parameters:
1. The parameters of the primary layer: Blending Options>Gradient Overlay
Gradient's parameters:
Blending Options>Stroke
2. The parameters of the highlight Fill 0%
Blending Options>Gradient Overlay
Gradient's parameters:
3. The parameters of the zone reserved for the button's indicator: Fill 10%


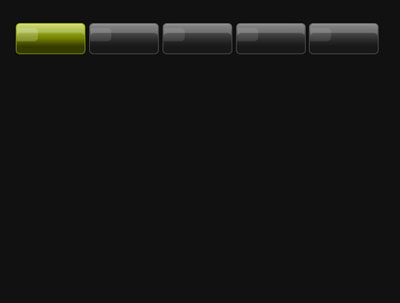
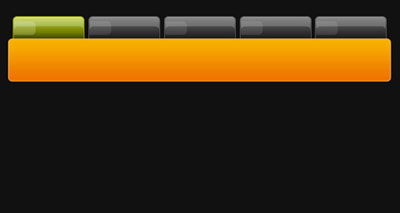
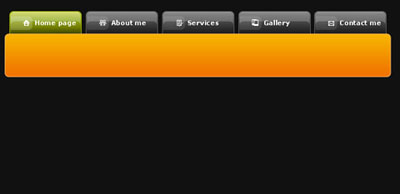
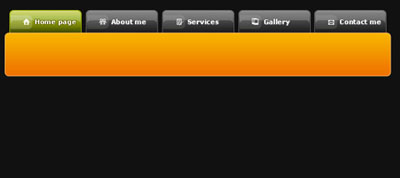
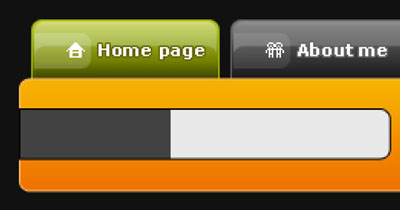
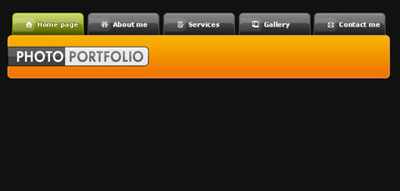
Make three copies of the grey button and select the Free Transform option to place the copies as it is demonstrated next picture:

Using the earlier applied instrument, Rounded Rectangle Tool (U) (radius 7 px), represent on the next stage the panel reserved for the logotype and the menu of the site's searching system:
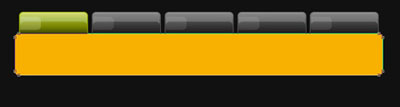
The layer's parameters: Blending Options>Gradient Overlay

Gradient's parameters:
Blending Options>Stroke

Next we have to select the Pencil Tool (B) (1 px) to picture the symbols on the menu's buttons situated on the site's header. The color should be white in this case.
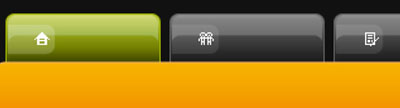
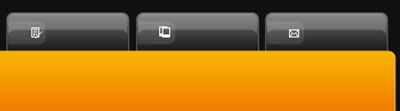
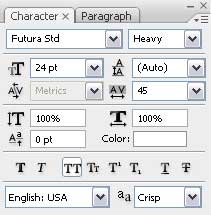
Insert the titles for the menu's buttons placed on the site's header:
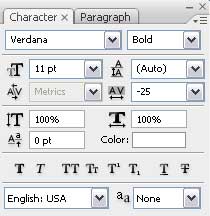
The layer's parameter (Home Page) Blending Options>Stroke

The parameters of next layers (About me, Services, Gallery, Contact me): Blending Options>Stroke
Now it's time to select the Rounded Rectangle Tool (U) (radius 7 px) to represent the primary layer of the logotype. Keep pressed Alt button while using the Rectangle Tool (U) to move off the unnecessary elements as it is demonstrated next picture:
The layer's parameters: Fill 0%
Blending Options>Gradient Overlay
Gradient's parameters:
Blending Options>Stroke

Try to make an inscription now, containing the site's title:
(PHOTO)
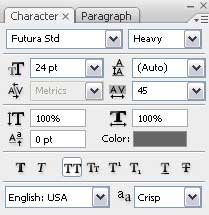
(PORTFOLIO)
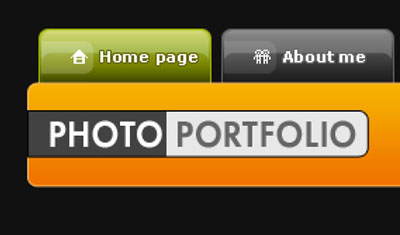
Next we'll represent a highlight on the logotype by creating a new layer (Create new layer). Firstly we have to select the Rectangular Marquee Tool (M) to mark out the area shown below. After that we'll select the Brush Tool (B), Opacity of 50% to paint the marked area with white color.


The layer's parameters: Fill 30%

Using the Rounded Rectangle Tool (U) (radius 7 px), represent now the primary layer reserved for the search menu, situated on the site's header. Then press Alt button while using the Rectangle Tool (U) to move off the unnecessary fragment on the right side.
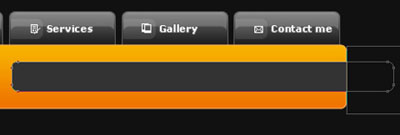
The layer's parameters: Blending Options>Gradient Overlay