


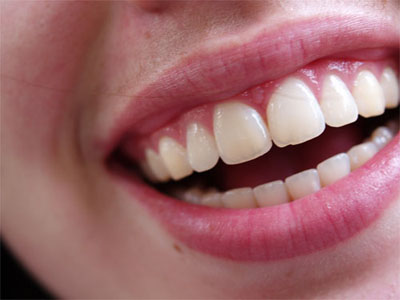
Step 1. Open our photo.
Step 2. Copy "background" Layer and name it "rotten". Make new vector mask of "rotten" Layer fill it with black and mask teeth and gums.
Don't touch lips. Change the Blending mode of "rotten" Layer to Color Burn.
Step 3. Now, press M on keyboard to get Curves dialog. Set channels like I've set them on the pictures below.


Step 4. Make new Layer. Name it "black". Set Blending mode for this Layer to be Overlay. Use black brush and paint over the tooth. You can play in this step until you get satisfactory result.
Step 5. Make new Layer and call it "darken". On this Layer you'll paint the parts of teeth that did not been painted in previous step because of Blending mode.
Step 6. Merge all visible Layers into one pressing Ctrl + Alt + Shift + E. Now we have to remove that shining on teeth. You simply pick brush tool (B), select Blending mode for brush to be Darken, pick a sample color from the tooth and paint over shining parts of teeth. Use different opacity of brush to make it realistic.
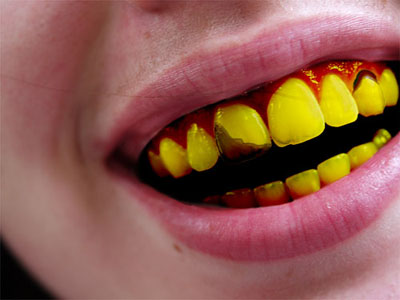
See you!