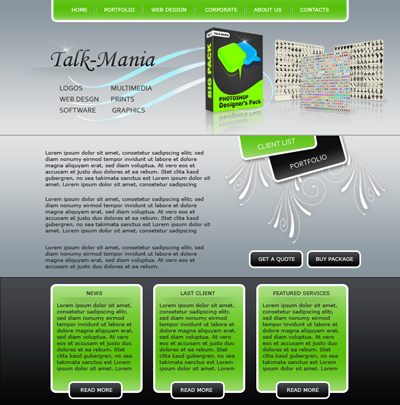
So let's start with a new document
Size : 760 x 700 pixels
Background color : white
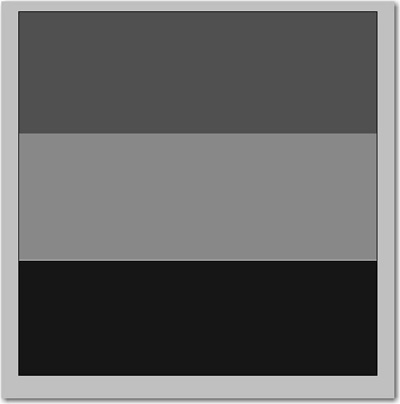
Select Rectangle tool, and create some simple shapes
I have used different colors. in this way you can see better the placement of this shapes
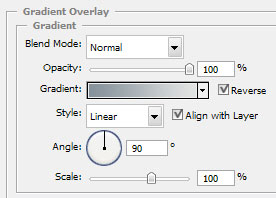
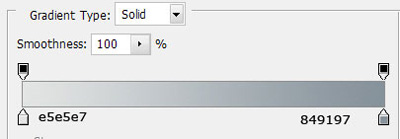
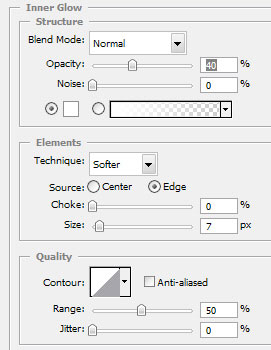
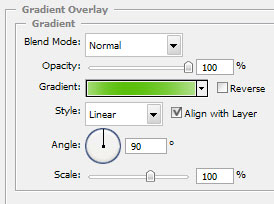
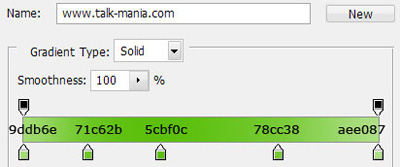
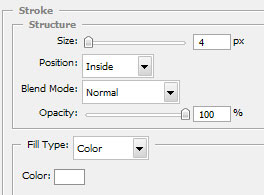
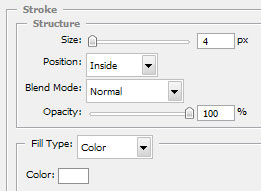
For the top shape please add the following layer style
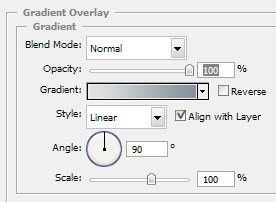
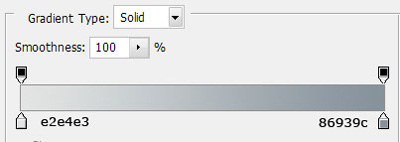
For the middle shape add the following layer styles
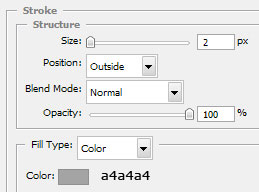
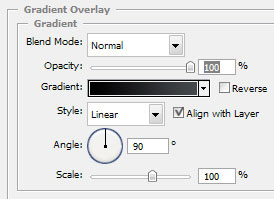
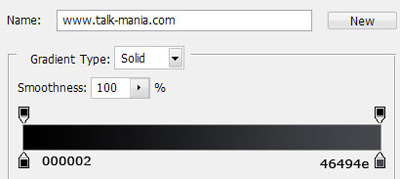
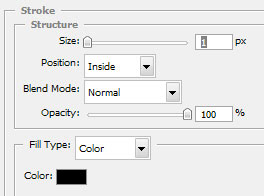
And for the bottom shape please add the following layer styles:
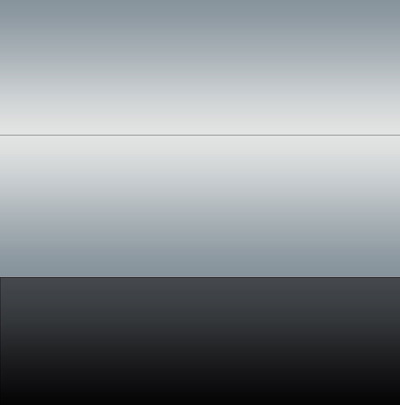
This is my result
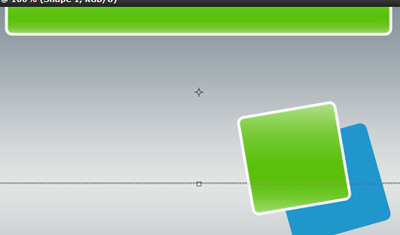
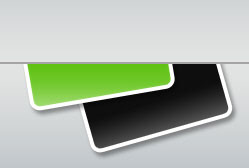
Now with rounded rectangle tool ( radius 10 pixels ) create some other shapes and place it like me. One more time i use different colors for each shape.
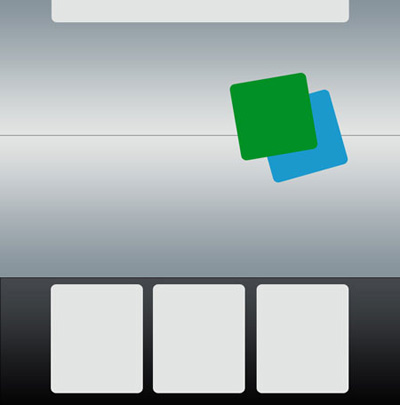
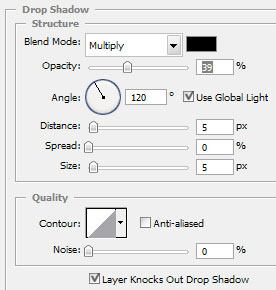
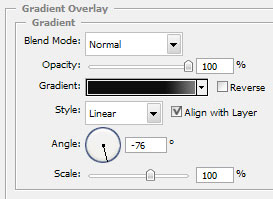
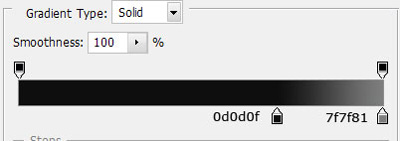
For the top shape, and the green shape please add the following layer styles
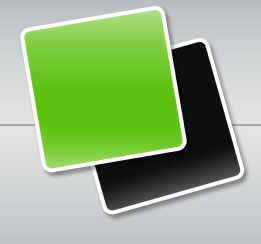
My result
Now for the Blue shape add the following layer styles
This is my result
Select this 2 layers in your layer palette
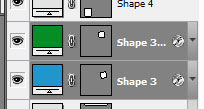
And press Ctrl+E ( this will merge this 2 layers )
We will have one single rasterized file
Select rectangular marquee tool, and make a selection like me.
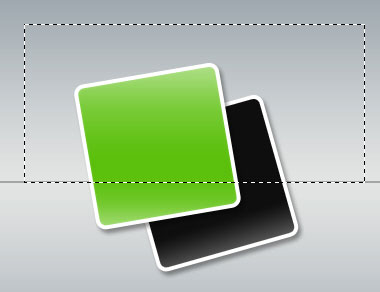
After you have this selection press Delete on your keyboard, then Ctrl+D to deselect
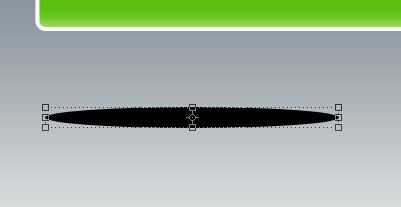
Select Ellipse Tool , and try to create something like me. please use black for the following shape
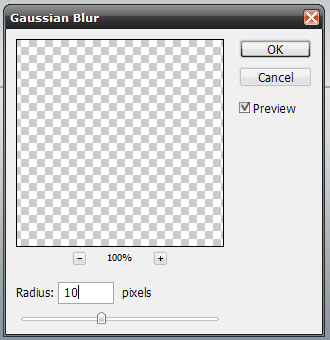
Go to Filter > Blur > Gaussian Blur. You will be asked if you want to rasterize the shape. please press OK
Then use the following settings
After you click OK select Rectangular Marquee Tool, and make a selection like mine
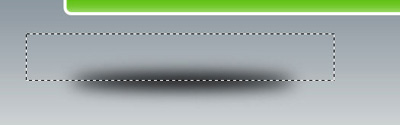
Then press Delete Key from your keyboard
Press Ctrl+D do hide the selection,
This is my result

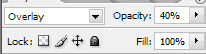
Then set the Layer Mode to overlay, and reduce the Opacity to 40 %
This is my result

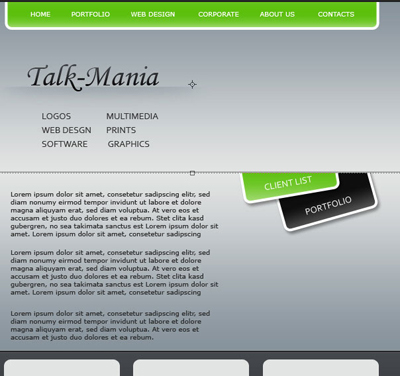
Now it is time to add some text.
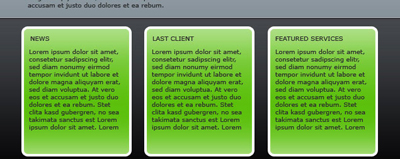
You can also add some text on the bottom of your layout
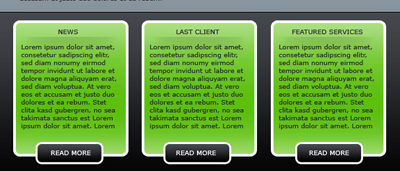
Also you can add a shadow under each text title
And you can also add a button on the bottom of the green shape
This button you can create it with Rounded rectangle tool
Please use the same layer styles we have used for the black shape
Please add some 3D box, or some image on the header
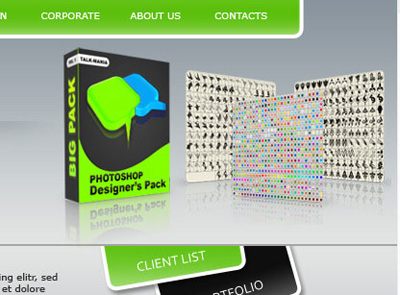
You can see that i have placed the Talk-Mania Big-Pack. If you are already the owner of this pack, please load some ornaments brushes, or floral brushes and add them like me
Please note that you need to add a new layer ( press Ctrl+Shift+Alt+N ) Then with brush tool create some nice details
Please note that the star brush you can download for free from www.free-photoshop.com.
And the floral brushes are included in Talk-Mania Big-Pack. I have used only 2 brushes for this details. think about that you have in this pack over 4000 brushes ( in 3 different sizes ) this means over 12.000 photoshop brushes
Now you can add some lines between the top menu links. Select Line tool ( set the width to 1 pixel, and create three lines ) white - black - white

Then merge all this lines ( to merge the lines you need to select all line layers in your layer palette and press Ctrl+E )
Then select eraser tool , Choose a Soft Round Brush , set the opacity to 50 % and delete the top and the bottom of the line

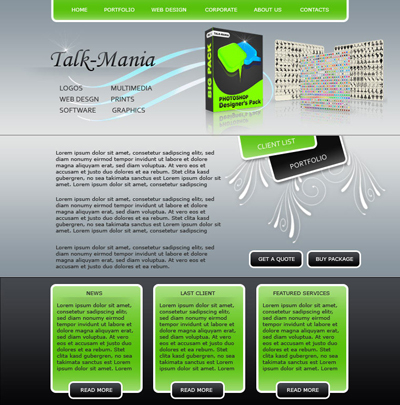
Duplicate this layer a few times and place it between text links> this is my final result. i hope you like it