Start with a new photoshop document
Size 760x770 pixels
Background color : #e4ded2
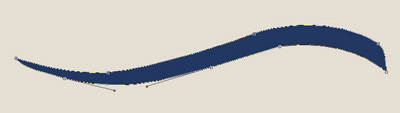
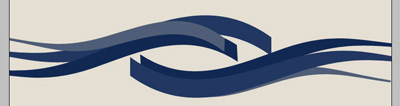
Select Pencil Tool and create the following drawing:
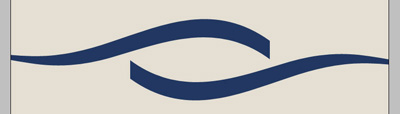
Duplicate this shape ( press Ctrl+J ) to duplicate , then go to Edit > Transform > Flip vertical
For the same shape go one more time to Edit > Transform > Flip Horizontal and place it the second shape like me with the Move Tool
Duplicate the first layer one more time, , rotate it a little and place it like me.
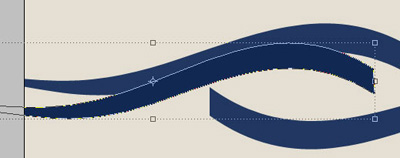
Now do the same for the other part of the layout
It doesn't need to be perfect
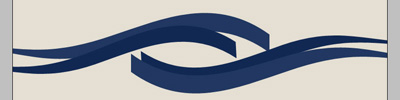
You can duplicate this shape one more time if you want and place it like me
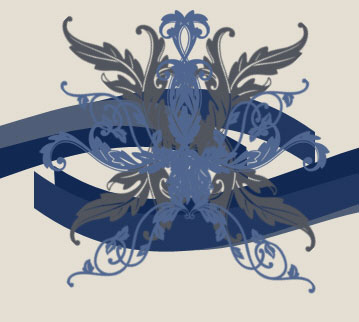
Now You can go to www.free-photoshop.com and download the brush #6
Load the brushes in Photoshop ( this set contains 32 brushes in different sizes )
Create a new layer and start creating some drawings on your canvas
Use different colors for each brush
Then With ellipse tool create a New shape and place it Over the brushes layer
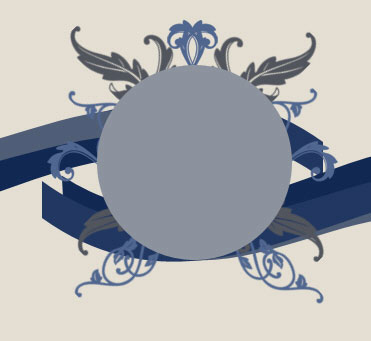
Here we will place all our logo later.
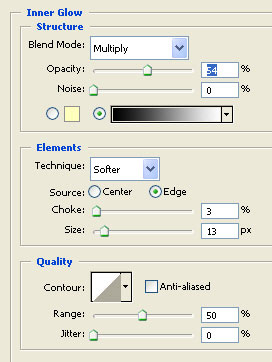
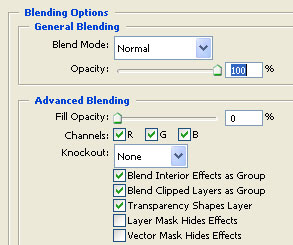
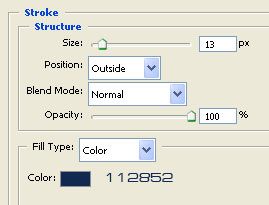
For this circle add the following layer styles
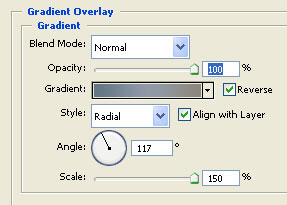
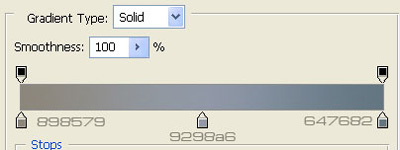
This is my result
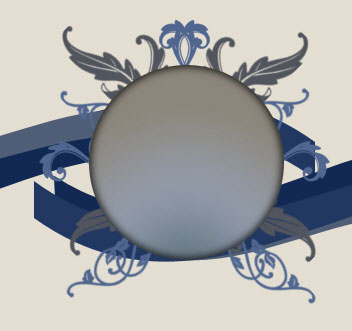
Now create another Circle on top,
And add the following layer styles
This is the result
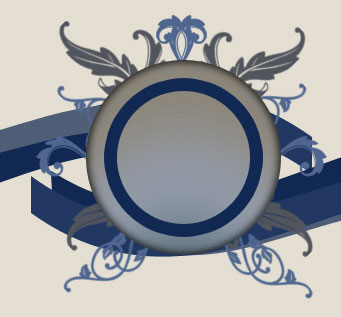
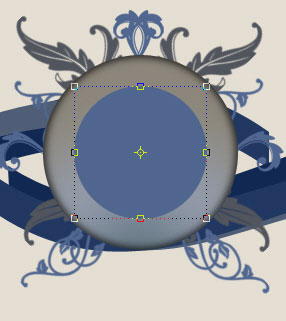
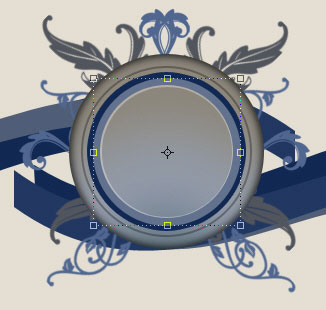
With the same technique add more circles
Now you need to download the attachment from this thread, there you can find a grunge brush, ( 4 different grunge sizes are inside the archive )
Load the brush in photoshop,
Then select background layer , Press Ctrl+Shift+Alt+N , select Brush Tool, and select the biggest brush available in the attachment area. This brush will save you a lot of time in your future projects.
Set the foreground color to #c6c1b8
Change the opacity to 43 %
![]()
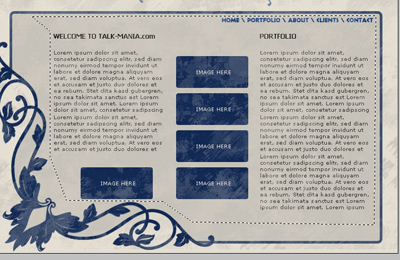
Then on a new layer ( press Ctrl+Shift+Alt+N ) make another brush drawings. This times set the opacity to 80 %
![]()
This is my result
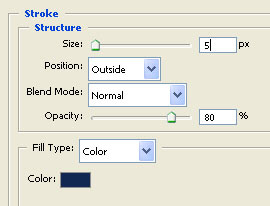
Select Rounded Rectangle tool and start creating a new shape
Now add the following layer style
You can rasterize the shape because we will need this layer to be rasterized in our next step.
To rasterize the layer go to Layer > Rasterize > Shape
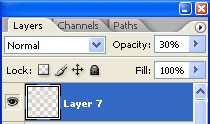
Create another Layer ( press Ctrl+Shift+Alt+N )
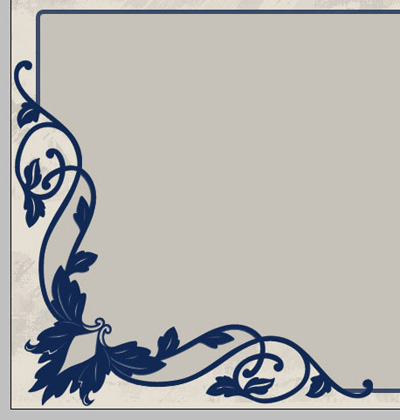
Select a Flower Brush from Brush #6 package
And on your layout add the following brush on the left corner of your layout

Select The Rounded rectangle shape layer. then grab eraser tool, and start deleting the some parts of your rounded shape. You will see better in the next image which parts you need to delete
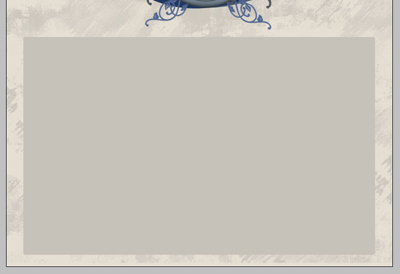
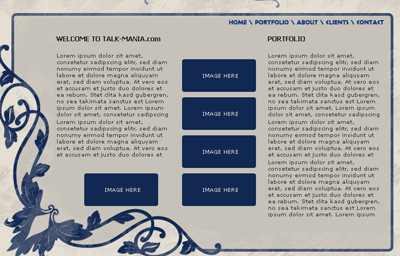
Now you can add alone some text on your layout
Also you can add some text for your logo
Now create a new layer on top of all layers in Layer palette
Select Brush Tool, use the big grunge brush ( 1024 )
Set your foreground color to #e4ded2 ( the same color as your background )
Then press one time on your layout

Then reduce the opacity for this layer to 30 %
Now create the following selection with polygonal lasso tool
Hit the " delete" key from your keyboard
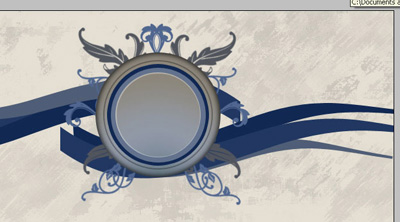
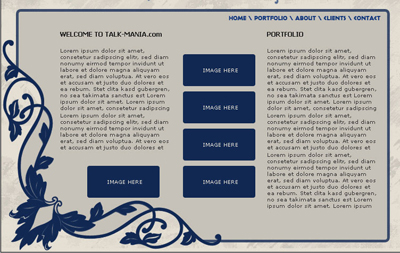
This is my final layout.
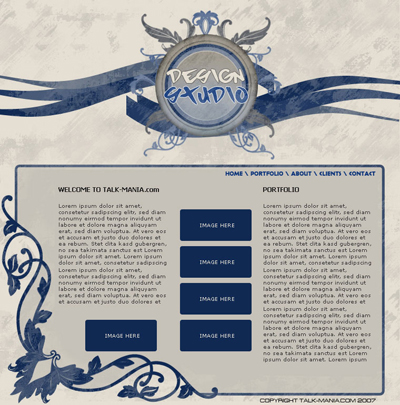
I hope you like it.