

Let's start with a new document:
Size 760x770 pixels
Background color: white
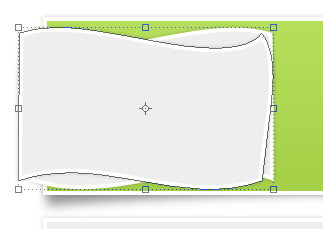
Select Rectangle Tool , and create 2 shapes

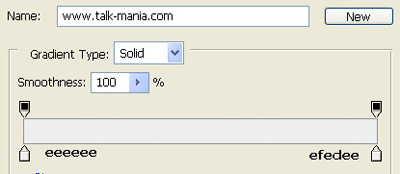
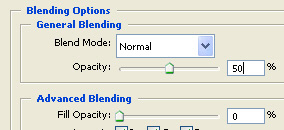
Then for the top shape add the following layer styles

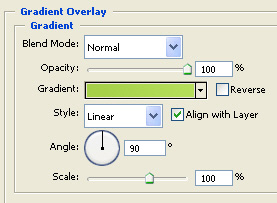
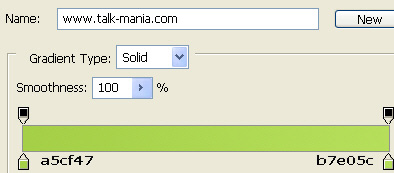
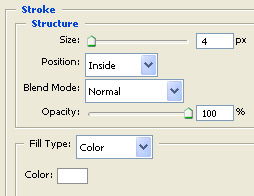
And for the other shape please add the following layer styles
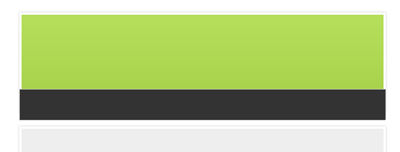
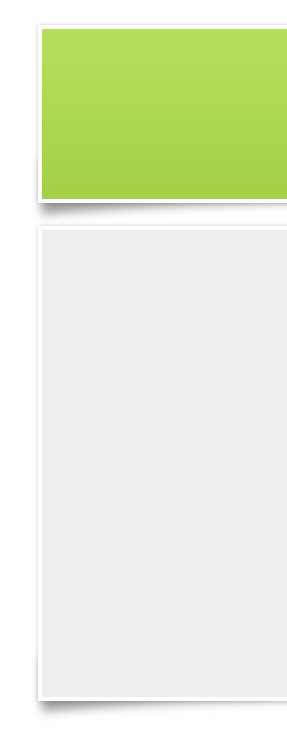
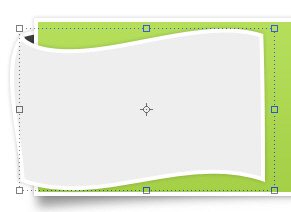
This is my result

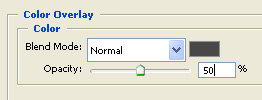
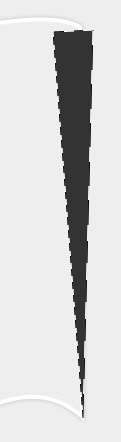
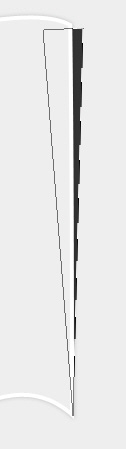
Now create another black shape like mine
Then go to Edit > Transform Path> Warp and use the following settings:
![]()
Note: if you don't have Warp tool, you can create a shape like this with pen tool
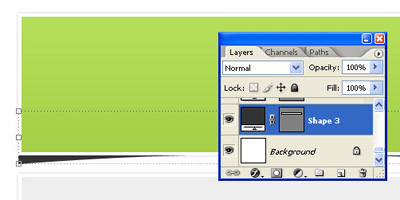
This is my result

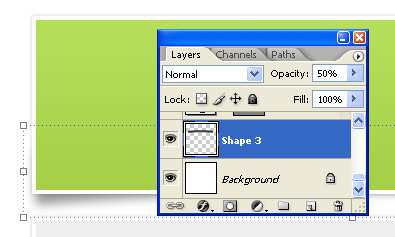
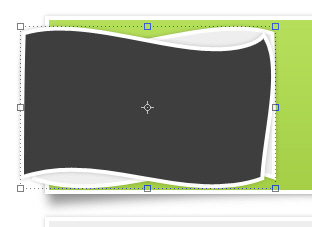
Now drag this layer right above the background layer
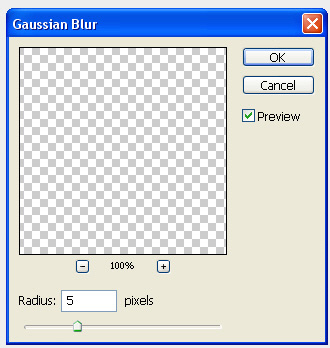
Then go to Filter > Blur > Gaussian Blur and use the following settings : ( you will be asked if you want to rasterize the file , press YES )
Then lower the opacity for this layer to 50 %
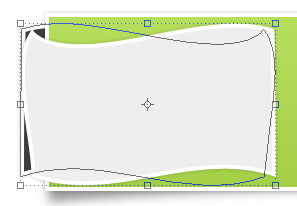
Duplicate this layer ( press Ctrl+J ), and with move tool place the duplicated layer on the bottom of your other shape
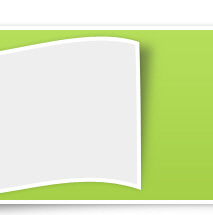
Now with Rectangle tool create another shape and place it like me
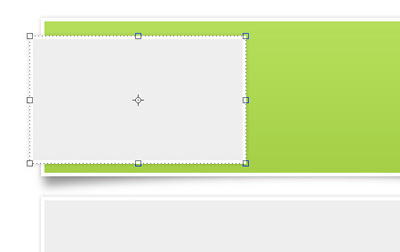
With this layer selected please go to Edit > transform path > Warp and use the following settings :
![]()
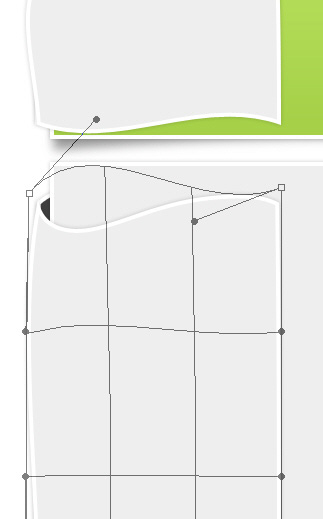
Hit enter on your keyboard, then go one more time to Edit > Transform > warp
This time drag manually the left corners of this shape
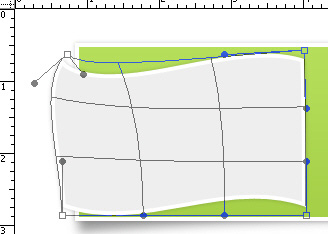
Hit enter on your keyboard after you are happy with result
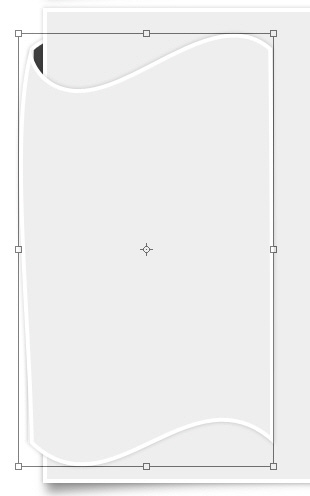
Here is my modified shape

Now duplicate this shape ( Ctrl+J ) , then go to Edit > transform path > flip Horizontal
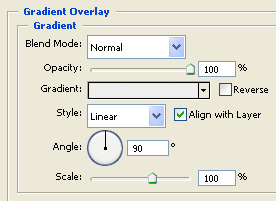
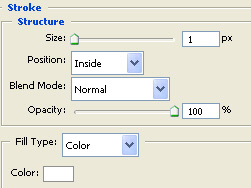
Change the layer styles for this shape to the following ones:
This is my result
Drag the layer right above the background layer in your layer palette
Then with move tool , try to place the layer like me
With the same techniques please create the same effect for the bottom gray shape, or you can duplicate the 2 shapes ( front and bottom )
Then place it like me, and modify the proportion with Transform tool ( Ctrl+T )
Select the gay layer and with warp tool try to modify the shape like me
Do not forget to hit Enter on your keyboard. Now i will show you how to add some nice shadows
Select pen tool and create a simple shape
Then drag the shape under the gray shape
Then you need to go to Filter > Blur > Gaussian blur and set the value between 4-8
In the same time you can lower the opacity of this layer to 50 %

Do the same for the top part of your layout
Now create a layer on top of all layers, and with rectangular marquee tool create a selection like in the following image

Then grab Brush Tool, and chose Soft Mechanical 300 pixels brush
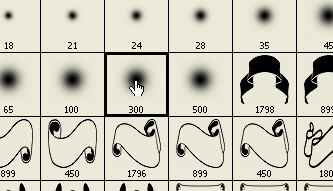
And with this brush create a single point inside your selection
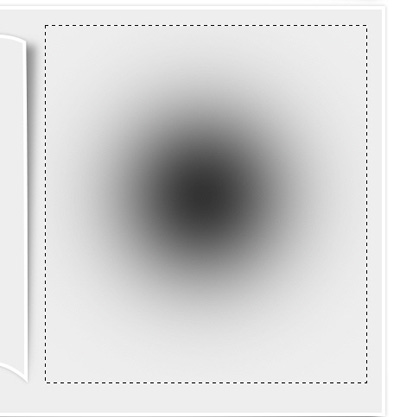
Lower the opacity for this layer to 40 %
Then with Single Column marquee tool , place a small selection in the middle of the circle
Be sure you have the last layer selected, and press Delete on your keyboard
Press Ctrl+D to see the effect
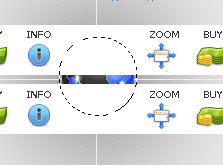
Then with Single Row Marquee Tool, create a horizontal selection ( the same this selection should be in the middle of your brush
After i hit , Delete and Ctrl+D this is my result
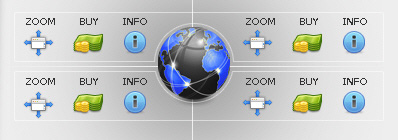
Now it is time to add some images, and text, and maybe some icons. this is a very simple task and i think everybody can complete this task alone
Now we will create another 2 shapes with Rounded rectangle tool ( set the radius to 2 pixels
Then select both layers in your layer palette, and press Ctrl+E ( this will merge the two layers into a single one )
In the same time the layer will be rasterized.
Select Elliptical marquee tool, and make a selection like mine
Then hit on the delete key
Then press Ctrl+D to deselect
Then add the following layer styles
This is my result
Now create a new layer , and with brush tool, ( soft mechanical 200 pixels brush ) create a few drawings like me
Lower the opacity value for this layer to 30 or 40 % then with " Single row marquee tool " and " Single Column Marquee Tool " delete some parts of this layer
This is my result
If you are curious how my lines are looking in this way, then instead of hitting the Delete key, you can use the eraser tool, with a smooth round brush
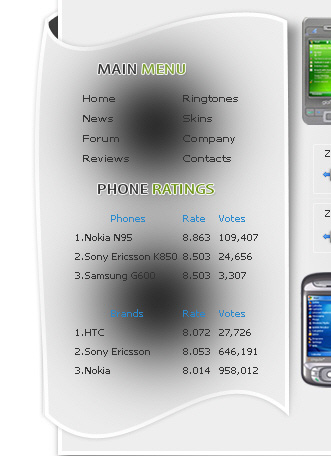
The nest step is to create some other details on our header.
I will add some text , and with a brush from Talk-Mania Big-Pack i will add some details on a new layer
This is my final result
