Create a new document, 600 x 600 pixels with white background.
Create a new layer and name it "postit".
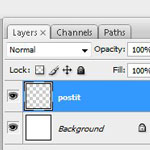
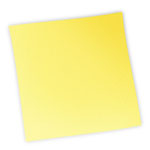
Set the Foreground color to #f8dd4b and the Background color to #fffca2.
![]()
Select the "postit" layer. Select the Gradient Tool.
![]()
Create a gradient fill from the upper right corner to de bottom left corner.

Select Edit > Free Transform (or press Ctrl + T).
Scale the "postit" layer to fit your needs. Tip: Press Shift+Alt while you drag a corner handle to maintain proportions and the keep the postit on the center of the canvas. Dont' apply changes yet.
Still using the Free Transform Tool rotate the selection a few degrees. Dont' apply changes yet.

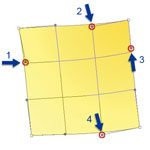
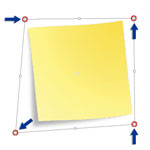
Now click the Switch Between Free Transform And Warp Mode button in the options bar.
![]()
As you see in the image, I highlighted the control points we'll drag. Start on node 1 and move it on the direction of the arrow. Continue to move the next nodes. Respect the order and directions.
Now press "Enter" to apply changes.
Duplicate "postit" layer and name the new layer "shadow".
Go to Image > Adjustments > Desaturate (or press Ctrl + Shift + U).
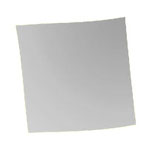
Go to Filter > Blur > Gaussian Blur.
Set 8,5 pixels as radius value.
On the Layers Palette drag the "shadow" layer under the "postit" layer.
Select the "shadow" layer on the Layers Palette and go to Edit > Free Transform (or press Ctrl + T).
Drag the nodes with Ctrl pressed. I've added some arrows to help you out.
Select the "postit" layer.
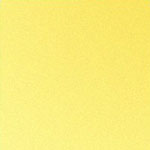
Go to Filter > Noise > Add noise and use the following values:
Amount: 2
Distribution: Gaussian
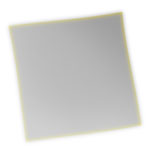
This will give more realism to our post it.
And that's it.
You can add some text now. Don't forget to Add Noise to text too for better results.