In this tutorial, we're going to step you through the process of creating a realistic looking CD from scratch. This is an image I've been making for years, and is surprisingly simple to make. 0
To start out, let's create a new document and make a circle using the Ellipse Tool (make sure to hold down shift and left click to create the circle, which will create a perfect circle instead of an oval.)
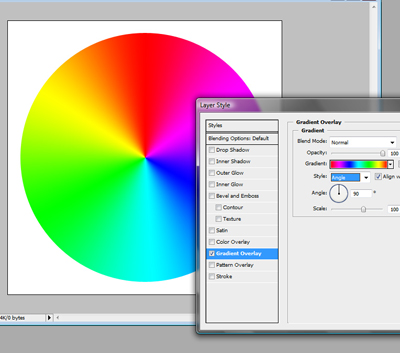
The fill color of the circle doesn't particularly matter, because we're going to be covering this entire circle in a gradient. Let's right click on the circle's layer, choose Blending Options, and then check off the Gradient check box. Now we'll need to edit the gradient a bit, and to start of, let's change the gradient Style to Angle. Next, let's choose the rainbox gradient preset to give us a good starting point. If you've followed along correctly so far, this should give you something like this:
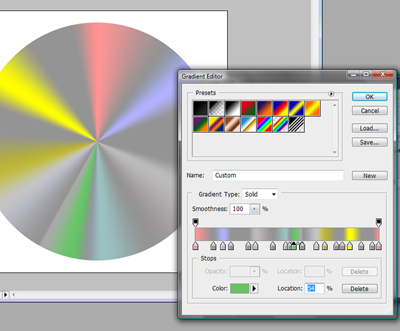
Our next step is to edit this preset so that it looks more like a CD, instead of a rainbow. To do that, click on the Gradient image, which will bring up the Gradient Editor. Towards the bottom of the Gradient Editor you'll see some small boxes filled with the colors that make up the gradient. We're going to want to reduce the brightness of the colors that are already in our preset, and introduce a lot more gray. Double click on the small boxes to bring up the color pallet, and then change each color until they are similar to this picture:
Now that we have the basic premise down, let's wrap this up by creating the center of the disc. We'll do that by creating a smaller circle and positioning it in the center. In the Blending Options for this layer, let's reduce the Opacity to around 90% and add a 4px gray stoke.
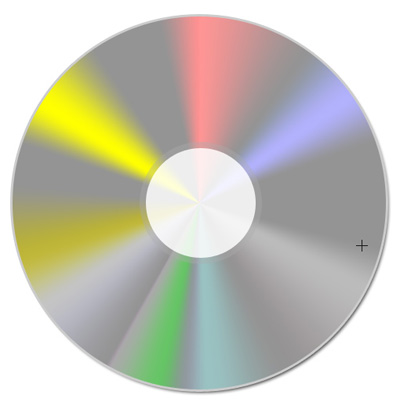
Last but not least, let's create the final inside circle. This circle will be a bit smaller, and we'll want to give it a white fill. In the blending options, let's give it a 3px gray stroke, and also an Inside Shadow, to give a three dimensional look. Here's our final result: