Step 1
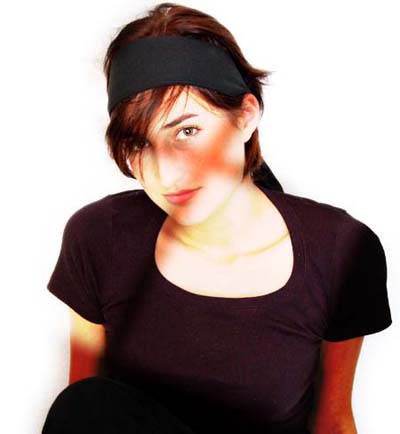
Open your photograph.
Step 2
From Layers Palette, go on Channels, and click on icon like it is shown on the picture below.
Step 3
Now, we'll create our window :)
Take the Rectangular marquee tool and create the selection like it is shown on the picture below.
After that, fill it with white color.
Step 4
Then, press and hold down Ctrl + Alt + Shift key, and by mouse, move the selection from the left side to the right. Look at the picture below!
Step 5
Take again the R. M. tool and now, select the both "white rectangle" and copy them beneath. See the picture below.

If necessary, move the "window" on the center.
Step 6
Go on Filter - Distort - Shear, and apply it on "window" with the following settings.
Step 7
Then, press Ctrl + T key to rotate the window a little.
Step 8
After that, go on Edit - Transform - Distort, and try to get a realistic 3d preview. See the picture below.
We will also apply the blur filter to get a smooth light. So, go on Filter - Blur - gaussian Blur and apply the following settings:
Step 9
Press Ctrl+A key (Select all), and after that Ctrl+C key, to copy everything that we have selected.Then, go back on windows layer and click on our layer to activate it.
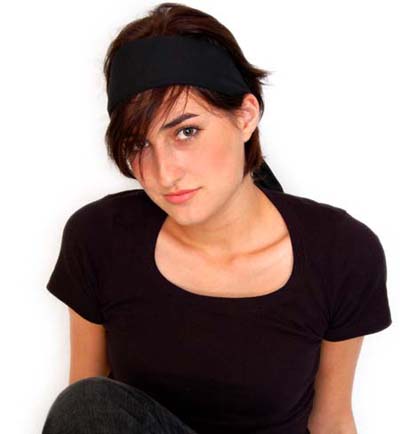
After that press Ctrl+V key. While the shadow layer is still selected, for Blending mode select the Overlay. See the picture below.
![]()
If the light is so intensive, you can always decrease the opacity.