

This tutorial will explain how to apply a sketch effect to your photos.
Before we begin with Photoshop sketch effect techniques I have to say that unfortunately it is not possible to make some steps, or may be use some Photoshop action and automatically convert your photo into a sketch. Each photo requires individual approach and a lot of 'trial and error' to produce a good result.
There are a lot of Photoshop techniques that may be helpful to achieve a 'sketch' look - they include extensive use of layers, channels, curves, many filters and other Photoshop features.
But at first I will show you the 'classical' Photoshop sketch technique. It is very simple, it works well with a lot of images and it gives really nice results with a little effort.
All keyboard shortcuts are for PC; I don't have a Mac, but as far as I know the main difference is use of the COMMAND key on the Mac instead of the Ctrl key on the PC and the OPTION key (Mac) instead of Alt.
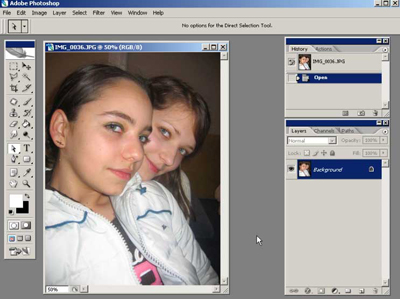
Here's the original photo.To convert to into a sketch you have to do the following steps:
- Create two desaturated duplicates of the background layer
- Invert the top desaturated layer and set its blending mode to Color Dodge
- Apply Gaussian Blur to the top layer
- Paint over the image using soft brush with black color and very low opacity to reveal the details
- Add texture using Texturizer filter
Below are these steps explained in detail.
Duplicate the background layer.
Select Layer - Duplicate Layer or press Ctrl-J. The new will be automatically given a name 'layer 1'.Desaturate 'layer 1'. Make sure that 'layer 1' (not the 'Background'!) is active and select Image - Adjustments - Desaturate or press Ctrl-Shift-U.
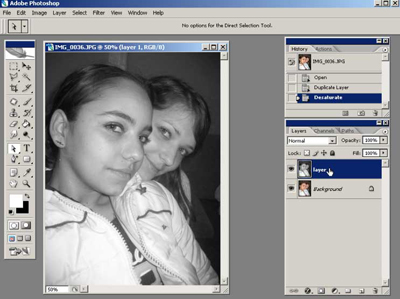
Duplicate 'layer 1'.
Press Ctrl-J and rename the created layer to 'layer 2'.Invert 'layer 2 '. Select Image - Adjustments - Invert or press Ctrl-I.
Now you should have the original 'Background' layer and two layers on top of it: 'layer 1' and inverted 'layer 2'.
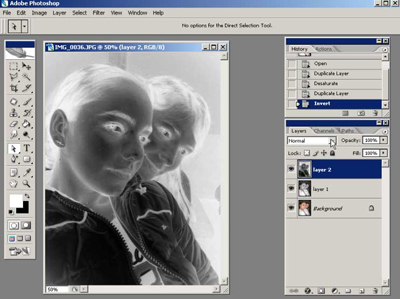
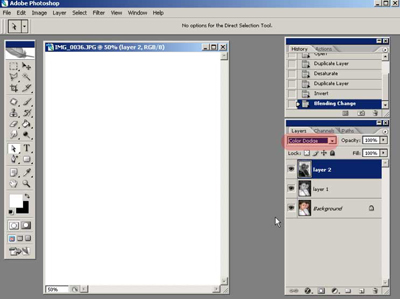
Set the blending mode of 'layer 2 ' to Color Dodge.
If everything is ok, the image will turn completely white.
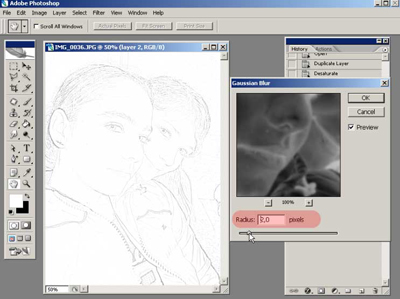
Apply the Gaussian Blur to 'layer 2'.
Select Filter - Blur - Gaussian Blur. It will reveal the lines that will be the base for the 'sketch'. Adjust the radius. The smaller the radius, the thinner the lines will be. For my image, I set the radius '2'.
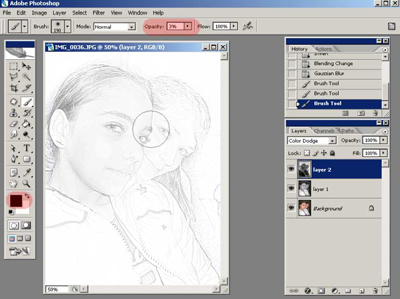
Paint over the image with a brush tool to reveal the details.
Select the black foreground color, and set the brush opacity to the very low value, like 2 or 3%. Paint over the areas where you want to reveal additional details.
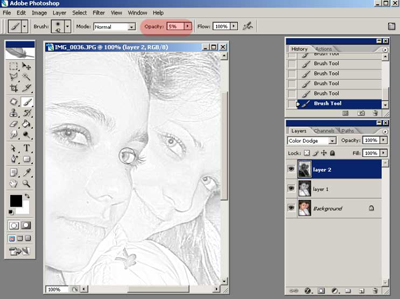
Accentuate most important areas like eyes.
Zoom in, increase the brush opacity to 5% or more and paint over the most important areas of the image to give them additional detail.
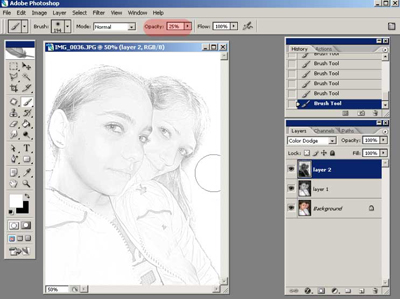
Remove the background with a white brush.
Set foreground color to white, increase the brush opacity to 25-50% or more and paint over the background to remove the unnecessary details.
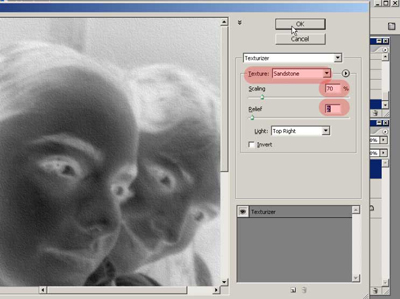
Create a texture.
Select Filter - Texture - Texturizer, select the sandstone texture and adjust Scale and Relief values.
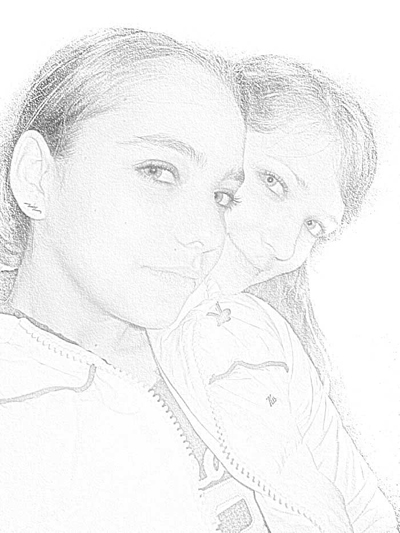
The final result .
Now you should have the image that looks like a black and white pastel sketch. You may continue working with it - add some contrast using curves, for example.
After some excercise it will take you only 2 or 3 minutes to convert a photo into a sketch using this 'classical' sketch workflow.
In the next tutorial I will show you several more advanced techniques that will give you much more control of sketch features such as paper tone and texture, pencil outlines and the direction of strokes.