

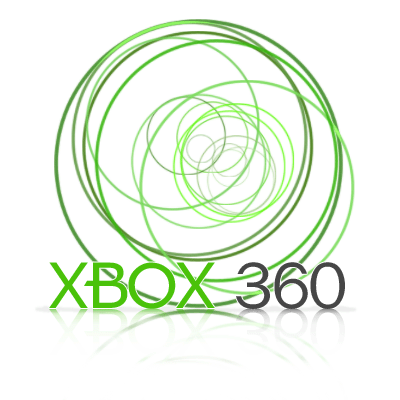
I plan on teaching you in this tutorial how to replicate the random green ring effect that the Xbox 360 Logo.
Everybody knows them, those green rings. When Xbox360 came out, you saw those rings everywhere. I personally won a t-shirt with those rings...
But first the tutorial!!
Create a Ring Brush
The first thing we must do is create a large ring brush. Create a new document in photoshop 1000x1000px. Select the Custom Shape Tool from the toolbar.
In the shape selector, make sure that you are in the category of shapes (Click the round blue icon with the arrow to choose from different categories):
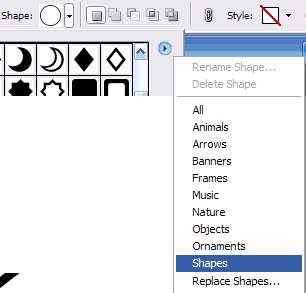
Once you are in the shapes category, select the "Circle Thin Frame" Custom Shape.

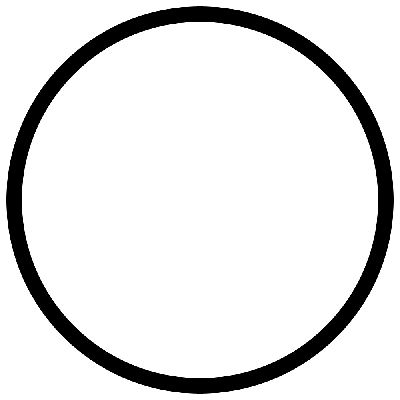
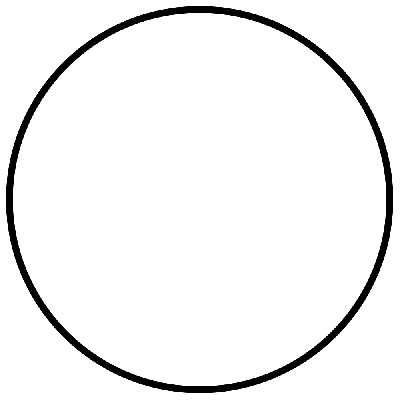
Now, in your document, hold shift and drag out a large ring that fills up the vast majority of the space. Your Document should look like the one shown below:
Select the Convert Point Tool From the toolbar, and click somewhere on your shape to select it.
![]()
You may not already know this, but your circle shape is made up of 8 points. 4 are in the interior circle of the ring, and 4 on the exterior. Right now, our ring is a bit wide, so we are going to pull the points on the interior ring in to make it thinner.
Hold shift, and drag a box with the convert point tool around the 4 interior points (which are located at the left, right, bottom and top of your ring:
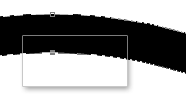
For Example, this figure shows how you would select the top point on the interior part of your ring. Be sure to select all 4 interior points by holding shift while selecting each one.
Once all 4 points have been selected, Press Ctrl + T to Transform your points. Drag outwards on the transformation box that comes up while holding shift and alt, and press enter to apply your transformation.
Next we will turn our ring into a brush that we can use to create the Xbox 360 ring effect!
Turning Our Ring into a useable Photoshop Brush
This part is pretty simple and straightforward. We are going to make our ring shape into a brush which we can use over and over again. This will make creating our logo a breeze!
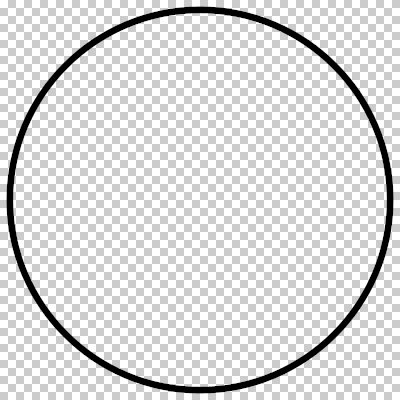
Hide the background layer of your document in photoshop. You will be left with the ring shape on top of a checkered background (resembling transparent parts of your document):
Save as a Brush
If this is your first time creating a photoshop brush on your own, follow these instructions. First Rasterize your shape layer (Right click on your shape layer > Rasterize). Now Define your document as a Brush (Edit > Define Brush Preset). Easy as that! Now you have a brush that can be used over and over again!
Setting Up the Brush
Create a new document to design your Xbox 360 Ring Logo in. I will use a 400x400 sized document.
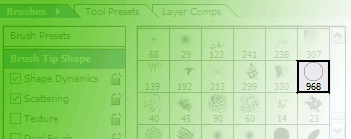
Select the Paint Brush Tool on your toolbar, and select your new ring brush from your Brush Presets:
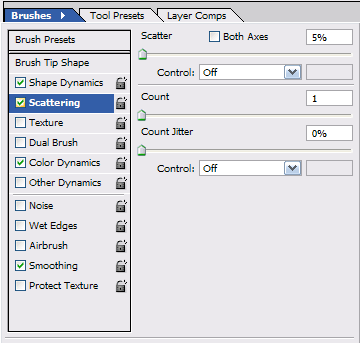
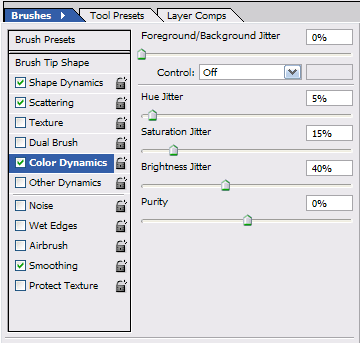
Now, Set up your Brush as follows:
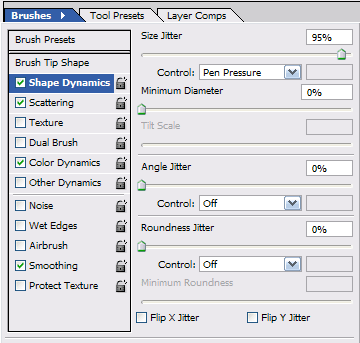
Set your brush size to somewhere from 200-300 pixels, and select a green foreground color, such as #4BC00B.
Now, begin making small brushing motions in your document, and before you know it, you will have a fabulous Xbox 360 Ring Effect!
I used this font for my xbox 360