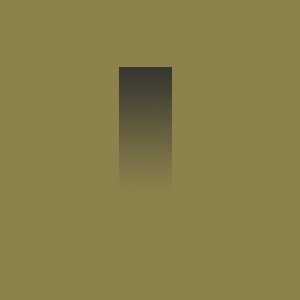
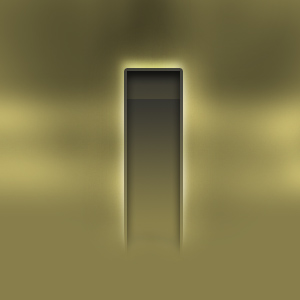
Step 1. In this tutorial we are going to learn how to make some ventilation wholes. So make a new document and a new layer. First set your background layer color to #8C824C then on the new layer with the colors set like in the image below grab the gradient marquee tool from foreground to background make a shape that you desire and go from top to bottom.

![]()
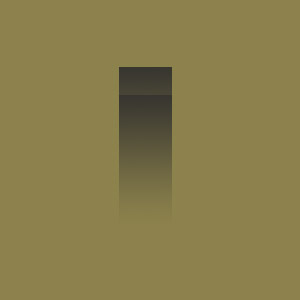
Step 2. Duplicate the layer and using the move tool or the mouse move it down as you see below and press CTRL+E to merge the two layers.:
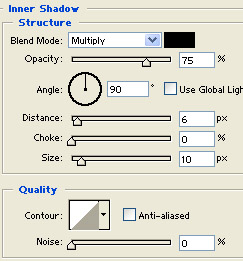
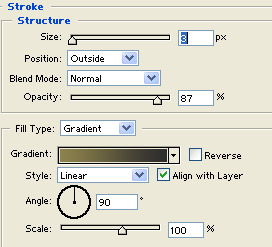
Step 3. Now add the folowing layer styles:
Inner Shadow:
Stroke:
Step 4. Make a new layer behind the shape layer and grab a soft round brush using a gray color color on the edges like you see below:
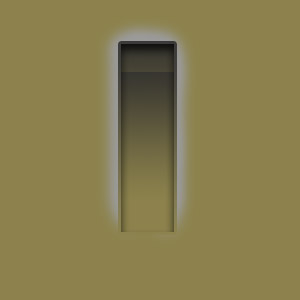
Now delete the gray at the bottom using an eraser and set blending to COLOR DODGE:
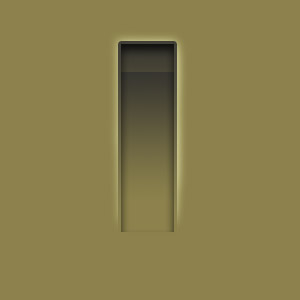
Step 5. Take the eraser and go back to the shape layer. Now with a soft eraser delete on the botom and make it look like its blending in:
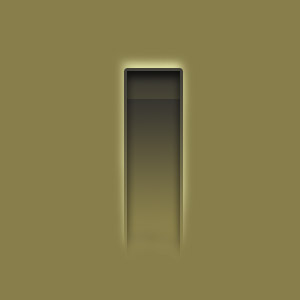
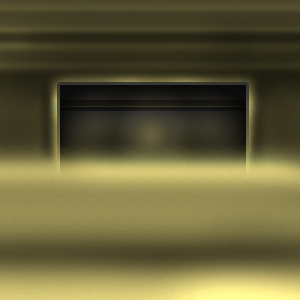
Step 6. You are pretty much done. Now for more detail take the burn and dodge tool and on the base layer brush and dodge to make add more depths.
![]()
This is another example of my work: