Step 1. Make a new document sized 200x400 and fill it with a grey color:

Set your background and foreground colors to : E8E8E8 and DDDDDD like in the image:

Now grab the gradient with the following settings:
Create a new layer and make a selection like below:
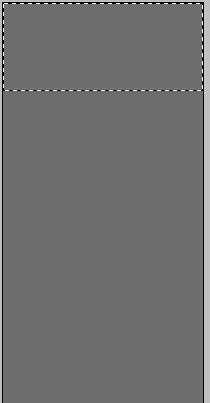
And go from top to bottom with the gradient. You will have something like this:

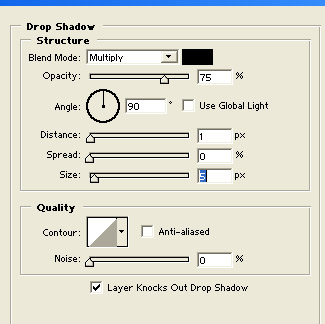
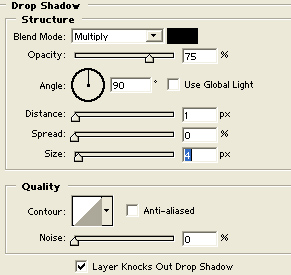
Add a drop shadow with the following settings:
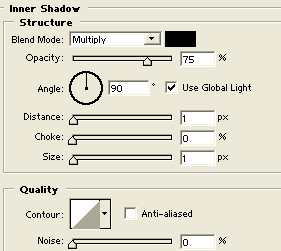
You can also add your text on top now and a Inner shadow on it:
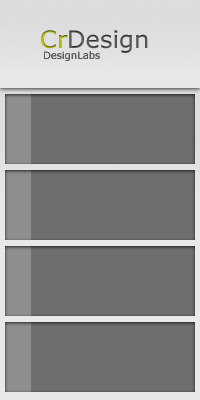
Now make a new layer behind the second layer with the first shape on it and again with the same gradient go from top to bottom until you have something like below:

Step 2. Grab the rectangular marquee tool with the settings in the image :
And make a selection like below:

Repeat the steps until you fill all the image:
Now add a simple dropshadow with the following settings:
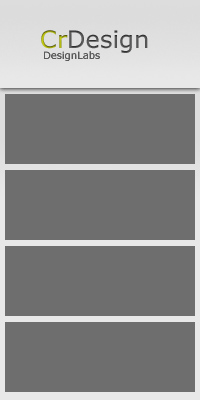
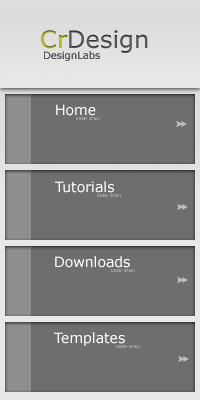
Step 3. Make another layer behind this one and make a selection and fill it white and lower opacity to 20% then add the text.(i also added small numbers under the text to make it look better and small arrows.
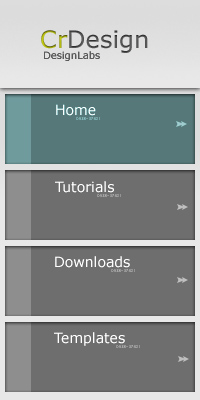
And with a rollover sample:
 This post was written by owner of