Create a new file (File>New) with 780x700 px and 72 dpi.

Create a new layer and select the Rectangular Marquee Tool (M) to mark out the necessary zone and take the Paint Bucket Tool (G) to paint the marked zone in black color.
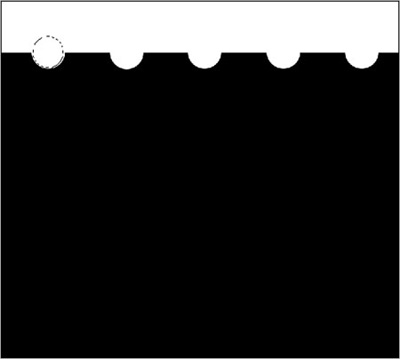
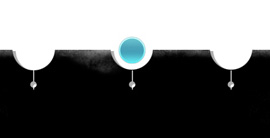
Next use the Elliptical Marquee Tool (M) (on the same layer) to mark out the zone as it is shown on the picture and press Delete button. This operation must be done five times.
Make a copy of the recently made layer and place it under the original layer of black color on the layers palette. Using the Free Transform selection, it's possible to move the layer to the right side, changing also the layer's parameters. The color in this case should be #AEAEAE.
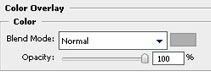
Blending Options>Color Overlay


Show again the previous layer.
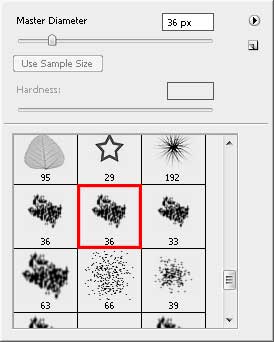
Select now the Brush Tool (B) of standard type.

Use now the Dodge Tool (O) on the black layer (we should use the earlier selected brush).
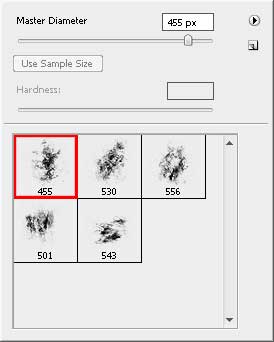
Download from Internet a set of ready to use brushes for Adobe Photoshop: My_Grunges_Yay_by_Wise_Sensei
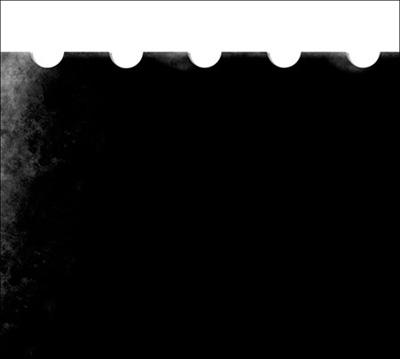
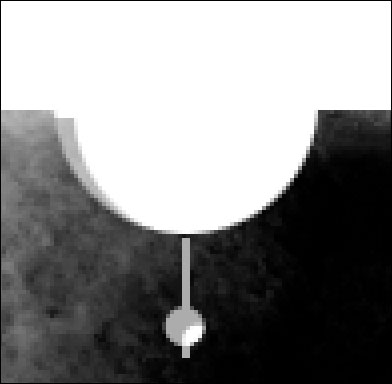
Create a new layer and select for it the earlier mentioned brush of white color. The Opacity in this case should be of 40%.

Make a copy of the last made layer and apply the Free Transform option to turn the copy around on 180 degrees, placing the copy as it is indicated next picture.
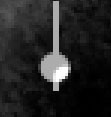
Now we should use the Rectangle Tool (U) to represent a vertical line, having the color #ACACAC
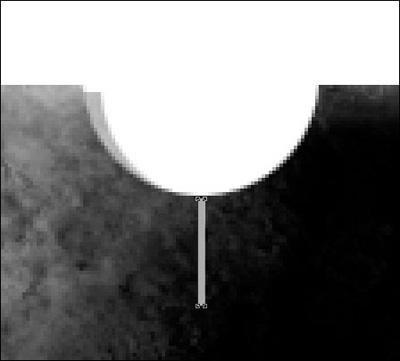
Apply next the Ellipse Tool (U) to represent a small circle of the same color on the already made line.
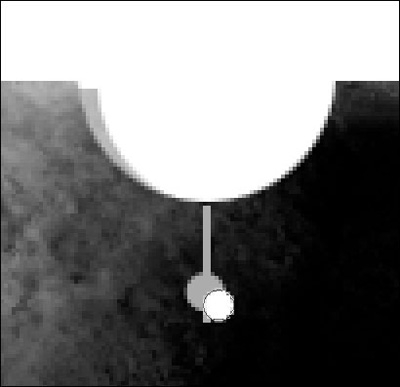
Using the same Ellipse Tool (U), it's possible to make another small circle of white color.
Press on the Alt button, make a mouse's click between the layers of white color and the small grey circle for the white circle to be applied in the limits of the grey one.
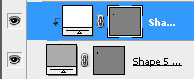
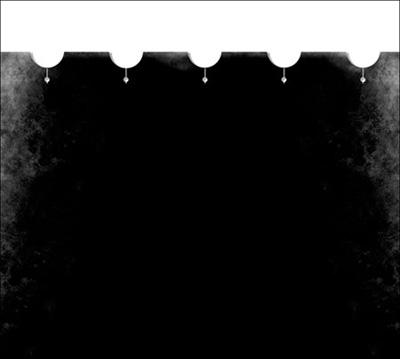
Now we should merge down all the layers composing next image in a group.
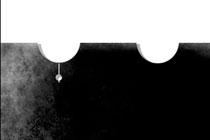
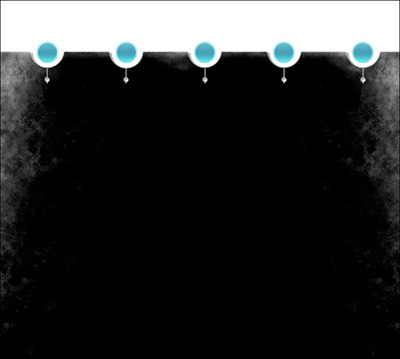
Press on the Ctrl button to mark out the necessary layers and hold the left mouse's button to take the layers down on Create a new group option. Make four copies of the new group and place them the way you may see below:
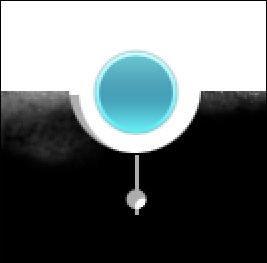
We should represent now the button of the site's header. It's necessary to use in this case the Ellipse Tool (U).
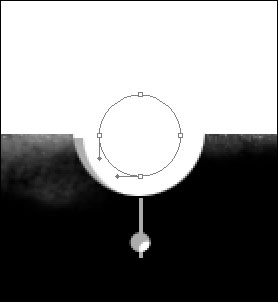
The layer's parameters: Fill 0%
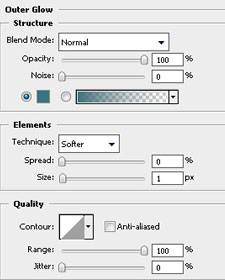
Blending Options>Outer Glow
Blending Options>Gradient Overlay
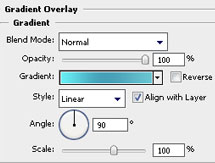
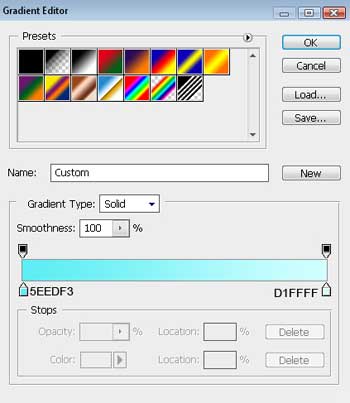
Gradient's parameters:

Blending Options>Stroke
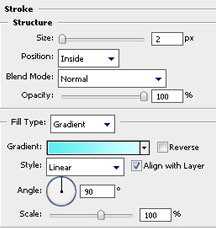
Gradient's parameters:
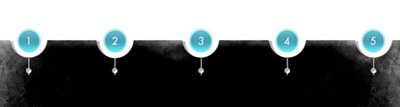
For our convenience we should combine in a group all the layers composing the menu's button. Press on Ctrl button to mark out the appropriate layers and hold on the left mouse's button to take the layers down on Create a new group option. Make four copies of the last made group, placing them the way it is shown next picture:
The menu's buttons should be numbered:
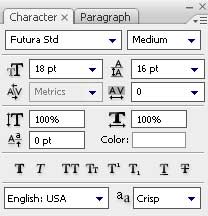
Insert now the titles for the menu's buttons situated on the site's header:

Create a new layer of 1x4 px and 72 dpi, selecting after that the Pencil Tool (B), colored with #4C4C4C, to represent the primary element of the texture's pattern.
![]()
![]()
Edit>Define Pattern
Now take the Rectangle Tool (U) to picture the vertical running line.

The layer's parameters: Fill 0%
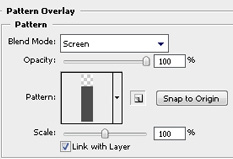
Blending Options>Pattern Overlay