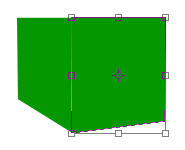
1. Start new document with 250 width and 200 height. Select #009900 as your foreground color. Create New layer. Select Rectangle Tool, draw a large Square for Front Wall. Create another layer and draw another rectangle for Side wall. Side wall rectangle should be small in width.
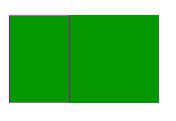
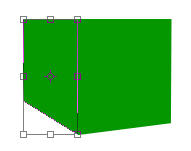
2. Select these rectangle one by one by pressing Ctrl+T. Then position it with the help of Skew and Distort as shown below:
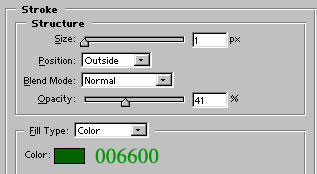
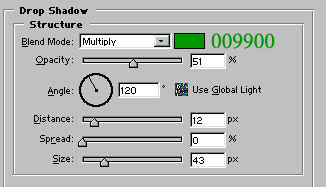
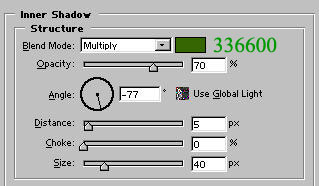
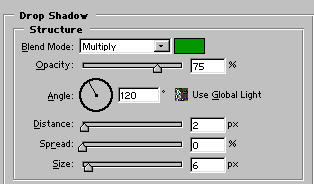
3. Now add these Blending effects to Front Wall.
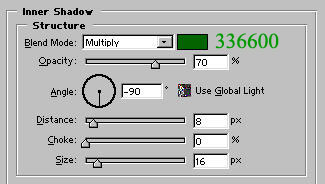
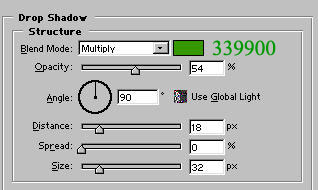
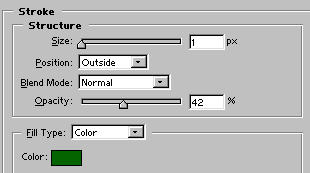
4. Now apply blending effects to Side wall.
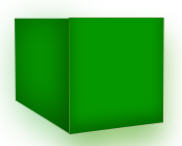
5. After apply these effects:
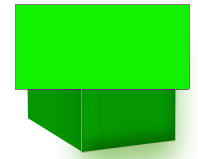
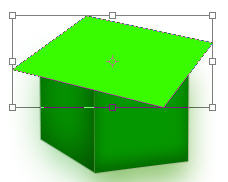
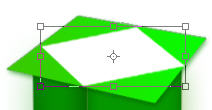
6. Create New for Box Opening. Select Rectangle tool and draw a large rectangle as shown in fig 01. Select it and with the help of Skew and Distort Option position it as shown in fig 02.
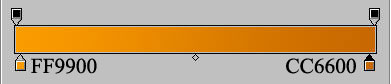
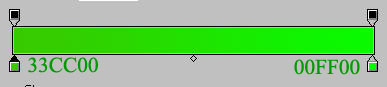
7. Rasterize this layer. Select Gradient tool and change gradient color as below. Apply linear gradient to top rectangle.
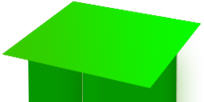
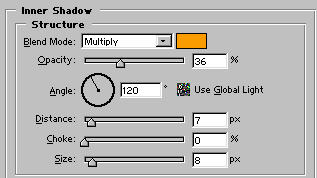
8. Now apply these effects:
9. Create another layer. draw another rectangle and distort it as shown below:
10. Rasterize layer. Select gradient tool, edit gradient color as shown below and apply linear gradient


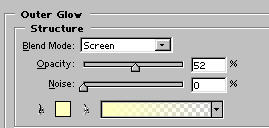
11. Apply these blending effects:

12. With the help of Polygonal Lasso tool create a shape as shown in fig.
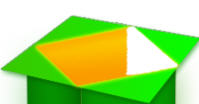
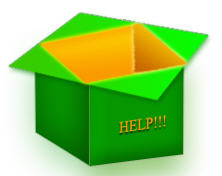
13. Rasterize layer. Select gradient tool, edit gradient color as shown below and apply linear gradient. Also apply Outer Glow.