

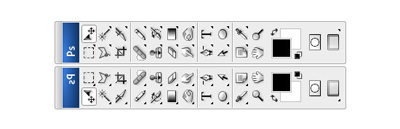
First, open up the image you'd like to use. I'm using the toolbar from CS3.

Next, duplicate this layer (Layer > Duplicate Layer) and flip it vertically (Edit > Transform > Flip Vertical). Use the arrow tool (V) to move the image down below the original layer like so.
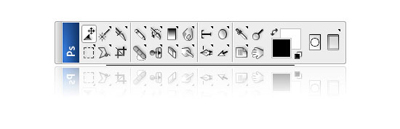
Next, add a reflection using a layer mask (Layer > Layer Mask > Reveal All). Using a black to white gradient, drag from the bottom of the inversed image, to the top. Change the opacity if necessary.

Keep in mind that this tutorial is focusing on the actual background that we are about to start. If you are unable to get this gradient effect, search through our other tutorials and you'll find a more detailed one.
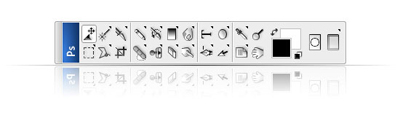
Next, create a new layer called 'line' and using the pencil tool (set to 1px in size), draw a line in between your 2 object layers. The width of the line will vary each time as the object will be different sizes. Use the image below to get an idea of how long you should make it.
With the 'line' layer selected, press Filter > Blue > Motion Blur. Once again, the settings for this will change each time. But make sure the angle is set to 0. Tick the preview box and increase the distance until you get a result you like.
Next, duplicate this layer and press Ctrl+T. While holding Shift, stretch the line vertically like so:
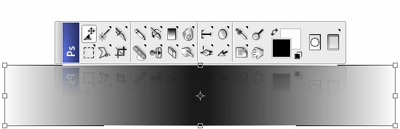
Press enter to confirm the transformation. Next, add a layer mask and drag a gradient from the bottom of this layer, to the top of this layer. Reduce the opacity if necessary.
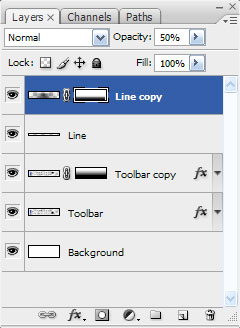
My layers list at this stage looks like this:
And, once you've correctly done the layer mask, you'll have a result similar to this:
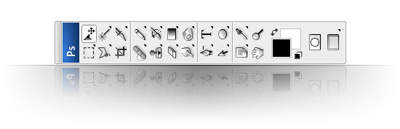
Done!